How to Fix Cracked Tile
Step by step guide for permanently fixing a cracked tile. Learn how to remove and repair the floor before replacing the damage tiles for a perfect job.
Yield: 1 replacement
Cost: $25
Equipment
- Oscillating Multi-tool You can use a sturdy box cutter as well.
- Tile Cutting Saw If you are replacing cut tiles.
- Tile Cutting Blade If you need to cut tile to fit.
- Chisel
- Hammer
- Grout Blade for the Oscillating multi-tool
Materials
- Mortar pre-mixed is fine.
- Matching Tile
- Grout pre-made is fine
- Bucket of Water for cleaning the excess grout
Instructions
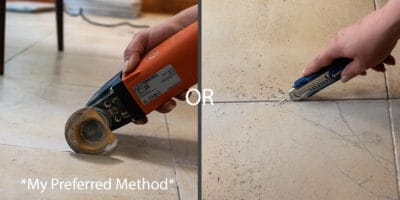
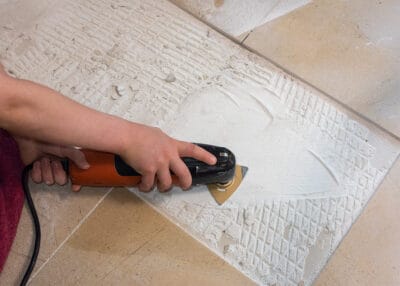
- Remove the grout from around the cracked tile. By far, my preferred method of removing the grout is to use an oscillating multi-tool and grout blade. You can use a sturdy box cutter, but it will take much longer.
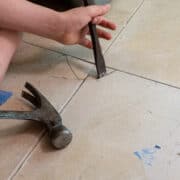
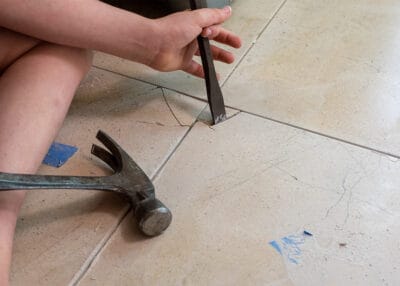
- Remove the tile. I start at one corner and pry the smallest piece up, then work to get the rest of the tile up, always working towards the center. You can use a hammer to break up the tile into smaller pieces, to make it easier (wear your safety glasses). The edges of the surrounding tile are brittle so make sure to protect them from the damage.
- Clean out the mortar or adhesive underneath. The area needs to be clean and smooth. There needs to be room for the new mortar, so that the new tile sits flush with the old tile. Use the oscillating multi-tool again or a chisel to chip away the old mortar.
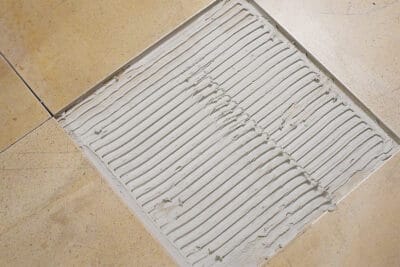
- Add thinset mortar to the tile area. Make sure the area is thoroughly clean of dust and debris with a brush and vacuum. Using a square trowel, add a small amount of thin set to the cleaned area below the tile.
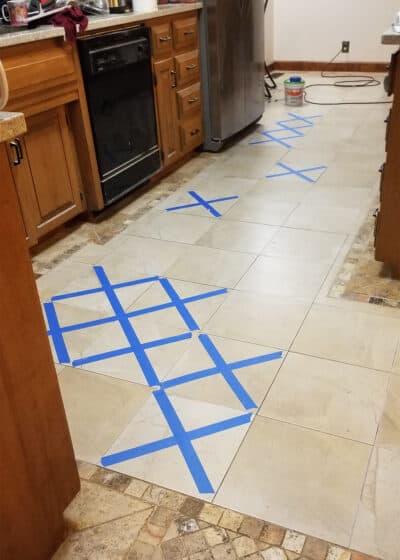
- Lay the replacement tile. Gently place the tile in to replace it and press into place with an even grout space all around. Check that the edges are level to the adjacent tiles. Allow the tile to sit for 48 hours.
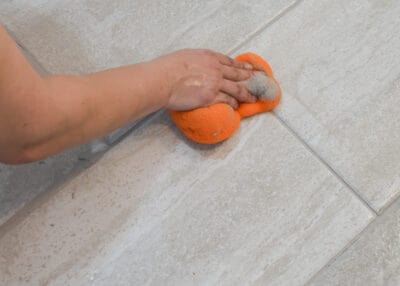
- Grout the tile. Use a grout float to push the grout mixture into the lines and then wipe away excess grout. Make sure to push and wipe in multiple directions to completely fill the gap.
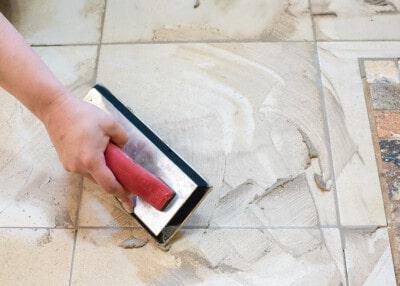
- After about 10-15 minutes, use a damp grout sponge to clean excess grout and make the lines smooth. Cleaning as much grout as possible will make haze removal easier later. Wait at least 24-48 hours and wipe several times with a clean, damp sponge to remove any haze. It may take a few cleanings to remove all of the haze.