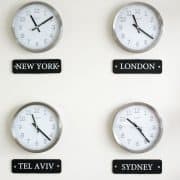
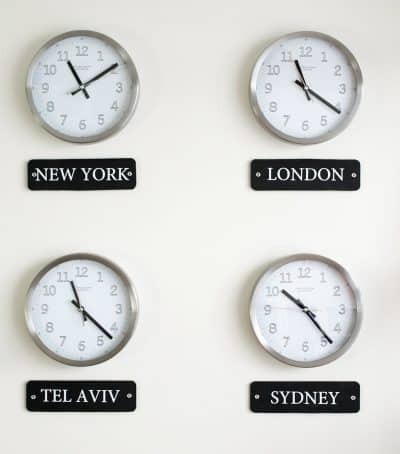
DIY Time Zone Clock Display
DIY World Clock Wall Display is a fun wall art display for any home or office including time zones or displaying cities you have visited.
Yield: 4 clocks
Cost: $50
Equipment
- Drill Optional
- Saw Something to cut the wood to the desired length
Materials
- 4-6 Silent Clocks
- 4 2.5 inch wide wood strips uniform length
- 1 set Letter Stickers *See note
- 8 pieces Velcro Command Strips 2 for each nameplate
- 8 sets Metal Eyelets Optional
Instructions
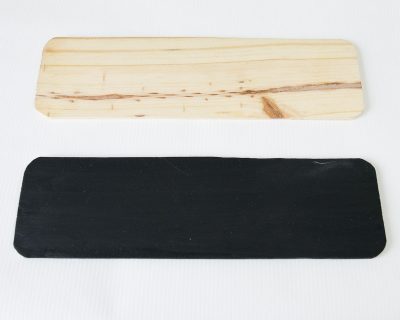
- Cut the pieces of wood to the same width as the clock faces. Round the edges slightly with a sander. Paint them black.
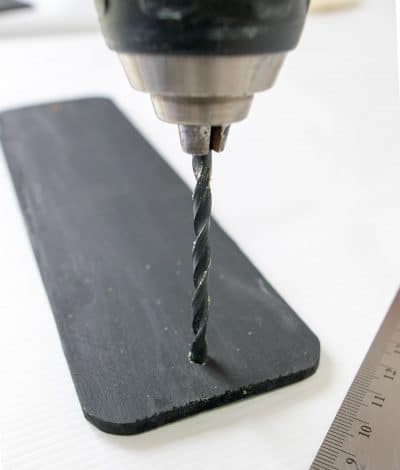
- (Optional) Use eyelets to add a decorative touch to the edges. Drill a hole just wide enough to fit the eyelets in snugly without falling out. Use a mallet to tap them in, if needed.
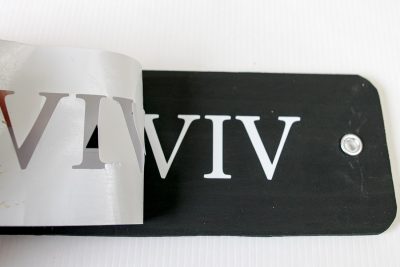
- Add letters to the nameplates. You can use a ruler to apply them straight.
- Hang signs with velcro command strips. These make hanging a breeze and are rental friendly!
Notes
You can also make your own letter templates using a craft cutting machine such as a Cricut or a silhouette. To keep the letters straight it is a good idea to gently apply the negative image and then the letters. Then you can peel back the negative and the letters are perfectly placed!