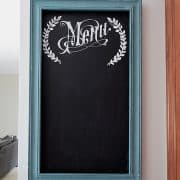
DIY Menu Board
A weekly Menu Board with cozy charm to stay on track of weekly meal planning goals and let everyone know what's cooking in the kitchen.
Yield: 1 board
Cost: $25
Equipment
- Paint Brush
- Small Foam Roller
- Stencil See post for ideas
Materials
- 1 Shadowbox frame
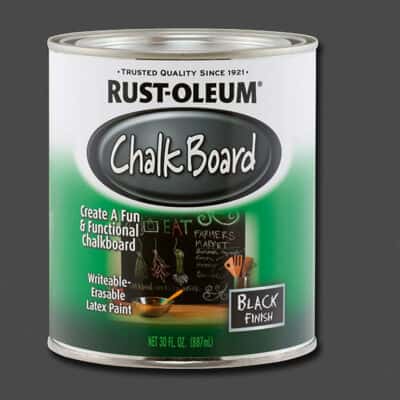
- 1 Chalkboard Paint or
- 1 Chalkboard Vinyl
- 1 piece Chalk
- White Chalk Paint for any permanent markings
- Transfer Paper or painter's tape
Instructions
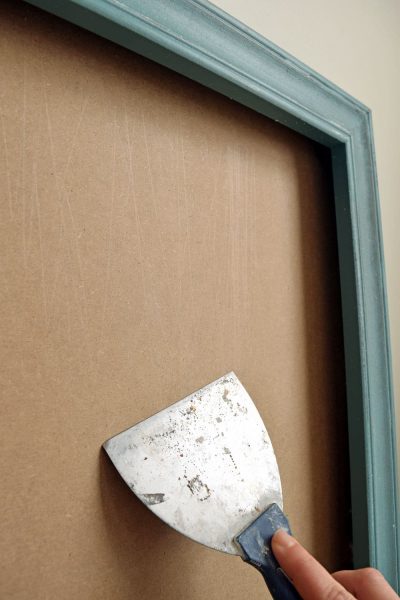
- Prep the backing material if necessary. Clean and sand smooth. For a fresh or raw surface, prime with a high quality bonding primer.
- Paint two coats of a high-quality Black Chalkboard Paint. A small foam roller usually provides the smoothest texture for the board. Allow to dry completely for at least overnight.
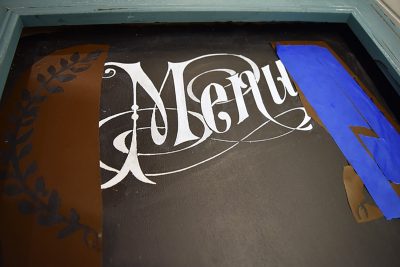
- After the paint is dry, use white paint to add any decorative details that will be permanent.
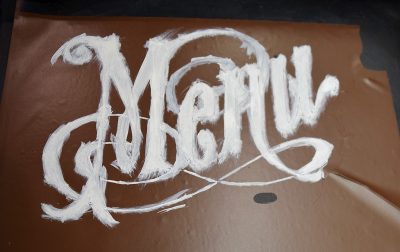
- For intricate patterns use a stencil and lay the stencil using painter's tape or transfer tape. Make sure stencil is completely flat and attached to the board so that paint won't get under the edges.
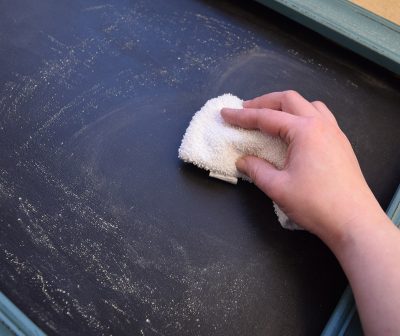
- Season the chalkboard. take a bit of chalk and rub it all over the chalkboard lightly. Then use a soft cloth to wipe it off in circular motions. It may take a few times of doing this to get the real chalkboard effect.
Notes
I highly recommend a roller rather than a brush to keep the chalkboard paint texture to a minimum. Vinyl also has a great smooth texture and you don't have to wait for it to dry to use.