How to Install Faux Stone Veneer
A diy centered tutorial for installing a faux stone veneer to interior walls, fireplaces, and kitchen islands with an easy to use and lightweight stone material.
Yield: 1 wall
Cost: $200
Equipment
- Wet Saw a Miter saw can also be used but it produces a lot of dust
Materials
- Sandpaper
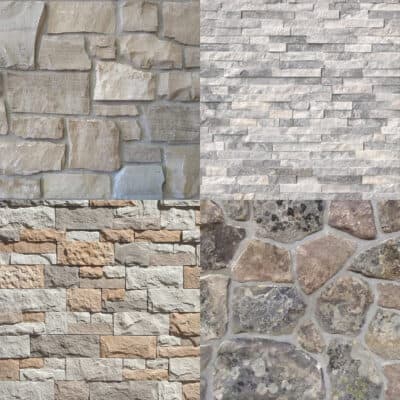
- Airstone Faux Stone any color
- Adhesive
Instructions
- Any new material, even stone should be allowed to acclimate in the area of install for a day or two.
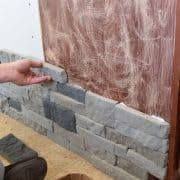
- If you have corner pieces, start with one corner and work towards edges. Dry fit each row before adhering. Because the pieces come in varying sizes, you may need to cut a stone or two to fit each row.

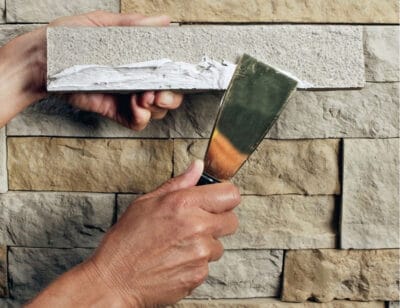
- Spread a ⅛-inch-thick layer of adhesive all across the back of the stone. Press the stone evenly and firmly against the wall. Make sure the stones are lined up tightly against one another. As you move up, check with a level that the rows are straight and level.
- The area can be used immediately but should be treated lightly as the adhesive dries over 24-48 hours.

Notes
- If you make a mistake, you can remove and replace a stone within 30 minutes of application.
- Grout is not necessary as both the stones and the adhesive material are waterproof.
- These lightweight stones can be laid over a variety of materials including wood, drywall, and concrete. For exterior applications, make sure that your substrate material is also waterproof.
- I always buy at least 15% extra above the square footage to accommodate cutting the stones.