
How To Install Glue Down Vinyl Flooring
How to install glue-down vinyl plank flooring the right way including pro tips for a successful project that will last for years!
Yield: 1 floor
Cost: $250-1000
Equipment
- Guillotine Cutter Optional - You can use a mitre or power saw instead
- Flooring Roller A heavy-duty kitchen rolling pin works well too.
Materials
- Plywood made for Vinyl Installation
- Floor Patch
- Vinyl Planks or Tile
- Vinyl Adhesive
Instructions
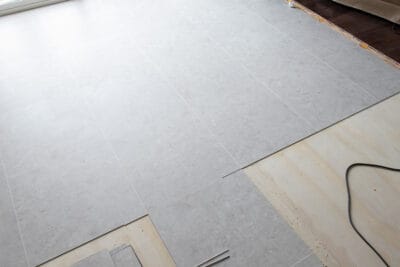
- If using a thin plywood underlayment, screw down the underlayment with appropriate screws and check for any loose or creaky areas.
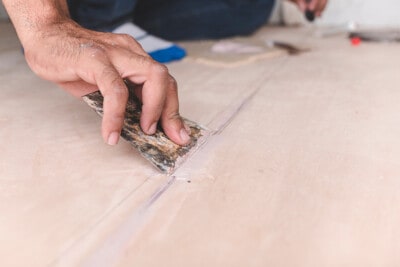
- Fill any seams and nail heads with seam filler using a putty knife. Seams should be flat and smooth. Allow the filler to harden according to directions or 24 hours before installing the vinyl.
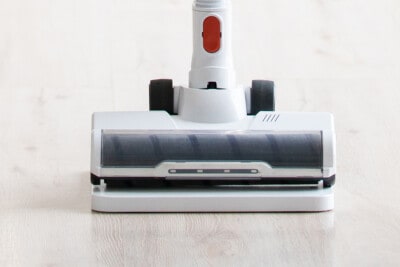
- Clean away any dirt and debris from the surface with a vacuum.
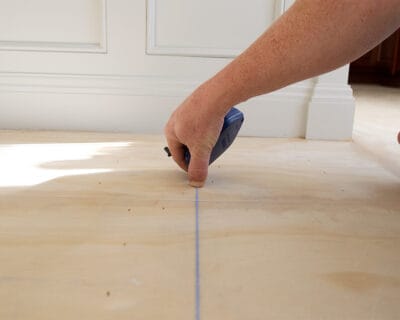
- Plan your layout. For large, open areas, draw a centerline down the room. Make a second perpendicular center line, to produce 4 quadrants. Lay out the tiles in rows just to double check you won’t have any awkward edges. Adjust line as needed.
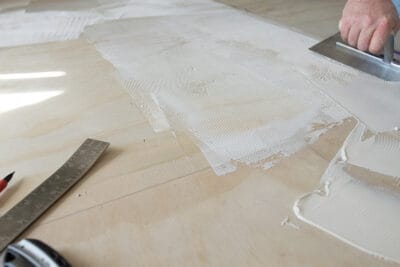
- Starting where the centerlines cross and moving in one direction to the edge, lay down enough of an area that you can do in less than 15 minutes. Use a V-notch trowel to spread the adhesive evenly.
- Lay tiles or planks with tight fitting seams. Use a floor roller and a fair amount of pressure to completely flatten and bond the tile.
- Wait at least 24 hours or manufacturer’s instructions before walking on the surface. Reinstall baseboards as needed.
