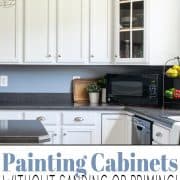
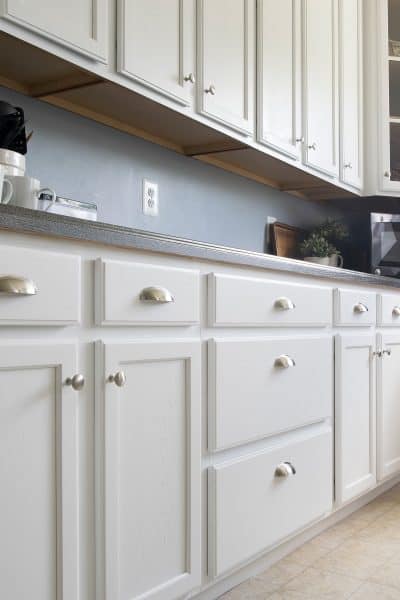
How To Paint Oak Cabinets
Painting oak kitchen cabinets
Yield: 1 kitchen
Cost: $350
Materials
- TSP Cleaner
- Sanding blocks
- Paint Brushes
- Microfiber rollers
- Lint free cloths
- Stainblocking Primer (this is my go-to favorite)
- Paint
Optional Materials
- Deglosser
- Protective Top Coat
- Wood filler for deep scratches
Instructions
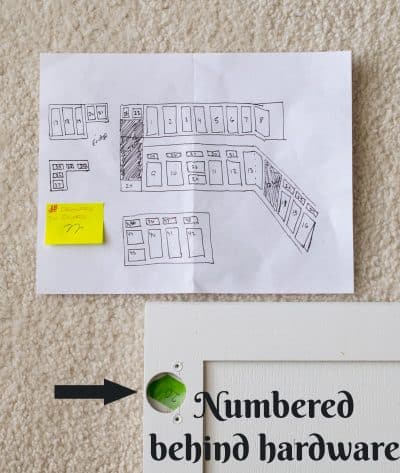
- Remove all the hardware, doors and drawer fronts. Use a degreaser or teaspoon to clean grime and dirt.
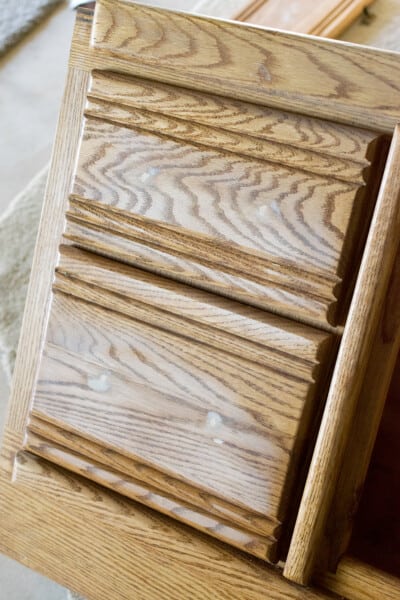
- Sand just enough to get the glossy surface off. A palm sander or a mouse sander (we use a multi-tool for corners, will save hours of hand sanding. While sanding will produce the best bond, you can skip sanding by using a deglosser product in areas that cannot be sanded.
- If needed, repair deep scratches with wood filler. Wipe any dust off before painting.
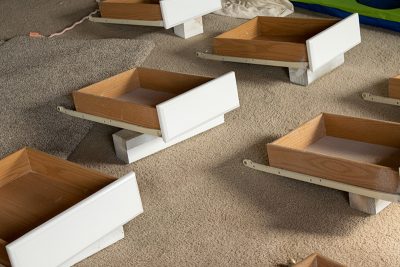
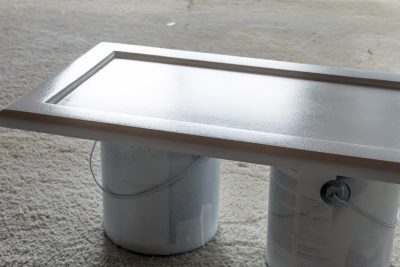
- Setup your painting area. If you can't remove the drawer fronts, you can prop them up to dry. Doors should ideally be lifted off the floor for drying. Wood blocks or plastic cups work well to prop them up.
- Coat with Appropriate Primer. One coat provides enough coverage for brushing/rolling. Use 2 light coats if spraying or if drastically changing the color. Allow to dry 24 hours. If any stains come through, recoat those areas.
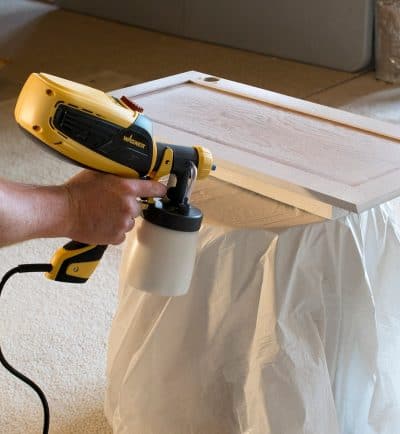
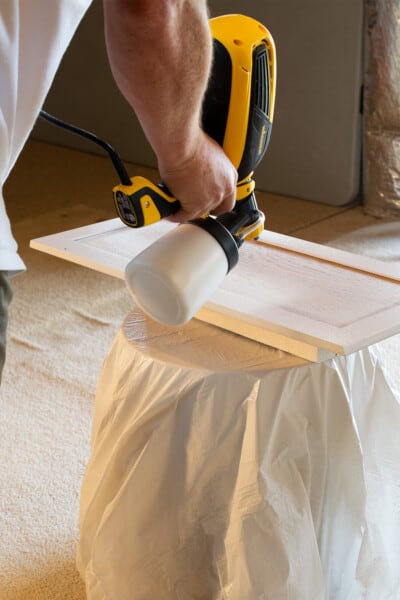
- Paint the cabinet doors with 2 coats of cabinet paint. See notes about using a sprayer.
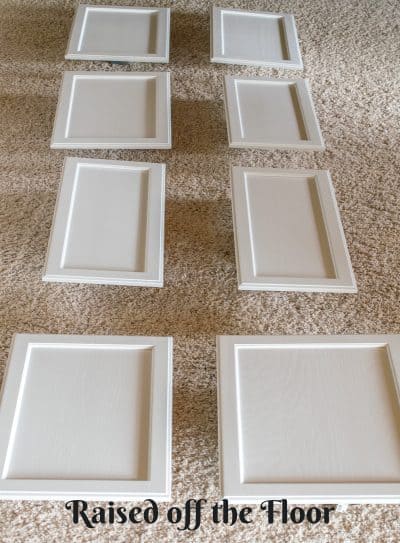
- Allow to dry. I generally allow the doors to dry about a week before flipping over to prime and painting the front sides.
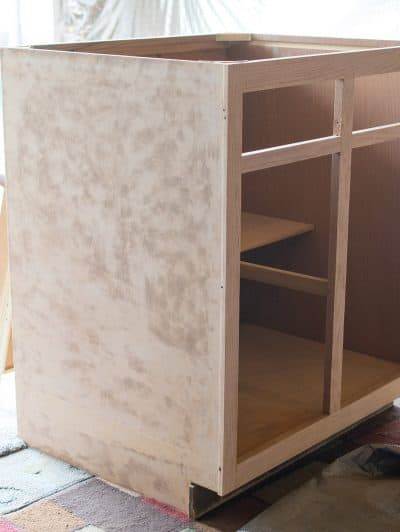
- Paint the frames. You can paint the cabinet frames while waiting for the doors to dry. You can either tarp and spray the cabinet frames (pictured) or paint using a brush and roller. Generally, there is no need to paint the insides except for glass fronted cabinets.

- Add a protective clear top coat. This is optional but highly recommended for most paints to make cleaning easier and the paint will last longer.
- Put the doors and drawers back on. Full cure can take up to a month, so I suggest leaving the doors and drawers ajar for at least a few weeks.
Notes
Tips for using a sprayer
- Wipe the tip with a rag occasionally as you go. Dried paint can build up on it, causing your paint to splatter.
- Always test a scrap board (preferred) or large piece of cardboard. Anytime you take a break from using the sprayer, always hit the test board first. This includes after refills or long breaks.
- If after the first few cleanings, your paint sprayer won’t spray, check to make sure a pinhole at the top of the suction tube isn’t clogged.
- Start by spraying off the board, meaning engage the sprayer before you are over top of the work product (or cabinet door in this case). Spray all the way across, and let go of the trigger after you have gone off the door. If a sprayer is going to spatter, it will most likely happen when you engage/disengage the trigger.
- If you get spatter/orange peel, wipe off immediately until smooth and spray again. Drying and sanding smooth again is much more time-consuming,
- Clean the sprayer immediately after use. You can, however let it sit in the sprayer overnight for additional coats, but clean the tip well.