A fall must-have treat, sweet and beautiful, these Chocolate covered apples are super simple and fun to make! Kids can get in on the fun, and they are a great way to use leftover Halloween candy. The best treat of the season with just a few pantry ingredients! Tips, variations, and topping ideas included.
These chocolate covered apple scream fall, don’t they? You really should make them because they are such a fun, kid-friendly, easy snack or light dessert! SO much easier than caramel apples, and you can dress them up with your favorite toppings.
Almost every year for Halloween, I misjudge the amount of candy we need for trick or treaters, and then there is this huge, excessive amount of candy leftover.
Making chocolate covered apples is a great way to use up some of that excess and we give them out as gifts. Everyone loves them and my own temptation is kept in check. (yesssss!)
Supplies
- Extra long lollipop sticks – you can use flat popsicle sticks but they are much harder to insert
- Hammer or Kitchen mallet – This is for crushing the candies if you need. A rolling pin will do in a pinch, but I like a regular ol’ garage hammer because it’s more precise.
- Wax Paper – parchment paper will also work.
- Knife
- Spoon
- Plastic Sealable Bags – like ziplock bags
- Melting Chocolate – You will want to use melting chocolate for this, not chocolate chips. My personal favorite melting chocolate is Dulce Frutta, which you can find in most grocery stores in the produce section. Candy bar chocolate can work but it varies a lot of which you use.
- Toppings of your choice – Ideas are listed below.
- Clear flat-bottomed favor bags – (Optional) These are great if you are giving them as gifts or party favors. If your apples are quite large, this apple box might work better.
- Chocolate Drizzling Bottle – Optional, although they are great for kids. You can use a spoon to drizzle but the stripes won’t be even. A ziplock bag with the tip cut off works too, but it is messier.
Best Apples to Use
Your favorite apples are always going to be the best to use.
- Granny Smith – my personal favorite!
- Honeycrisp
- Fuji
- Pazazz
- Gala
- Braeburn
Topping Ideas
Hard candies seem to work best or at least look better, but you can also use softer candies or candy bars if you chop them up very well. The options for toppings are endless, but here are a few of our favorites:
- Crushed cookies (Oreos are my favorite)
- Finely Chopped nuts (peanuts, pistachios, pecans, almonds, etc)
- Sprinkles
- Candy Wafers in Bright Colors (from the cake decorating aisle, but don’t use these for the chocolate)
- Mini Chocolate Chips
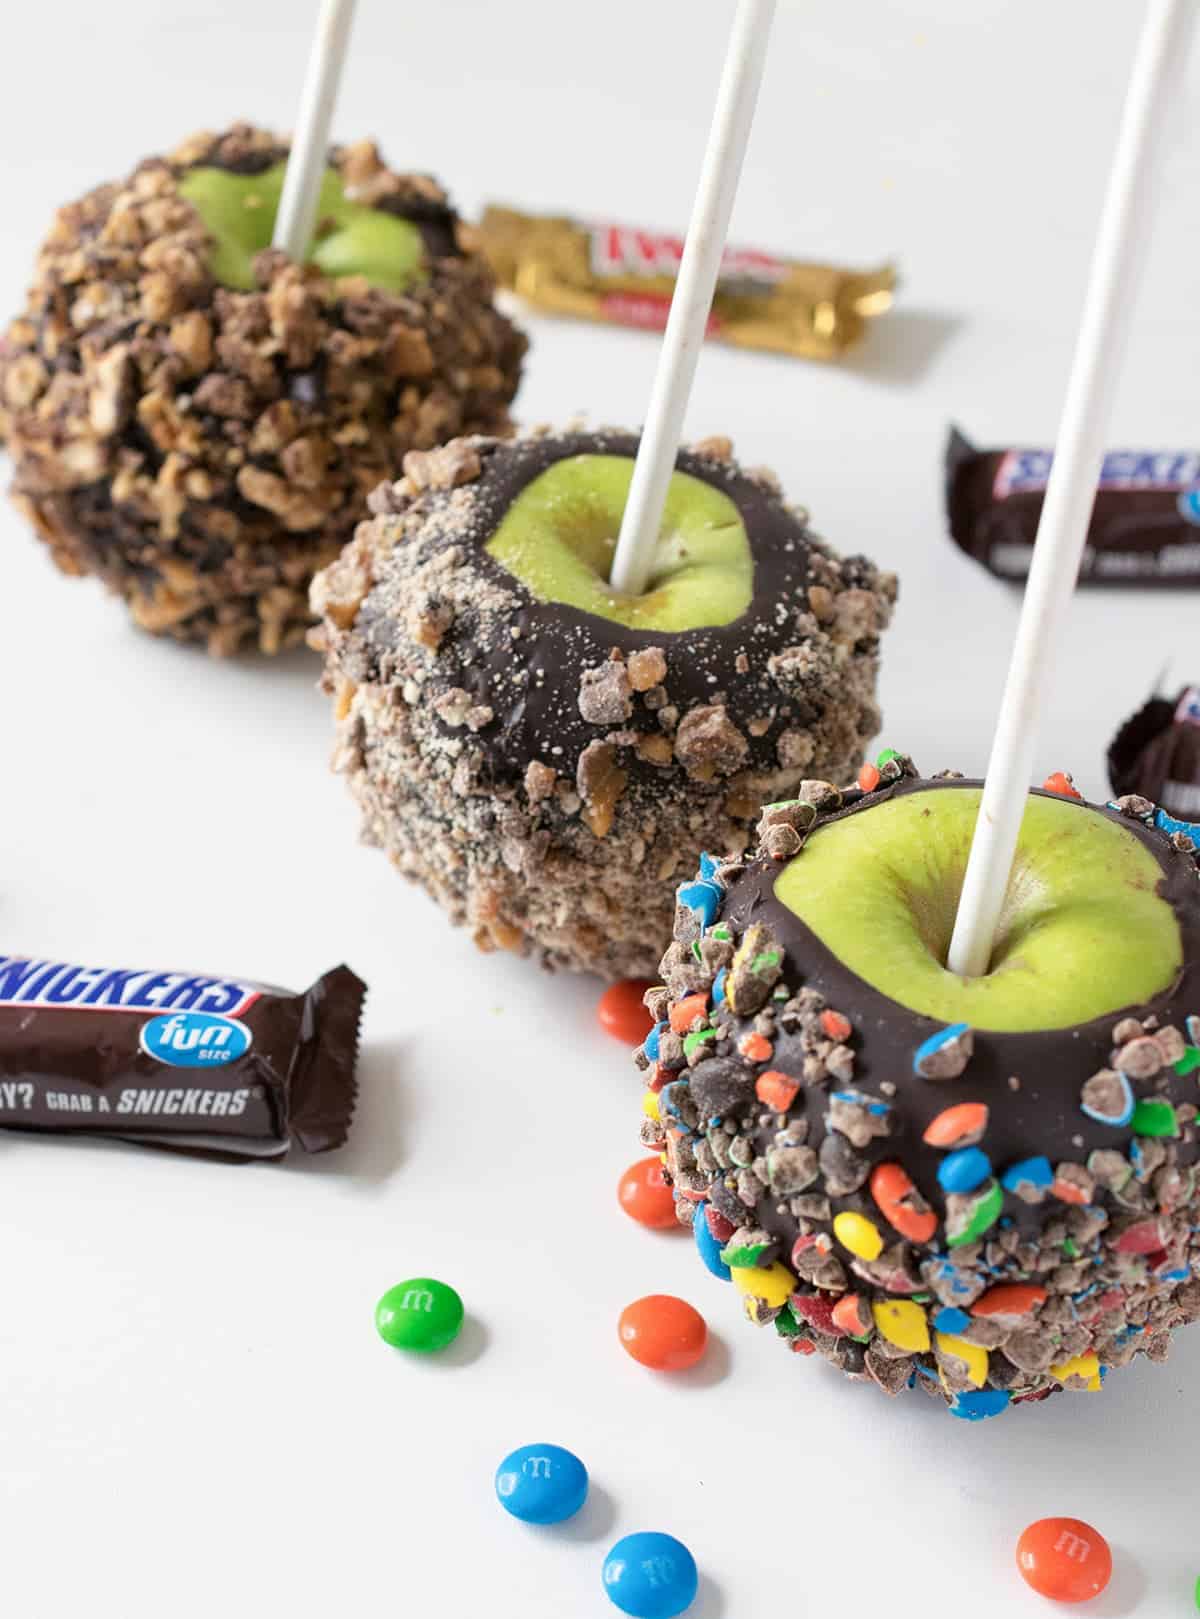
- Mini M&Ms
- Finely Chopped Candy Bars (Freeze soft ones like Snickers or Twix 30 minutes before dipping)
- Shredded Coconut
- Chopped Pretzels
- Toffee bits
- Caramel
- Peanut Butter drizzle
- Graham cracker crumbs
- Mini marshmallows
- Flaky salt
- More chocolate… milk or dark or white
Tip: The smaller the candies, the better they stick. For Example, use mini-m&ms instead of full size. And make sure to finely chop nuts.

How To Make Chocolate Covered Apples
The printable instructions are included at the bottom of this post, but I have included a few tips and variations below.
Setup: Wash your apples and dry thoroughly. Layout all of your toppings in a dish for dipping and coating. I love to make these with the family, so a toppings bar with various toppings in bowls is easy and fun!
Tip: If you want a smaller snack, slice the apples into ¼-1/2 inch thick slices, top to bottom. Discard the ends and remove seeds that you find. You will have to be a little more carful inserting the stick this way.
MELT CHOCOLATE: I generally find the microwave to be the easiest method for melting chocolate. Next, add chopped chocolate to a heat-safe bowl that is large enough to fit the apples in but also not too wide either. Heat for 30 seconds, stir, repeat until smooth. Just make sure NO water comes in contact with the melting chocolate ever.
DIP: Since the apple have sticks, they’re pretty easy to dip. Dip the slice in the bowl of chocolate, spooning more coating up the entire apple. Let excess chocolate drip off, then put on the candies or set on wax paper to cool.
TOPPINGS: Dry toppings like nuts, sprinkles, or chocolate chips should be put on right away. I find it best to spoon or press candies on the sides while the apples sit in the dish of candy. Work fast so the chocolate doesn’t drip down the candy dish. Refrigerate or freeze until solid. For toppings like caramel or peanut butter, let the chocolate harden first before topping.
Make It Your Own
There are a few different ideas you can do to change it up.
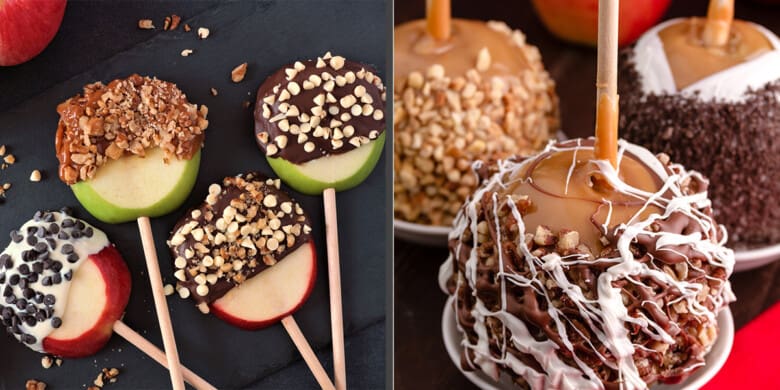
- Dip in caramel first, let cool on wax paper, and then dip in melted chocolate for a thick double coating.
- Use ½ inch thick apple slices rather than whole apples. Pat the apples slices dry before dipping.
- For less chocolate, drizzle rather than dip.
- Sprinkle rather dip in the candies if you want to use different kinds on the same apple.
- For a thicker coating, let harden at room temperature and double dip.
Storing
Whole apples will last about a week if stored properly. They can be kept in the refrigerator, but it is not necessary. They should be kept in an airtight container or individually wrapped in plastic to prevent air exposure. Apple slices covered in chocolate will last 3-4 days and must be kept in the refrigerator, but best if eaten fresh.
Want more edible treats that kids can make with you? Here are some ideas!
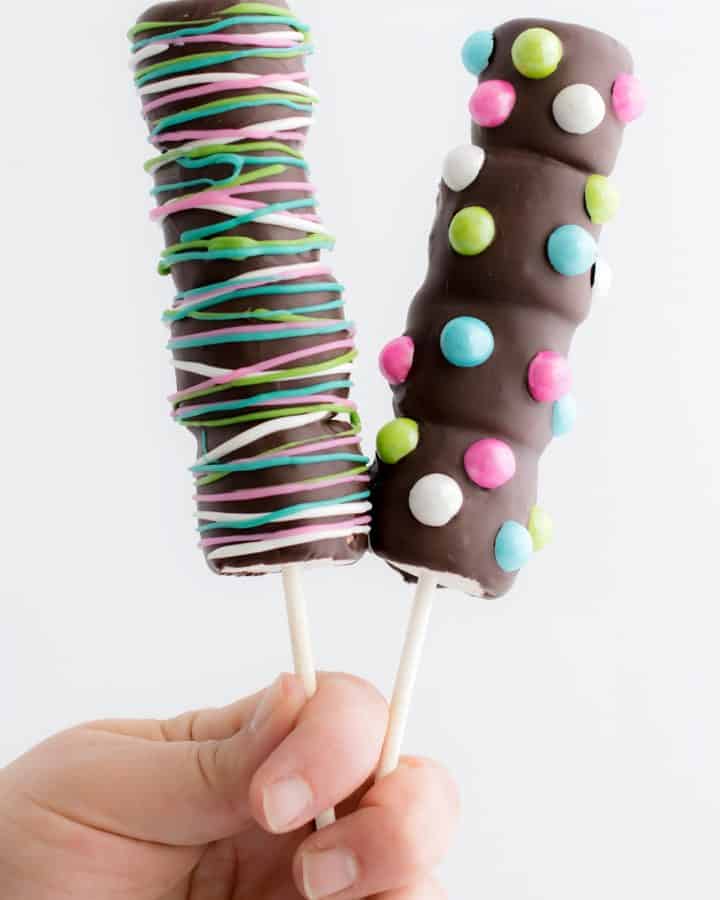
- Easy Marshmallow Pops
- Infused Cooking Oils
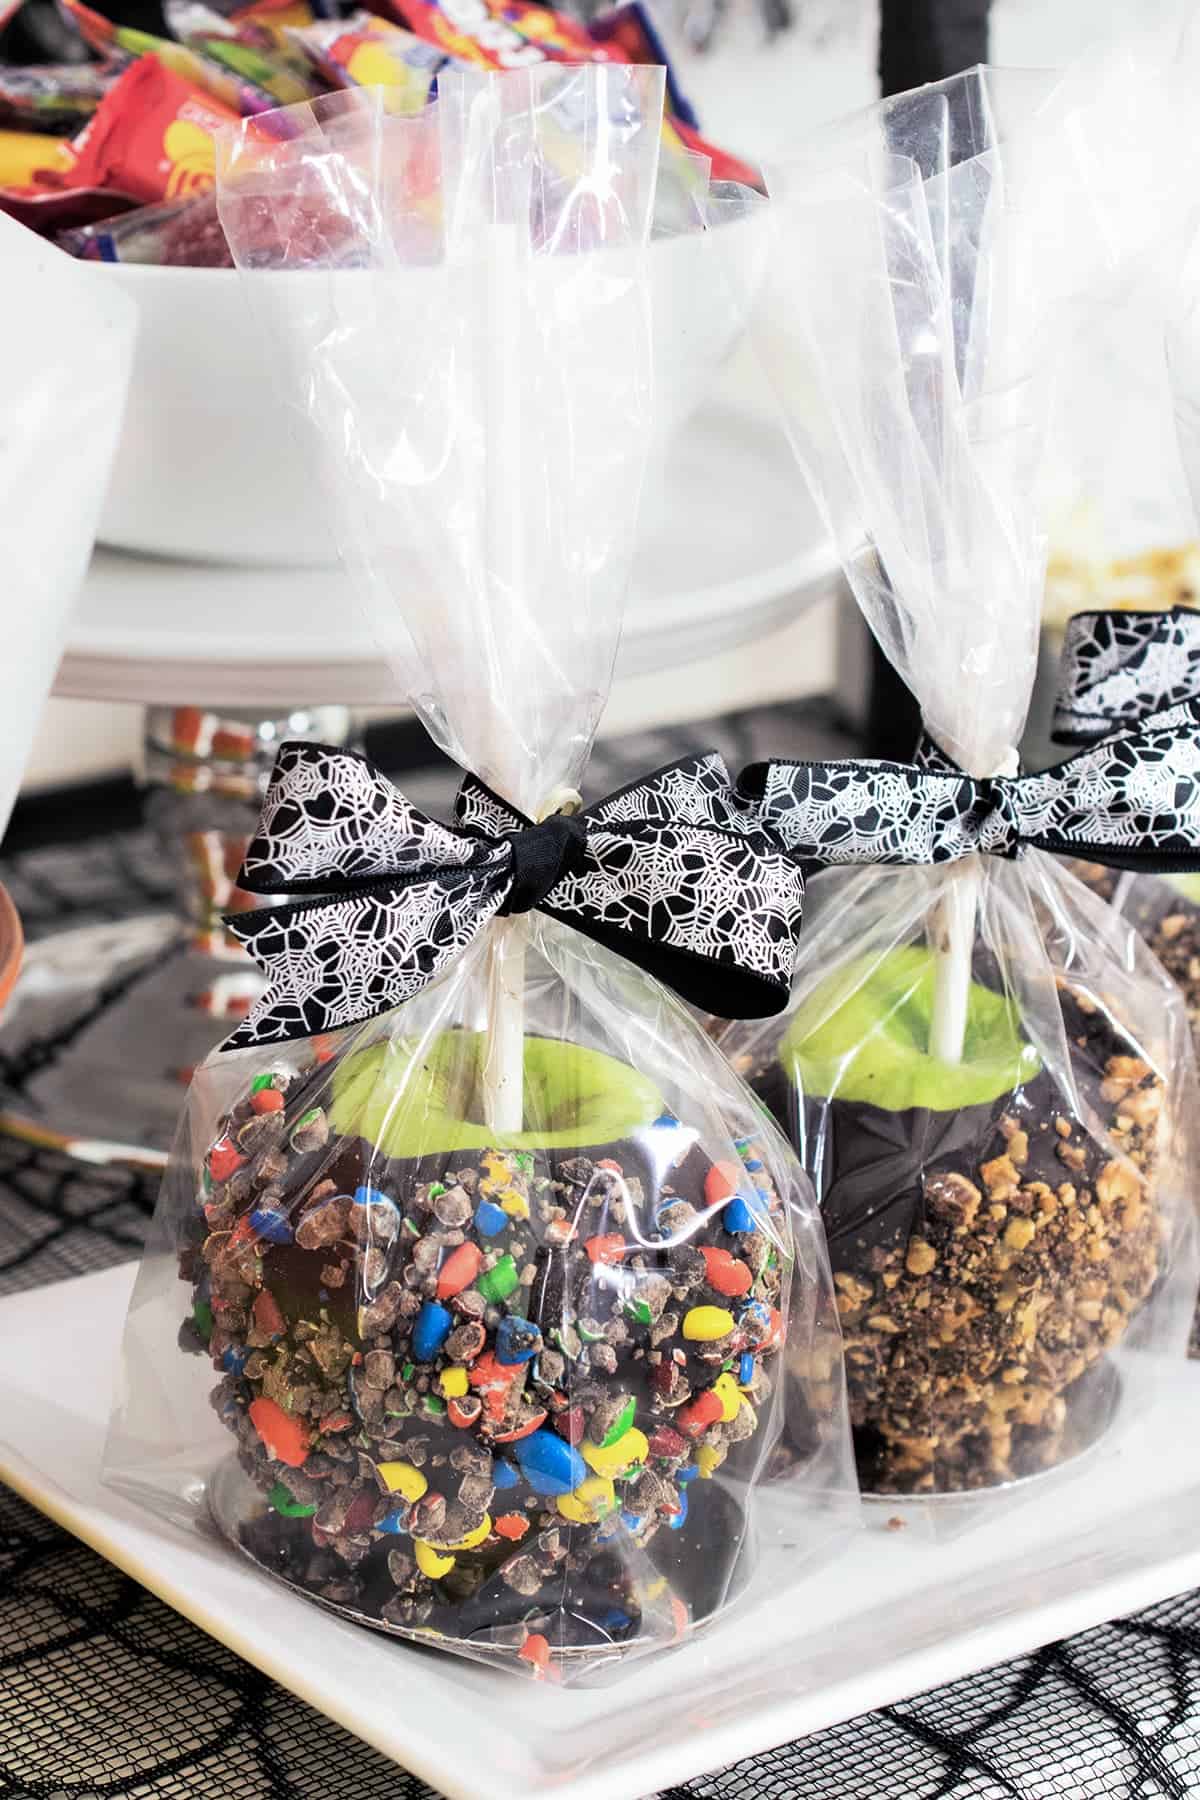
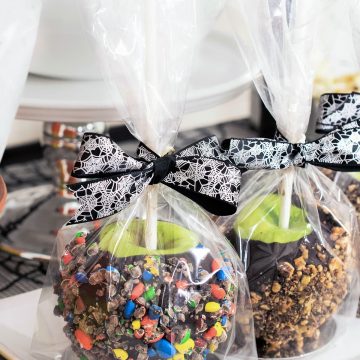
- Ultimate Halloween Party – At the party, we wrapped them in plastic favor bags and let the guests choose a festive ribbon or two. Aren’t they so cute?!
Frequently asked questions
Whole apples will last about a week if stored properly. They can be kept in the refrigerator, but it is not necessary. They should be kept in an airtight container or individually wrapped in plastic to prevent air exposure. Apple slices covered in chocolate will last 3-4 days and must be kept in the refrigerator, but best if eaten fresh.
Yes. Apples should be washed and dried before slicing or covering in chocolate. After slicing, apple slices should be patted to remove excess moisture and help the candy-coating stick better.
If you take a bite and the outer covering cracks or falls off, the chocolate coating is probably too cold. To minimize cracking, let the outer layer come to room temp before slicing or biting into.
In my humble opinion, this dulci frutta is the best supermarket variety of melting chocolate for dipping. The shell is even and it does have a solid chocolate taste.
My second choice would go to this chocolate melting bark, or Ghiradelli Wafers. Both works well and have good chocolate flavor. Double dip for a thicker coating.
Avoid anything called candy wafers or the stuff in the cake decorating aisle. Quite frankly, I want real chocolate and those don’t taste as good.
Chocolate chips will leave a thick, lumpy coating.
Not Sure
What's For Dinner?
Signup for recipe updates and get a free cookbook of Easy Weeknight Supper Solutions!
More Easy Treats and Recipes
PS. If you make this recipe, leave a COMMENT AND A STAR RATING in the comments section at the bottom and be sure to take a photo and tag it #cravingcreative on Instagram! I appreciate you for taking the time to read about me and my family recipes.
Chocolate Covered Apples
Ingredients
Apples
- 10 Apples Granny Smith, Braeburn, or Gala, etc.
- 16 oz Melting Chocolate see notes for varieties
- Hard Toppings Oreos, Finely Chopped nuts, Sprinkles, Mini Chocolate Chips, Mini M&Ms, Shredded Coconut, Toffee Bits, Graham Cracker Crumbs, etc
- Drizzle Toppings White or Dark Chocolate, Caramel, or Peanut Butter
Tools
- 10 Extra-long Lollipop Sticks
- 1 Hammer or kitchen mallet For crushing candies
- Wax Paper
- Deep bowls or container large enough to put the apple in
Instructions
- Apples should be refrigerated for at least 30 minutes prior to dipping.
- Prepare toppings. In a ziplock bag, place items for crushing like cookies and use a mallet to crush them finely. Smaller candies and bits will stick better than larger ones, so finely chop nuts or candies as necessary. Lay out toppings in small dishes.
- Remove the stems from the apples. Stand the apples on a flat surface, stem side up. Insert the lollipop sticks vertically through the center core all the way to the bottom of the apple. Tap the stick with a hammer to push the lollipop stick down if you need to. Alternatively, you can slice the apples into ½ inch thick slices and add the lollipop sticks.
- Set out an assembly line with the bowls of candy bars, spoons, and apples on wax paper on a cookie tray for easier transport.
- Melt the chocolate. In a microwave, add chopped chocolate to a heat-safe bowl that is large enough to fit the apples in but also not too wide either. Heat for 30 seconds, stir, repeat until smooth.
- Work one apple at a time. Tip the container (about 45 degrees) until the chocolate pools to one side. Insert the apple into the chocolate. Swirl and turn the apple to coat with the chocolate until the sides are completely covered as you desire. If necessary, spoon chocolate up the sides to cover more area. Allow to excess to drip off. You can lightly bang the lollipop stick against an empty bowl rim to remove faster.
- Dry toppings like nuts, sprinkles, or chocolate chips should be put on right away. I find it best to spoon or press candies on the sides while the apples sit in the dish of candy. You can also lift the apple, turn and set down on each side to press candies on. For toppings like caramel or peanut butter, let the chocolate harden first before topping.
- Set apples on wax paper to cool and harden. Repeat chocolate and candy dipping for the remaining apples. Refrigerate until the outer shell is solid.
Recipe Notes
- In my humble opinion, this dulci frutta is the best supermarket variety of melting chocolate for dipping. The shell is even and it does have a solid chocolate taste.
- My second choice would go to this chocolate melting bark, or Ghiradelli Wafers. Both work well and have good chocolate flavor. Double dip for a thicker coating.
- Avoid anything called candy wafers or the stuff in the cake decorating aisle. Quite frankly, I want real chocolate and those don’t taste as good.
- Chocolate chips will leave a thick, lumpy coating.
Roxanne says
I love these!