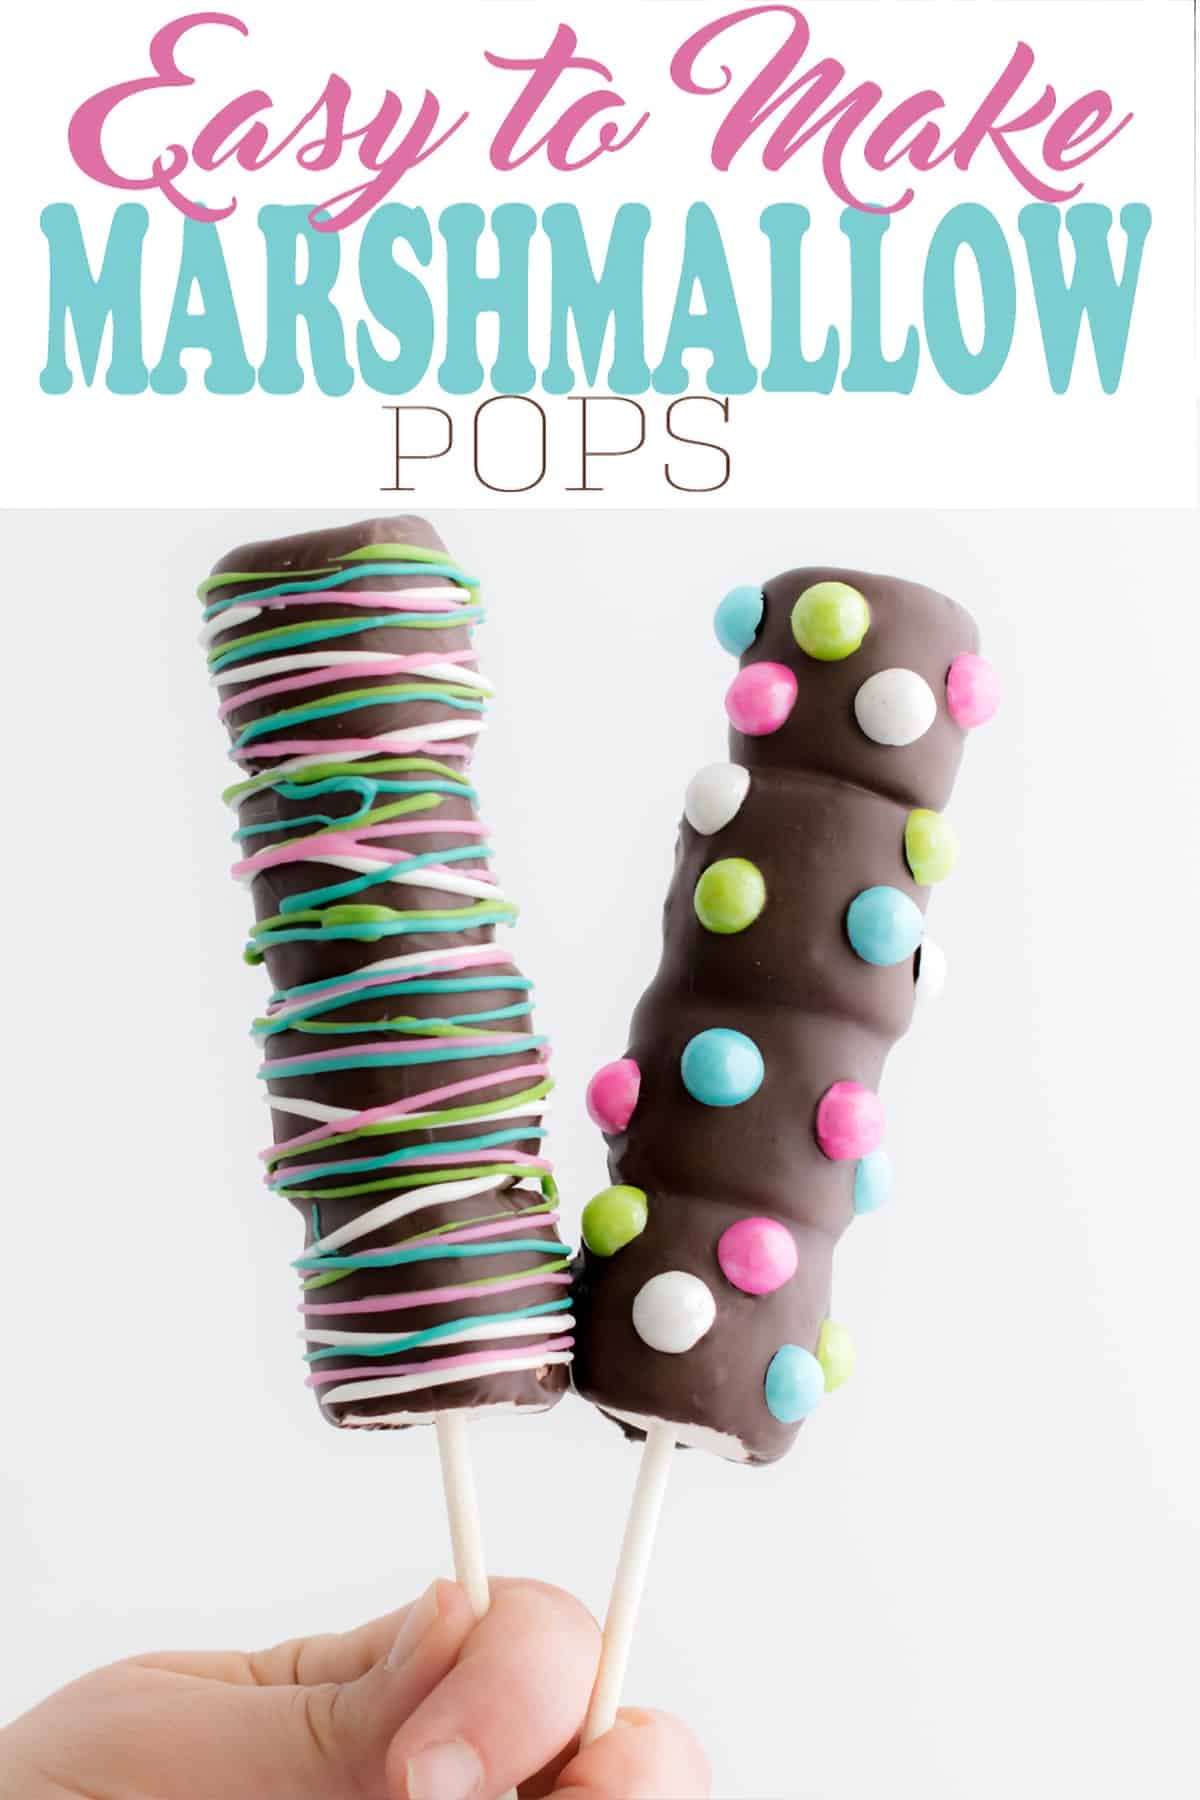
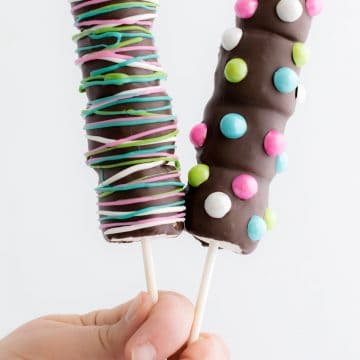
Super soft with a yummy chocolate coating, these easy marshmallow pops are fun to make and decorate! Learn how to make these super cute confections step-by-step with lots of tips, photos, and decorations!
The idea for these fun marshmallow pops came as I was looking for something new to do with marshmallows. We always buy the jumbo marshmallows for something like s’mores or cocoa and then they get stale before I can use the rest. These pops are adorable, fun, delicious, and absolutely easy to do!
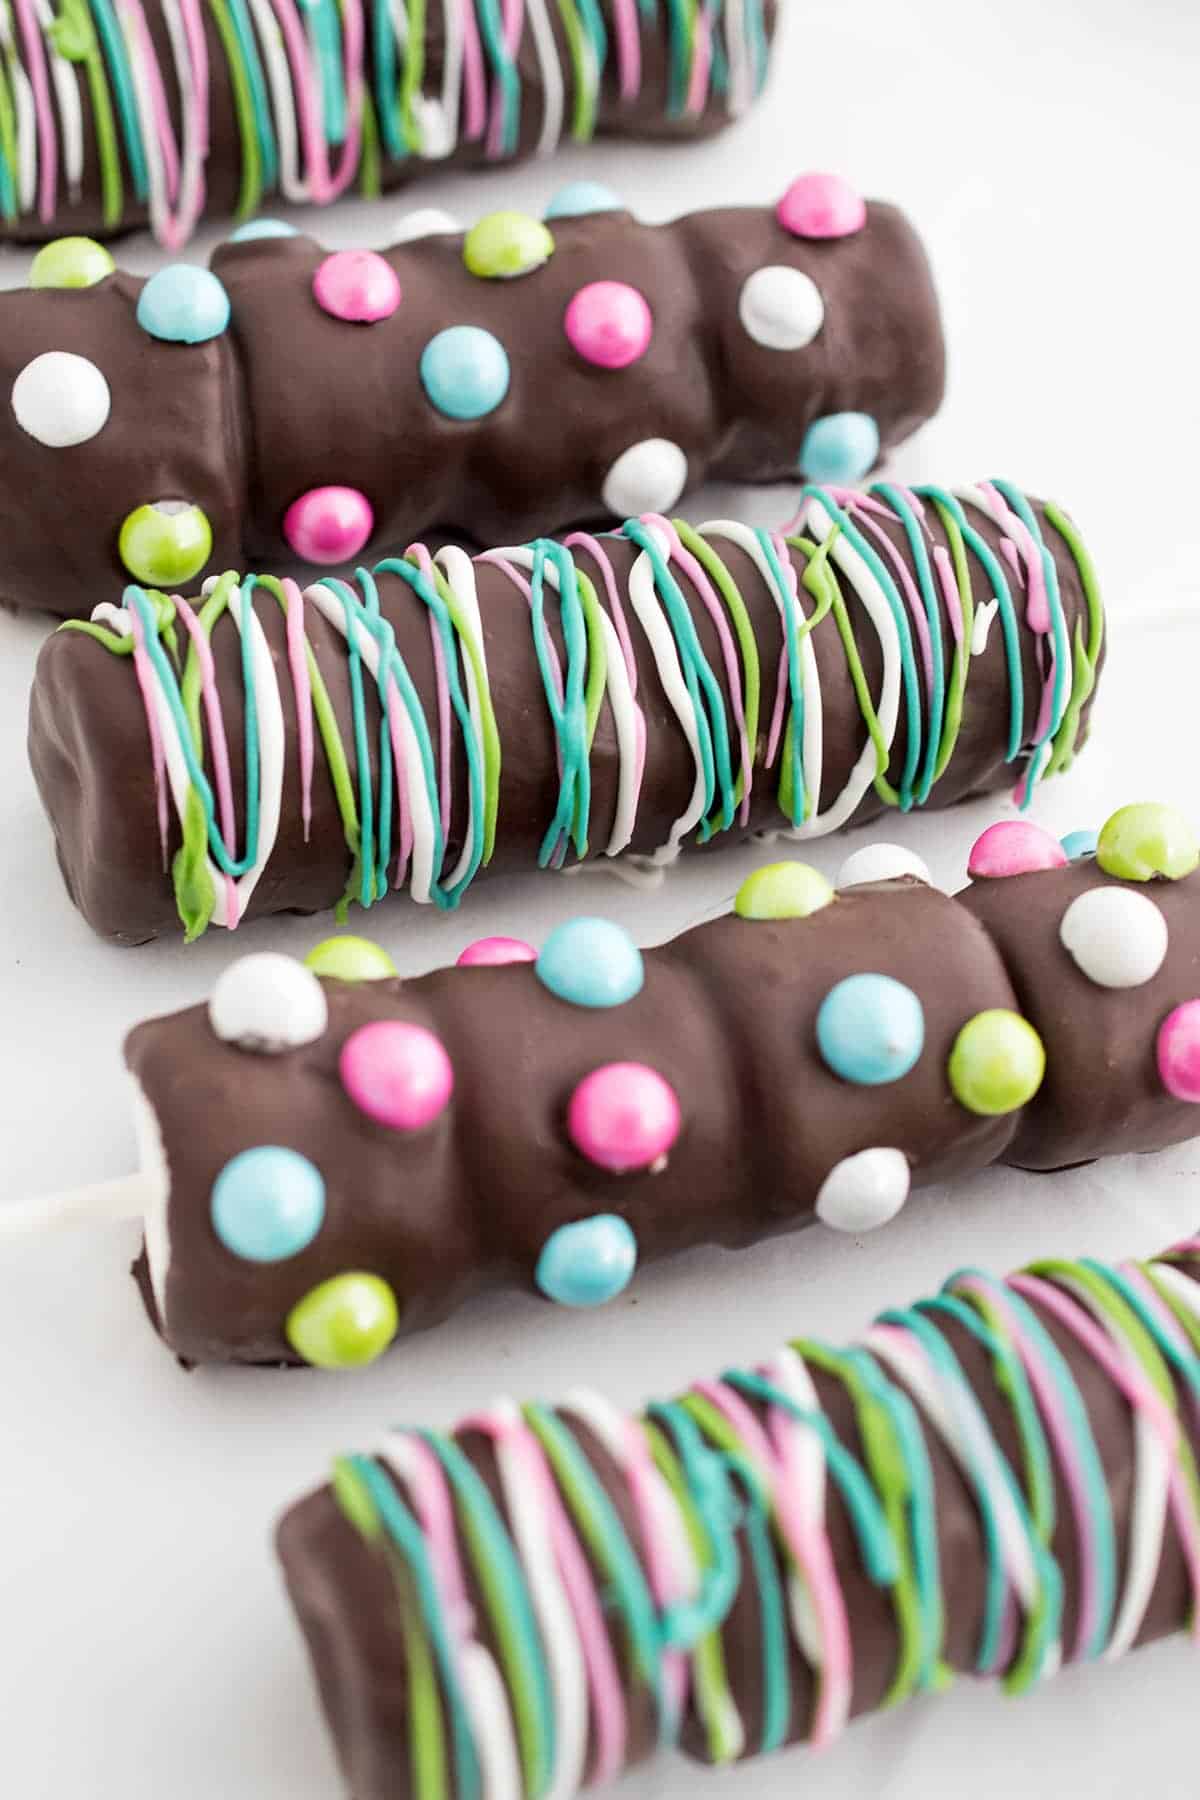
I just love the colors on these marshmallow pops. So spring! So bouncy! So much chocolate! I may have eaten several because after having so much fun decorating them, they were just as fun to eat.
We love food crafts and fun for spring like our Chocolate Dipped Candy Apples, Kid’s Entertaining Table, and Folding Napkins into a Bunny.
Supplies and Decorating Ideas
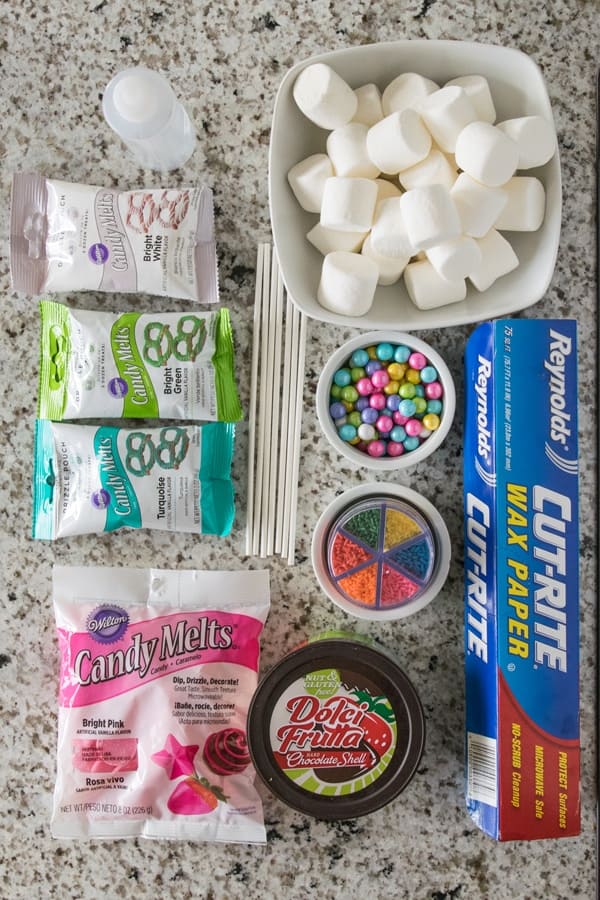
Supplies Needed
- Extra Long Cake Pop Sticks
- Chocolate for Melting (white, milk chocolate, or dark) – See FAQ about which chocolates I prefer
- Jumbo Marshmallows
- Wax Paper
Decorating Ideas
- Colored melting wafers
- Sauce Bottles for writing or Piping bags and small decorating tips
- Sprinkles in various colors
- Tiny M&Ms, nerds, or other candies
- Coconut Flakes
- Edible paint
Step-by-Step Instructions
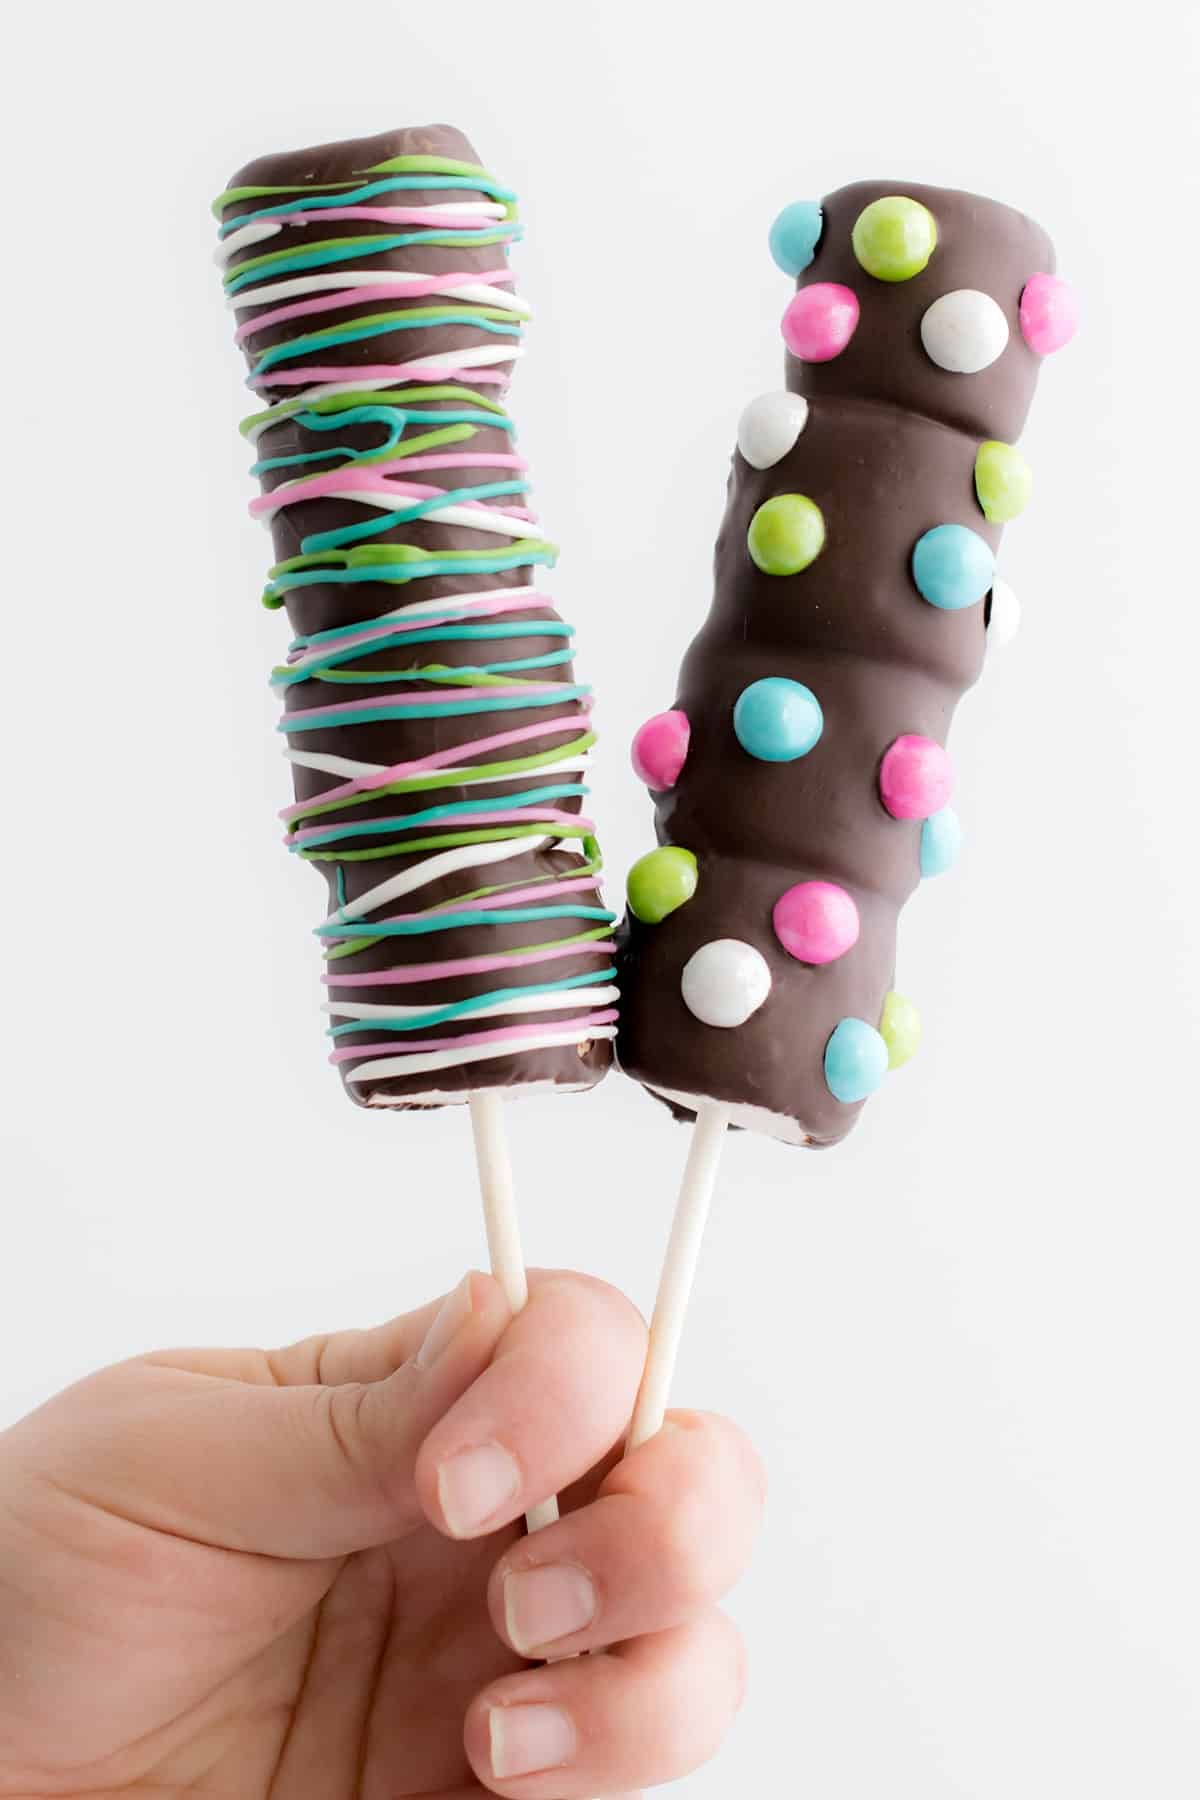
1. Setup your decorating station with wax paper for cooling, decorations laid out for use, and slide the marshmallows down firmly on the pop sticks.
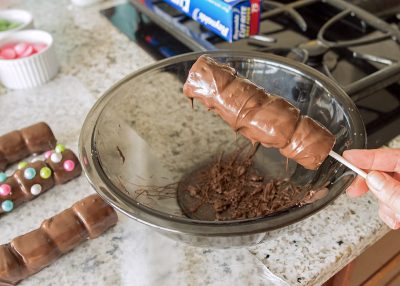
2. To maximize the chocolate, use a deep but small bowl to melt the chocolate in. Melt the chocolate in the microwave per the instructions.
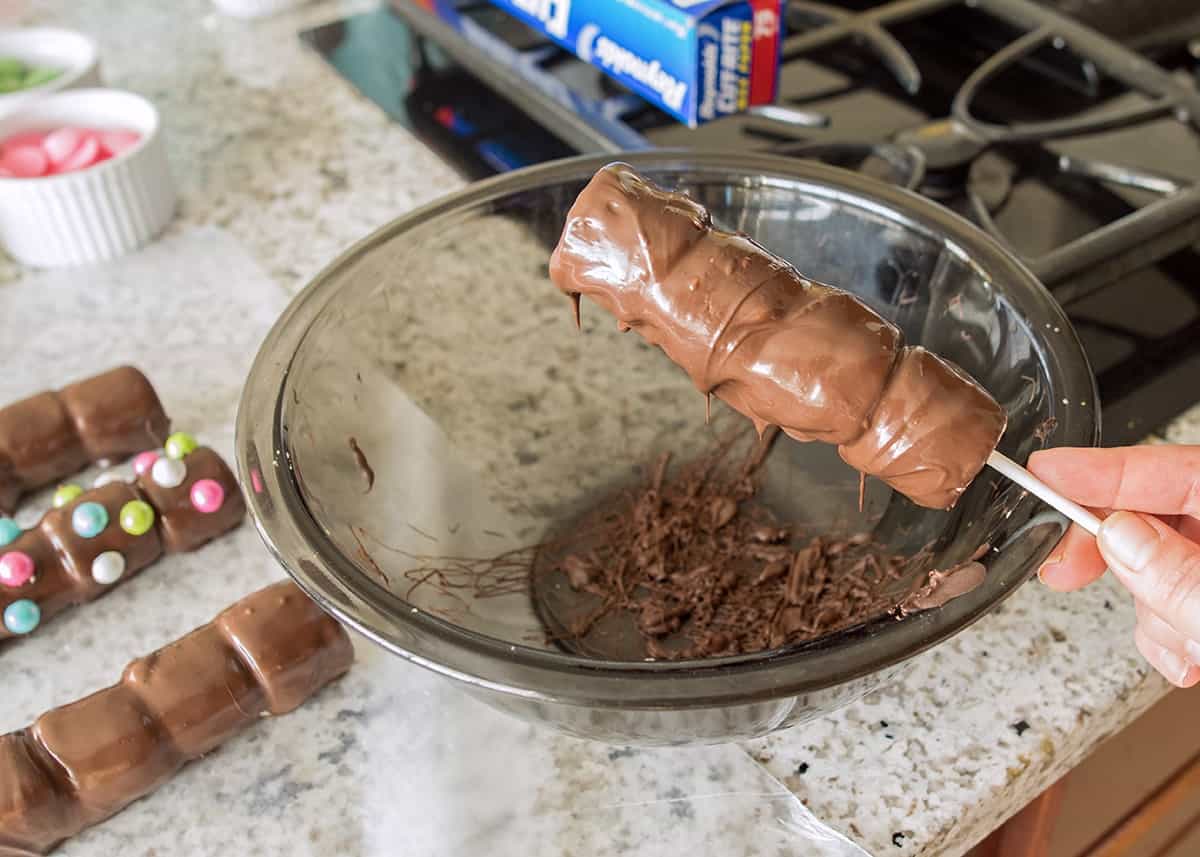
3. Using a spoon, spoon the chocolate over the marshmallows and coat evenly (don’t try and dip them). Using a second, larger bowl, bang the marshmallow pop against the side to remove excess chocolate. Allow the pop to cool on the wax paper.
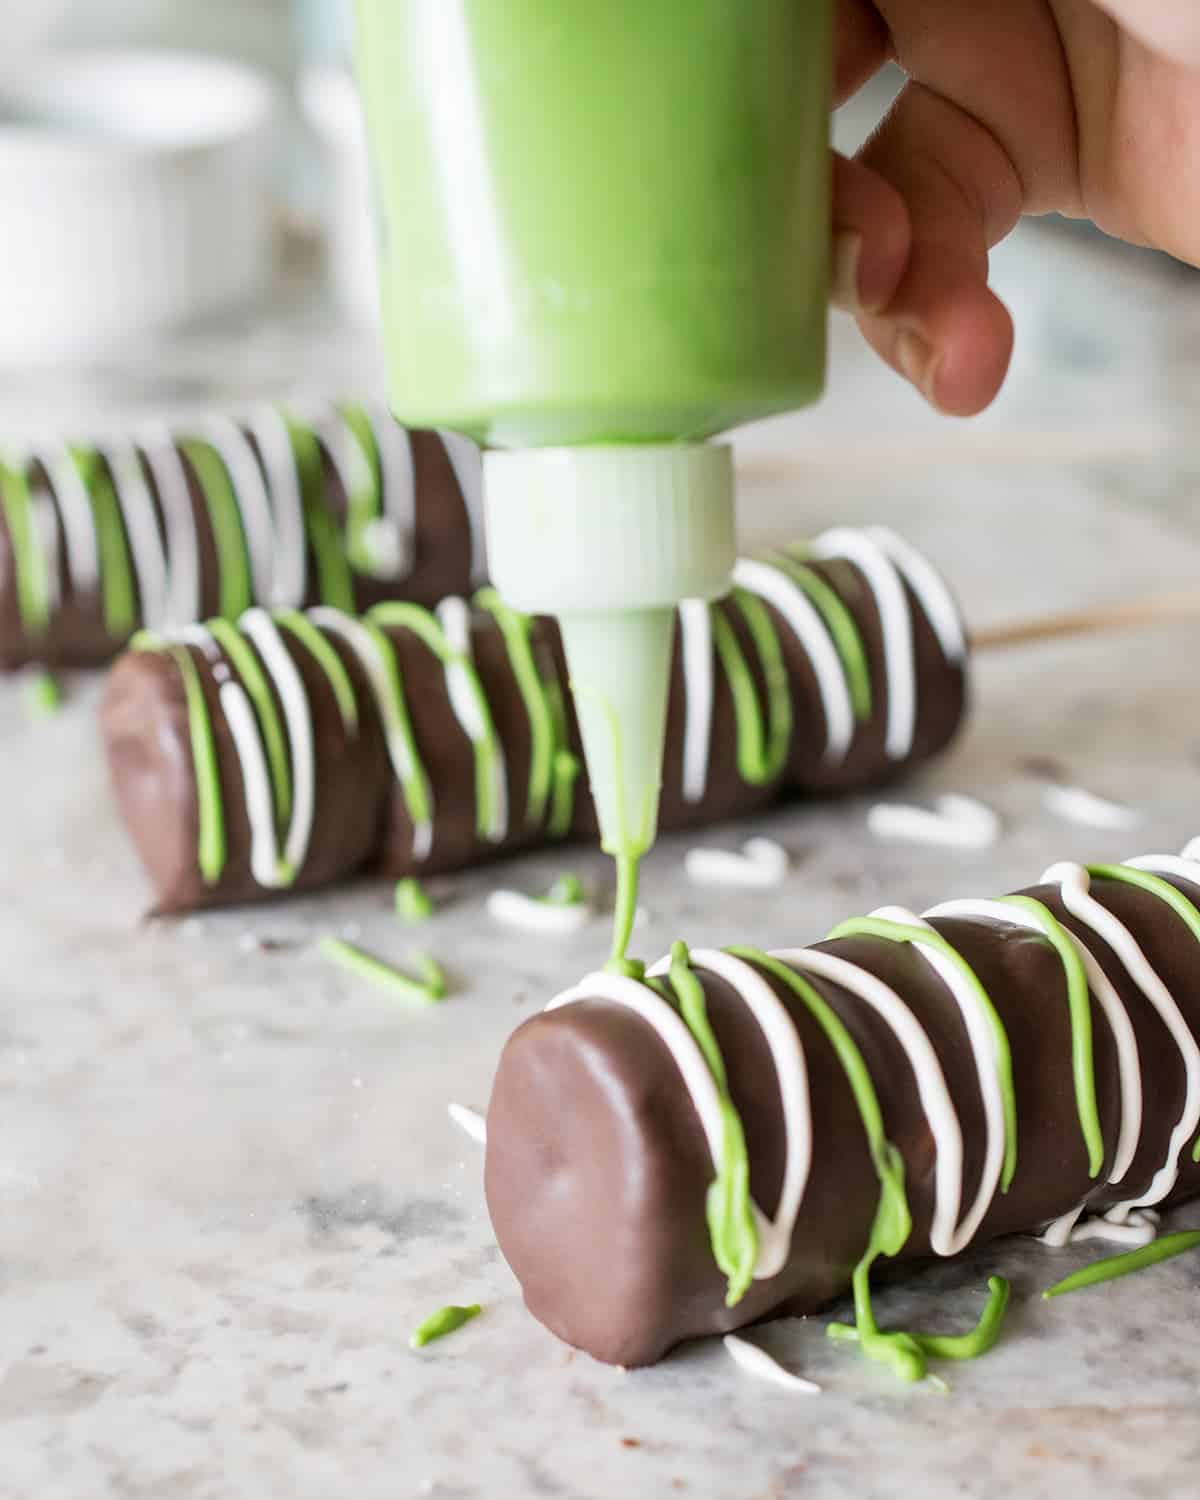
4. If decorating with candies, place the candies on the chocolate pops before they cool and harden. If using decorating chocolate, wait until they harden.
I had to laugh since after the first few pops, my son got really creative and started drawing shapes and arrows on the pops. Of course, every one of them was beautiful in this mom’s eyes.
Aren’t’ they super cute?! I hope you will give these a fun try. Easy, peasy and I love when there is a craft or cooking that kids can join in on the fun!
FAQs
Dolci Frutta has really good taste, but Merkens produce better melting consistency. Ghirardelli and CandiQuik are other good brands for melting chocolate coatings.
I prefer the melting chocolate as it melts easier and has a smoother consistency. With chocolate chips or chocolate bar, it may come out lumpy and unevenly coated. Melt the chips in the microwave and stir in a little bit of coconut oil. It will make it more smooth and harden on your marshmallows better.
Once the chocolate has hardened completely, store them in an airtight container in a cool, dry place like the pantry. Avoid leaving them exposed to sunlight as the chocolate may start to melt. They can also be individually wrapped in plastic if you have an event or would like to give them as gifts.
Not Sure
What's For Dinner?
Signup for recipe updates and get a free cookbook of Easy Weeknight Supper Solutions!
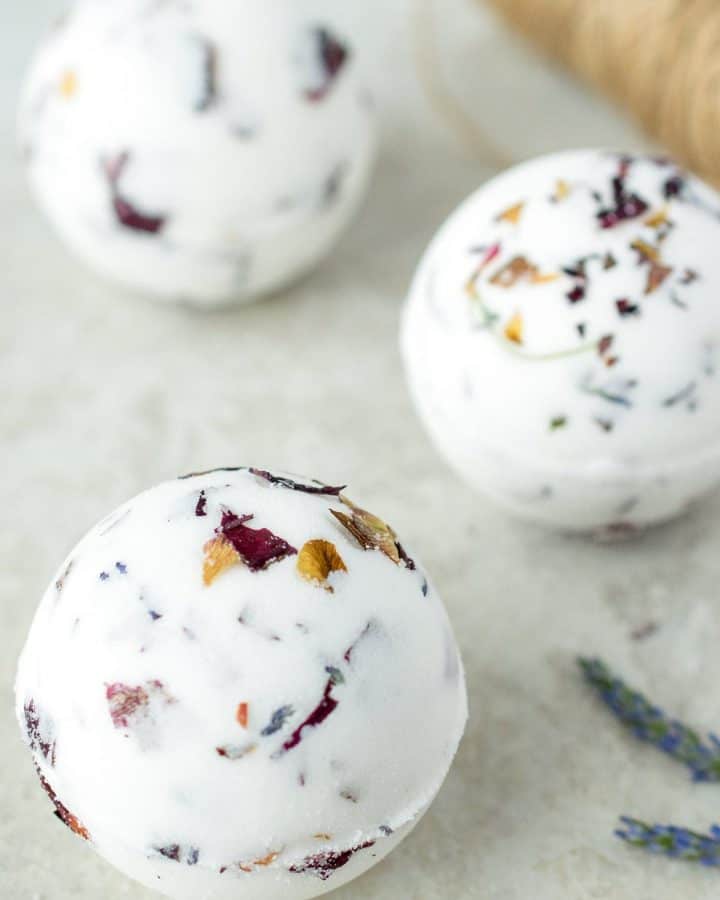
Looking for more Easy Spring Decorations and Edible Treats? Check these out:

PS I love seeing your creations! Be sure to take a photo and tag #cravingcreative on Instagram! You can also stay in touch with me through following me on Instagram, Pinterest, and subscribing to the newsletter!
Marshmallow Pops
Ingredients
- Jumbo Marshmallows
- Melting Chocolate *See notes for preferred brands
- Candy Melts in various colors
- Sprinkles, or small candies such as Mini-M&Ms. You can use the full size version but they may slide or not stick as well)
Instructions
- Setup your decorating station with wax paper for cooling. Set out candies and other decorating items.
- Slide the marshmallows down firmly on the pop sticks.
- To maximize the chocolate, use a deep but small bowl to melt the chocolate in. Melt the chocolate in the microwave per the instructions.
- Using a spoon, spoon the chocolate over the marshmallows and coat evenly (don't try and dip them). Using a second, larger bowl, bang the marshmallow pop against the side to remove excess chocolate. Allow the pop to cool on the wax paper.

- If decorating with candies, place the candies on the chocolate pops before they cool and harden. If using decorating chocolate, wait until they harden.
Recipe Notes
Nutrition
If you like these, here are some more fun ideas to try:
Lisa says
How do you keep from smashing the marshmallows when pushing them onto the sticks?
Rachel says
Twisting the stick as it goes on and being gentle. I put them on from bottom to the top one at a time until I filled up the stick. So I was never pushing more than one marshmallow at a time. I hope that makes sense.
AMANDA says
How long is the shelf life on these if stored properly?
Rachel says
The ingredients themselves are pretty shelf stable. When exposed to air, the marshmallows can get stale pretty quickly. Unless they are completely covered in chocolate, they tend to last 3 days at most. If completely dipped, wrapped and covered tightly, they may last up to 5 days.
Cheryl says
This looks so much fun! Thank you for the nice recipe!
Auntie says
I used Cake Pop Sticks and put only one regular sized Marshmallow/stick. Enrobed them in Dark Chocolate Candy Melt® using a spoon (really, don’t try to dip them) and embellished w/Sprinkles AND Graham Cracker Crumbs (think S’mores).
Huge hit at the party!
Marife Lindsay says
This is super cute.. Looks really appetizing..
Alison says
Hi, do you think these would keep for a few days? Our school is having a stall at our local carnival and think these would go down a storm but we would probably need to make them 3 days in advance.
Rachel says
Oh, sure they should be fine. I would store them in a cool, dry place like a pantry or out of the direct sun. The main concern here is the chocolate re-melting. Good luck with your stall, I hope it does great!
Thomas says
Great post! Have nice day ! 🙂 wyhvm
amanda hersley says
Could these be made ahead a few days and frozen?
Rachel says
I’m not sure that I would freeze them because chocolate tends to sweat/condensate when it comes back up to room temp. Since they are only chocolate and the marshmallows are encased (no air since they are dipped completely in chocolate), they should be fine if stored in a dry place out of sunlight like a pantry and wrapped in plastic wrap or plastic party bags.
Leanna says
This is super cute to do with my grand daughters. I do believe I even have all the supplies in my cupboard. Pinning. Thanks for the idea.
Rachel says
Thank you! They are fun and delicious.