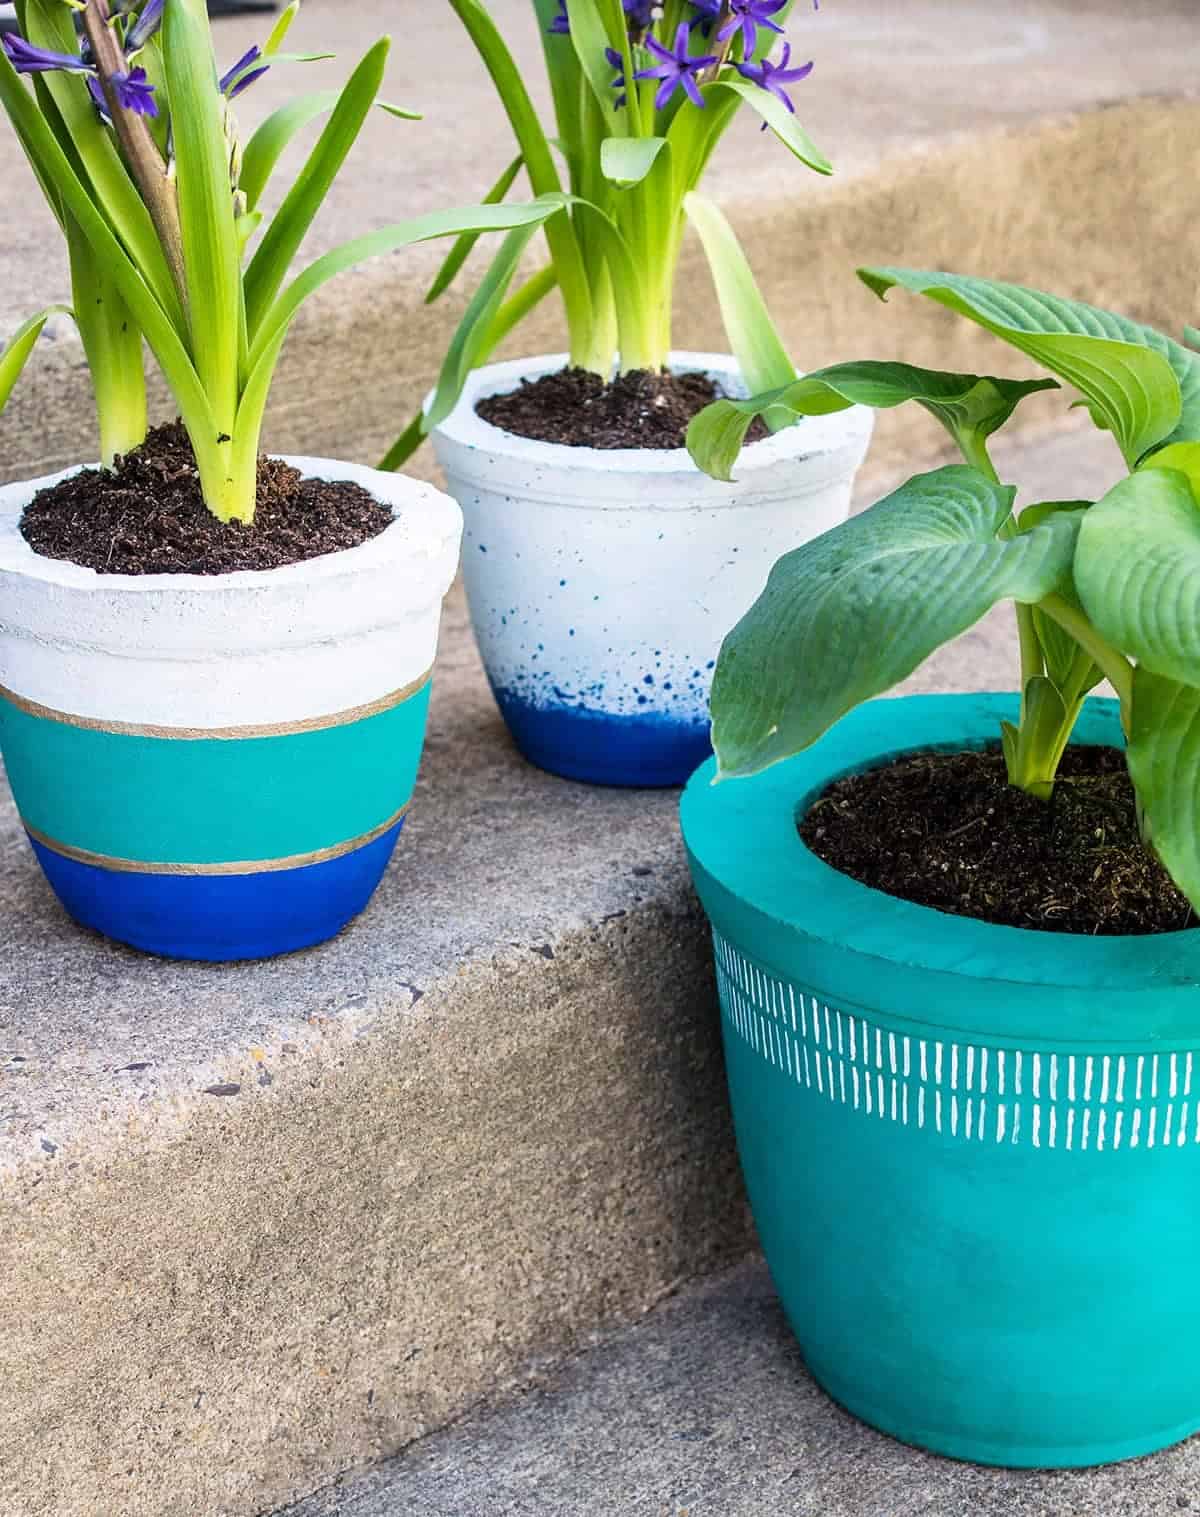
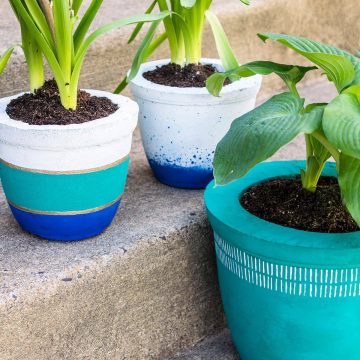
I’m pleased to introduce you to our newest DIY addiction! These DIY concrete plant pots are made with a super inexpensive cement, self-watering, and punctuated with bursting color!
Have you seen the prices on large planters?! Outrageous! That’s one of the main reasons I have been making DIY concrete planters for the last few years. So cheap, so chic, so many options.
Get ready to unlock the perfect blend of elegance and durability with DIY concrete planters. In this tutorial, we’ll explore the nuances between concrete and cement, discover various mold options, and unleash a multitude of ideas to personalize and adorn your creations like making a self-watering planter or a DIY plant stand.
But first, let’s get your hands dirty and dive into creating DIY concrete flowerpots…
Materials and Supplies
To make the DIY concrete planters:
- Concrete Mix. See below for mix recommendations.
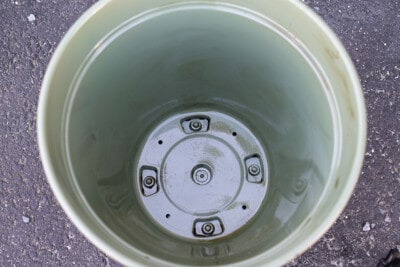
- Containers or forms. You will need 2 containers: 1 for the outer and 1 smaller container for the inner mold. I used these plastic planters in various sizes, but these molds also work great and have a modern look to them.
- A trowel or hand shovel. For mixing the cement/concrete.
- Safety Equipment. Gloves and a mask to prevent dust are always a good idea.
- A container to mix the concrete in.
- Concrete Mold Release Spray – Motor oil also works well. I have not tried cooking spray or vegetable oil.
- You may need some additional materials depending on your particular project.
To Paint the Concrete Planters:
- Paint made for stucco or outdoor concrete
- Paint brushes
- Concrete Sealer – you only need this if you want to keep them plain.
You can pretty much use anything to make concrete molds. The only constraint is that it needs to be somewhat flexible (i.e. smooth plastic) or breakable. I have used plastic planters, old glass jars, build square wood forms, etc. You can even create a cavity in fine sand to make a mold, although it will need some sanding to finish.
Cement vs Concrete for Planters
Portland cement is an important ingredient in concrete mixes. It serves as a binding agent, but it won’t bind to itself. It is smoother and weighs less than concrete, but you have to mix it with sand to create forms like these pots. The bag should give you the appropriate ratios of sand to cement for your project.
Concrete is a pre-mix that includes an aggregate like rock that makes it stronger and more stable. Because of this, I definitely recommend concrete mix for larger container projects.
How to Make a Concrete Planter
There is a printable tutorial and supply list at the bottom of this post, but I am giving some tips here from our project specifically.
Tips for mixing concrete
- For a 20-inch-wide planter, with a 16-inch insert, I used about 60 lbs concrete mix.
- I recommend scooping the cement into the mold rather than pouring.
- Many small pots can be made with a single bag.
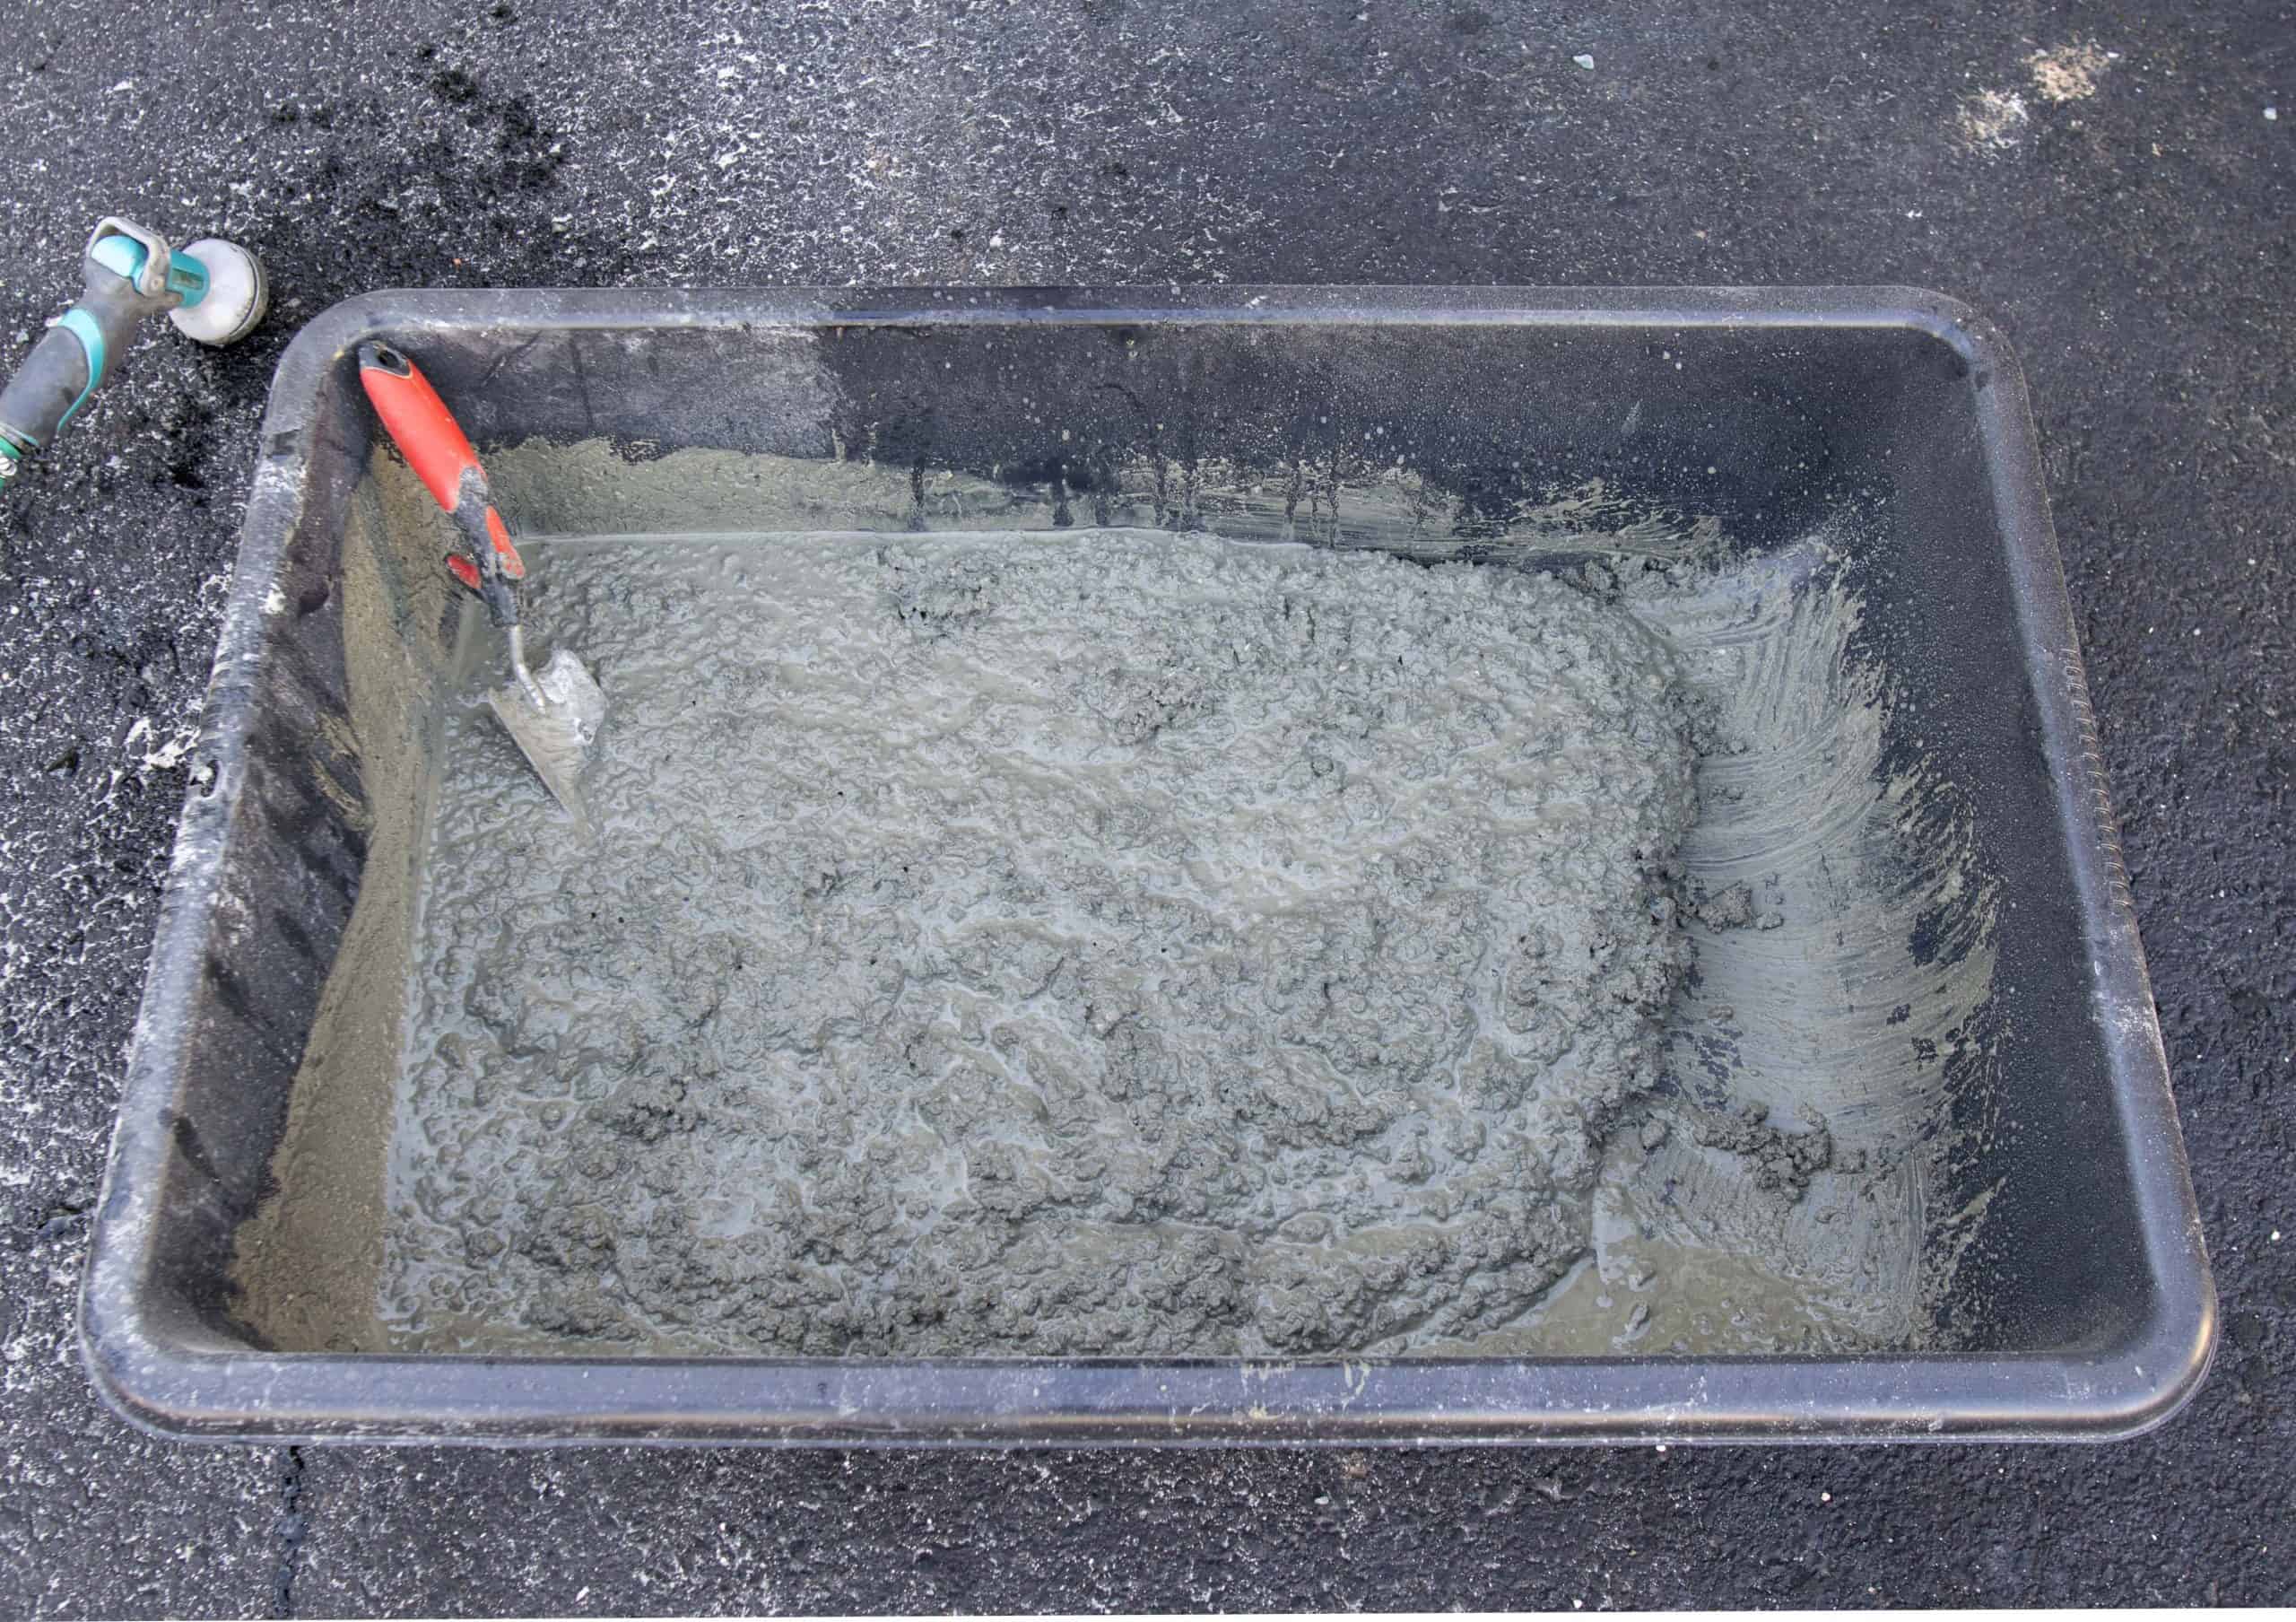
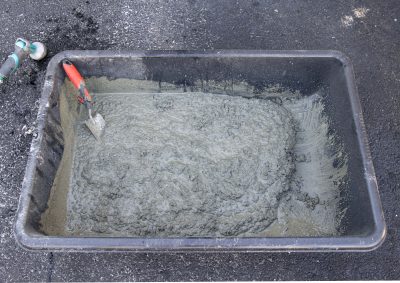
- Mix the concrete with water until the consistency of a thick oatmeal. (photo below)
- The more water you add, the smoother the consistency, but your project will also take longer to dry.
- If you add too much water, you may have issues with cracking.
Setting Up the Forms
Getting rid of bubbles. We used an electric sander along the sides of the container to vibrate, but you could also bang on it evenly as you scoop in the concrete. The more you vibrate, the less air bubbles you will have.
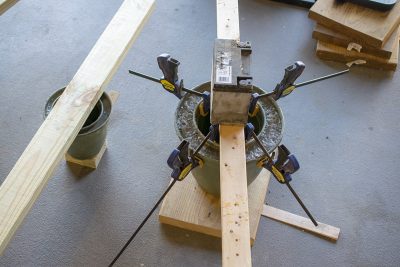
Prepping for Drying. Use a level space that won’t be disturbed for a few days. To keep the inner form in place, use a board or heavy item for weight. On smaller pots, we used a spare 2×6. On the larger pots, we clamped around the edges to make sure the inner mold stayed centered and then weighed it down.

Important tip: A proper fitting form that doesn’t leave an extra thick bottom is best! I have learned to cut some foam to place below the inner mold to reduce the weight. Even with this, the larger planters are approximately 60lbs before potting mix or plants. (The wind will not be knocking these babies over.)
When to remove the mold?
Once the form is set up – i.e. very hard but not dry, you can release from the mold. The longer you wait, the harder it will be to release, but not too early when it’s still wet.
We removed the inner mold as soon as the concrete was rock hard, and then gave several hours before removing the outer mold. For the largest pots, we waited an additional 12 hours after the inner form was removed. We remove the outer mold by turning it over and dumping the planter out onto a softer surface like towels or grass.
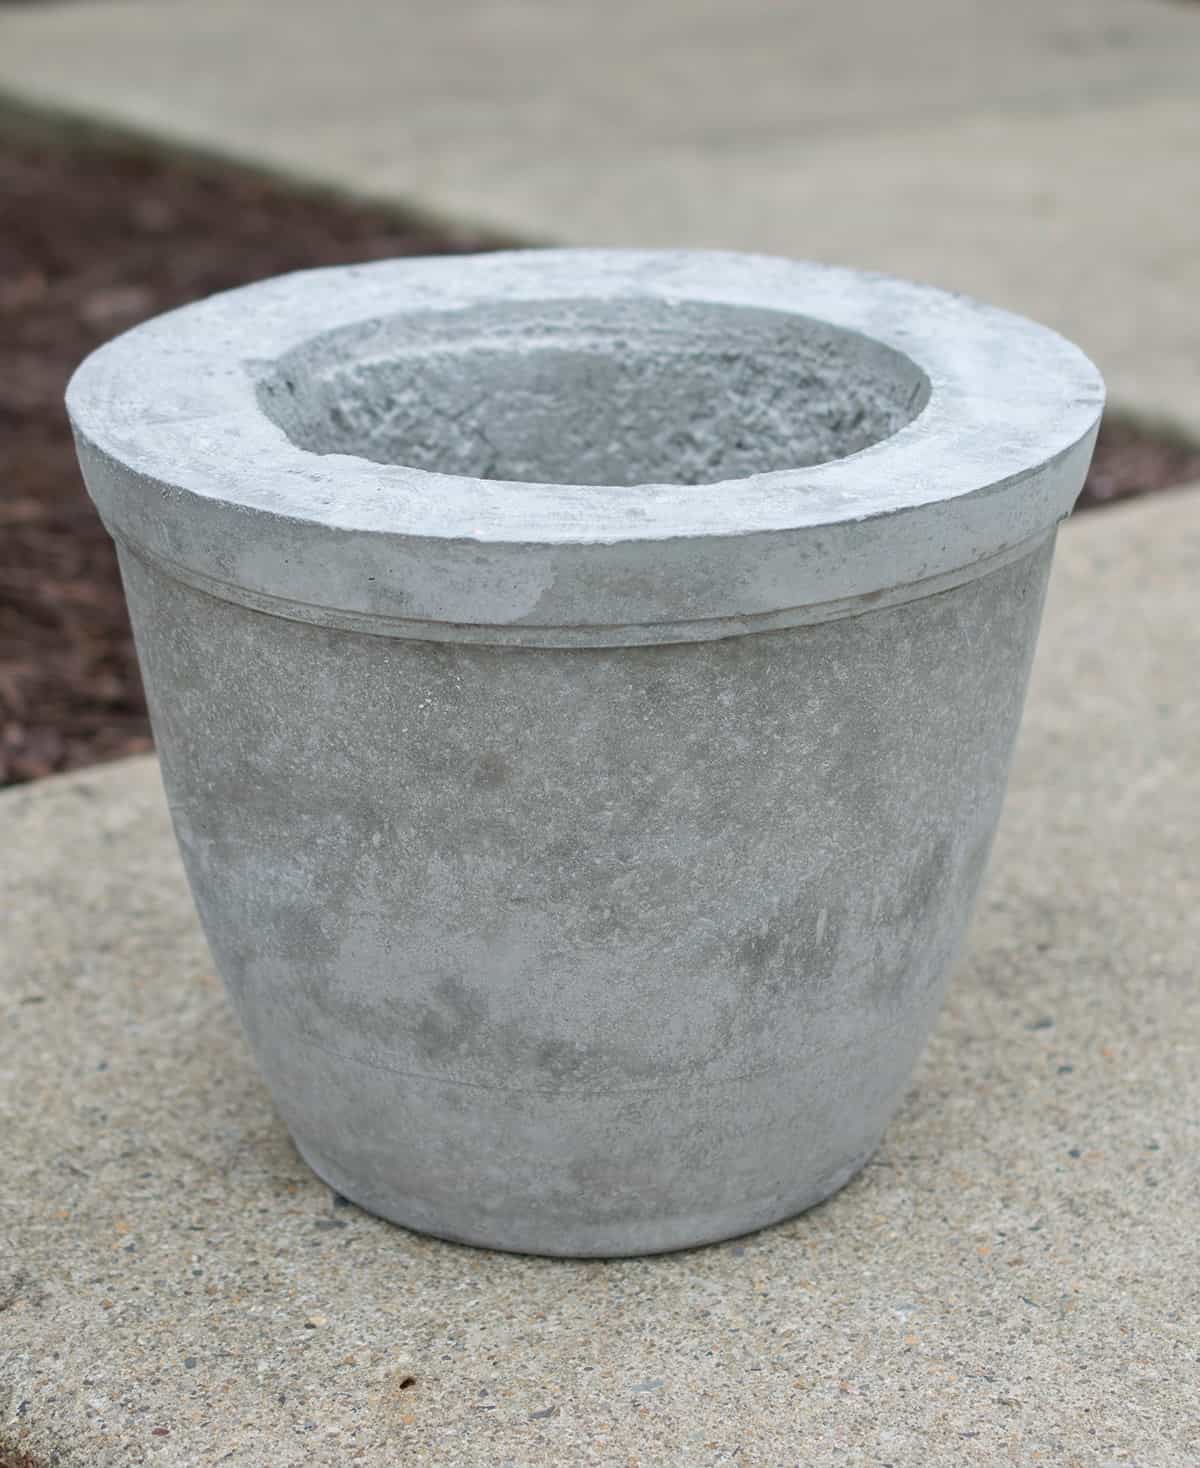
The mix will take about a week to fully dry, depending on humidity, thickness, and how much water you added. The one above is about 4 days after pulling out of the mold so it isn’t fully cured yet. The color will even out and lighten as it cures.
Pro Tip: If you have any bubbles or pin holes on the exterior, you can mix up a small bit of the mix without any rocks and fill in the pin holes with a smooth sponge.
How to Seal Concrete
Concrete is very porous, and sealing is not required for planters. Since these planters will be used outdoors, I sealed them with a clear acrylic sealer like this one, inside and out.
I generally recommend painting the concrete after dry rather than dying it. Paint will also seal. Dye generally won’t give a consistent color.

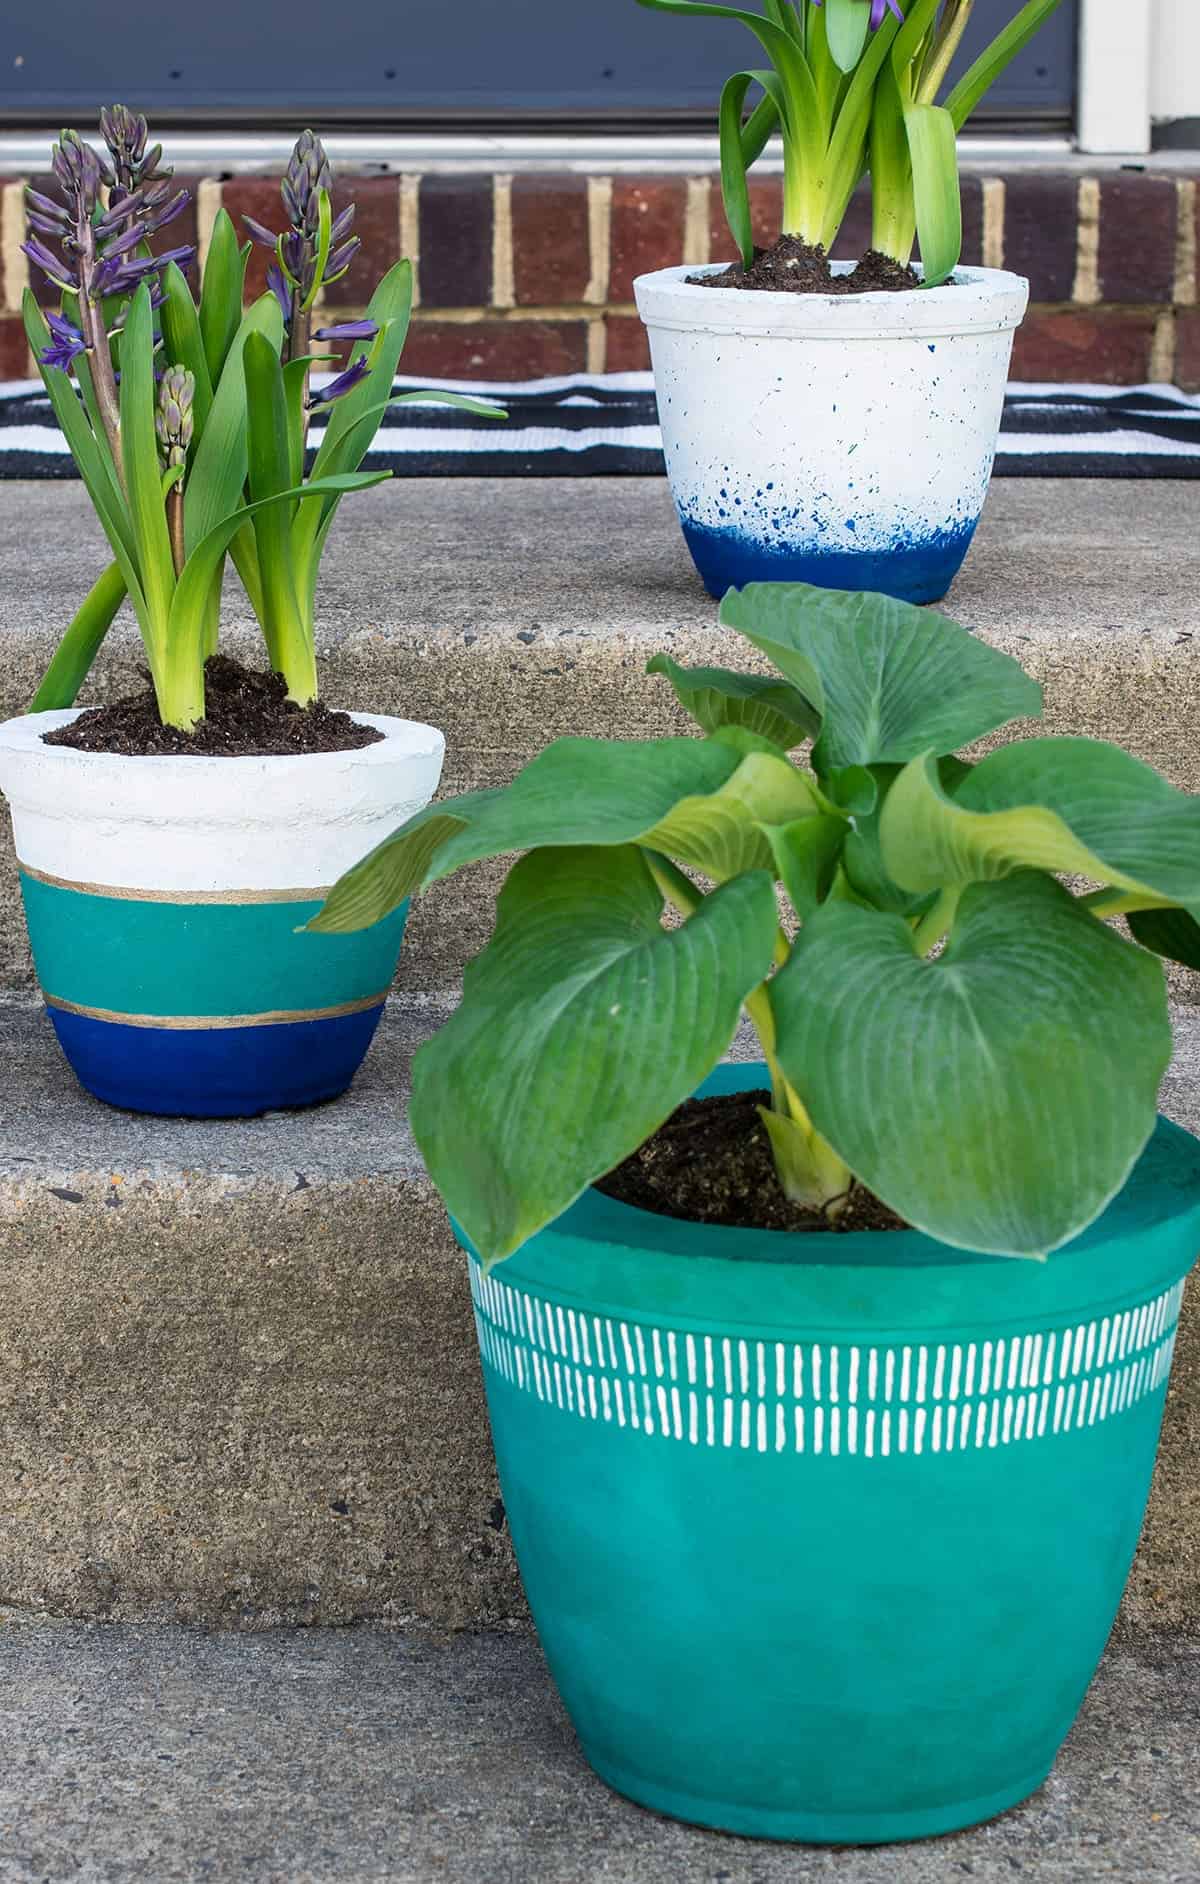
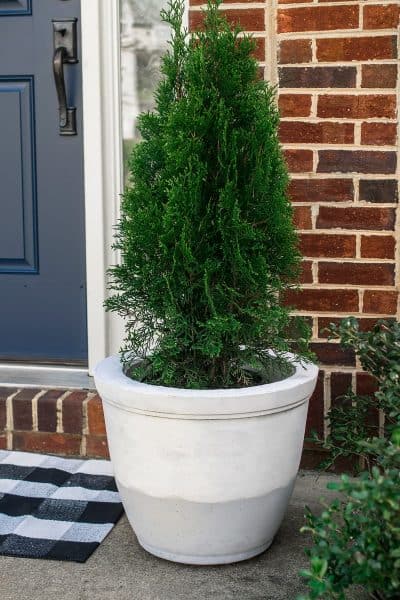
Instead of paying at least $50 each, the 20-inch planter pots cost about $18 per planter for 2 giant planters.
And they look great to boot!
Optional: Make Self-Watering Containers
After it is completely dry, you can drill a few drainage holes in the bottom. I find that’s easier than trying to build it into your form. Or, better yet, you can make self-watering pots!
So, after many requests, I made a full post on how to turn these into self-watering planters with a supply list and printable instructions. I love them – have not killed a plant since!
I also made a video demonstration which you can see below. I have been using them this way for over 2 years and it works perfectly!
More Outdoor DIY Ideas
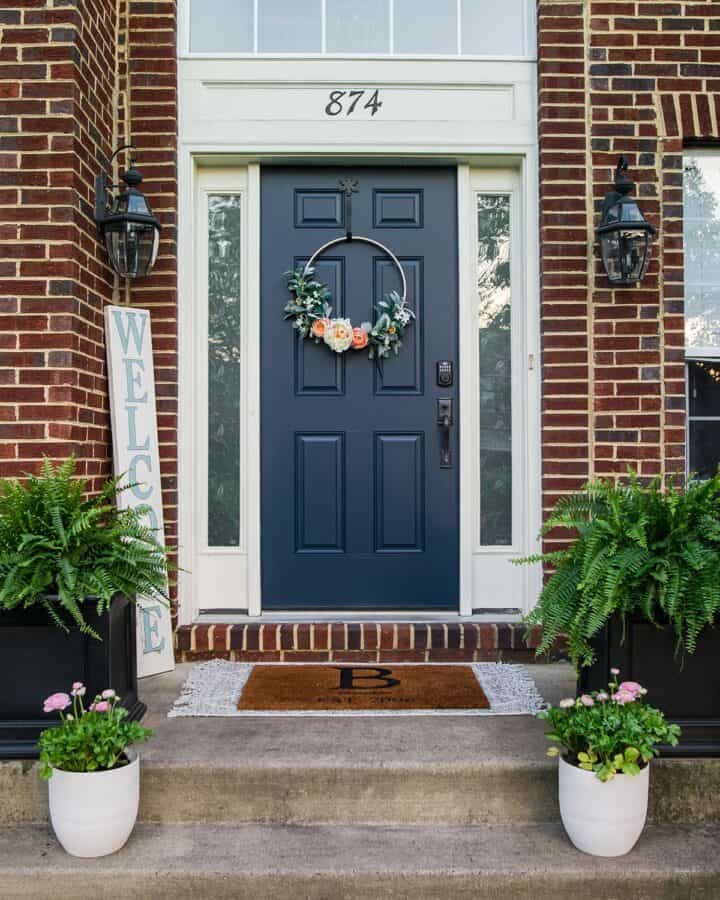
- How To Refresh Your Front Porch
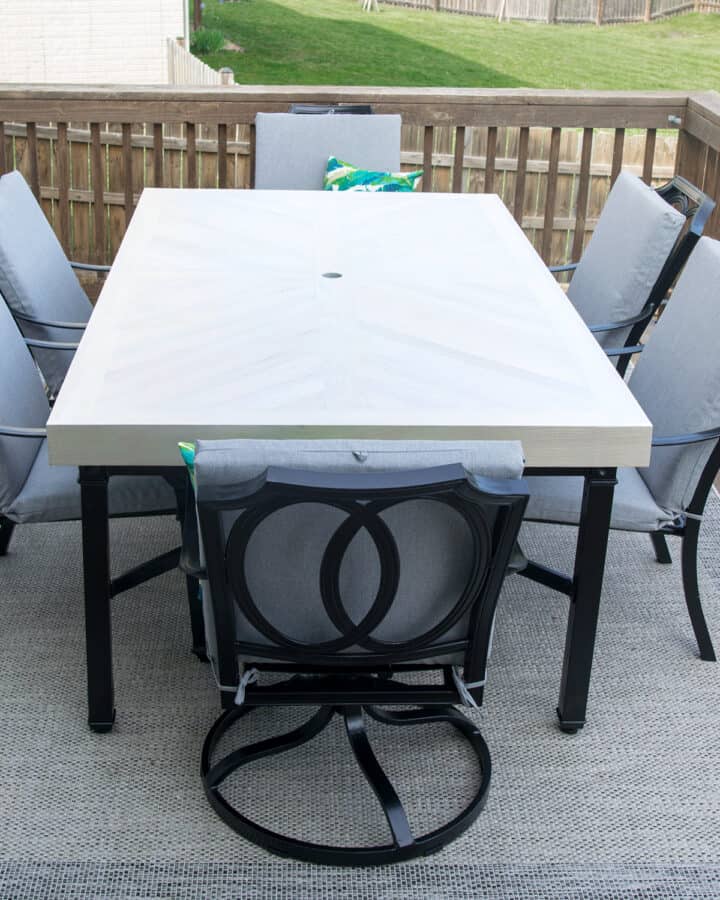
- How To Spray Paint Outdoor Furniture
- DIY Outdoor Hoop Wreath
- How To Hang Outdoor String Lights
- DIY Plant Stand Ideas
FAQS
The preferred mix for planters or other molded concrete projects is one without a lot of gravel and large pebbles, but high strength. A fine finish concrete such as Rapid Set Non-shrinking is good.
You can build the molds with wood forms, flexible plastic nursery pots, acrylic or glass. I have seen cheap plastic plant pots, interesting disposable plastic containers, and concrete tube molds used especially often.
If the mold doesn’t fit very well, particularly on the bottom, the concrete planters can be VERY heavy. If you want to reduce some of the weight, you can cut foam blocks to shape and attach to the inner mold. You will have to chip out the foam after curing.

Grab our free series "Weekend Home Projects that will Transform Your Life" Sign up below to receive updates including free printables, organization tips, home improvement projects, recipes and more! |
More DIY Home Improvement Projects
PS I love seeing your creations! Be sure to take a photo and tag #cravingcreative on Instagram! You can also stay in touch with me through following me on Instagram, Pinterest, and subscribing to the newsletter!
DIY Concrete Plant Pots
Tools
- 2 Containers to Use as Molds- 1 for the outer and 1 for the inner mold.
- Shovel
- Container to Mix Concrete In
- Paint Brushes
- Something to vibrate the mold (We use a disc sander)
Supplies
- 55 lbs Concrete Mix
- 1 Concrete Mold Release Spray
- 1 Concrete Sealer Or paint with a sealing paint.
Instructions
- Mix the concrete. In a 5 gallon bucket or pan, mix the concrete with water until the consistency of a thick oatmeal. The more water you add, the smoother the consistency, but your project will also take longer to dry.

- Prep the Molds. Wipe the inner and outer molds with motor oil or release spray. Make sure to get crevices or corners well. Place the molds on a level surface.

- Fill the mold. Fill the bottom of the outer planter to the depth of the bottom of the inner mold. Place your mold inside and fill around the sides evenly with concrete mix. As you work up, bang or vibrate the container to get rid of bubbles. Use a board or heavy item to keep the inner mold in place while drying.
- Remove the Mold. Once the concrete is set up – i.e. very hard but not dry, you can release from the mold. The longer you wait to dry, the harder it will be to release, but not too early because edges may stick to the mold or become brittle. For the largest pots, we waited about 12 hours additionally after releasing the inner mold. Allow to fully cure and dry, which may take up to a week.

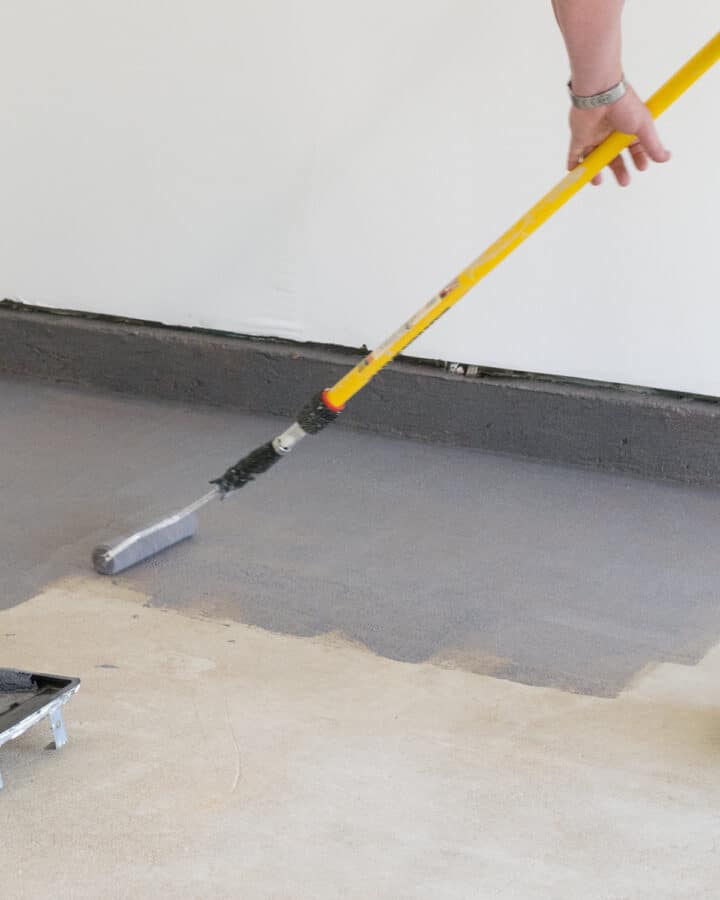
- Seal and decorate. Concrete is very porous but sealing is not required for planters. Use an outdoor paint meant for stucco or cement for the best bond and protection.


York says
Thanks for this Rachel, looking forward to trying it. It seems that the inside configuration of the outside pot is a very important thing to examine as the reverse on that will be the “design” of the pot. The look of your finished pots is great, just not sure how easy it is to find a pot to be a mold that will create that.
Also, to keep the functionality of drainage on the finished pots. I assume you can carefully drill them using concrete bits or do you recommend adding some appropriately sized pvc in the mold
Rachel says
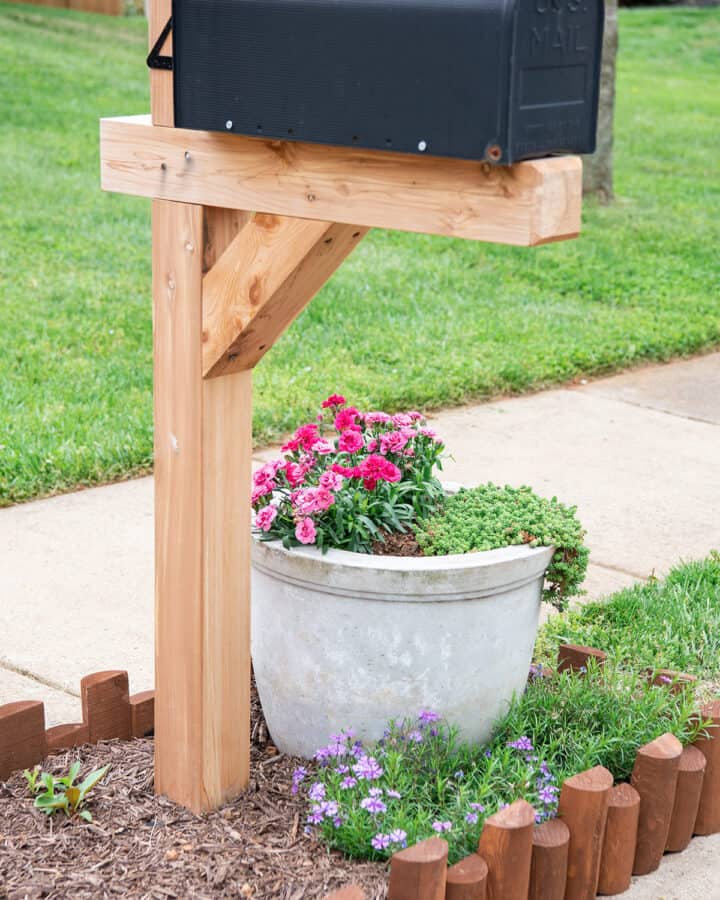
Yes, I added a drainage hole with a concrete bit. I got my molds from Lowes because they have those plastic pots in multiple sizes. Of course, the thicker the sides, the heavier the pot will be. My largest pot is about 60lbs, but its at my mailbox so I never have to worry about it being stolen, haha. 🙂 Another option is concrete tubes in multiple sizes. Those are pretty inexpensive and give a modern looking plant pot.
dghgator says
Yes, this is great, thank you. For some reason I’m having trouble visualizing the self watering piece. Maybe a pic like the other great shots shown would give me that ‘ah ha’ moment.
Rachel says
I actually have shot a video for the self-watering build, including the same pot. The best tutorial I have is this one.
Betty says
Love this! Waiting for spring to try this. Wish you would show more pics. Like all your supplies and the molds you used before. Love it@
Sue in Vt says
I adore this idea! I was dreading purchasing the large blue pots required for my landscaping plan, but this will make it much easier on the pocketbook! Thank you.