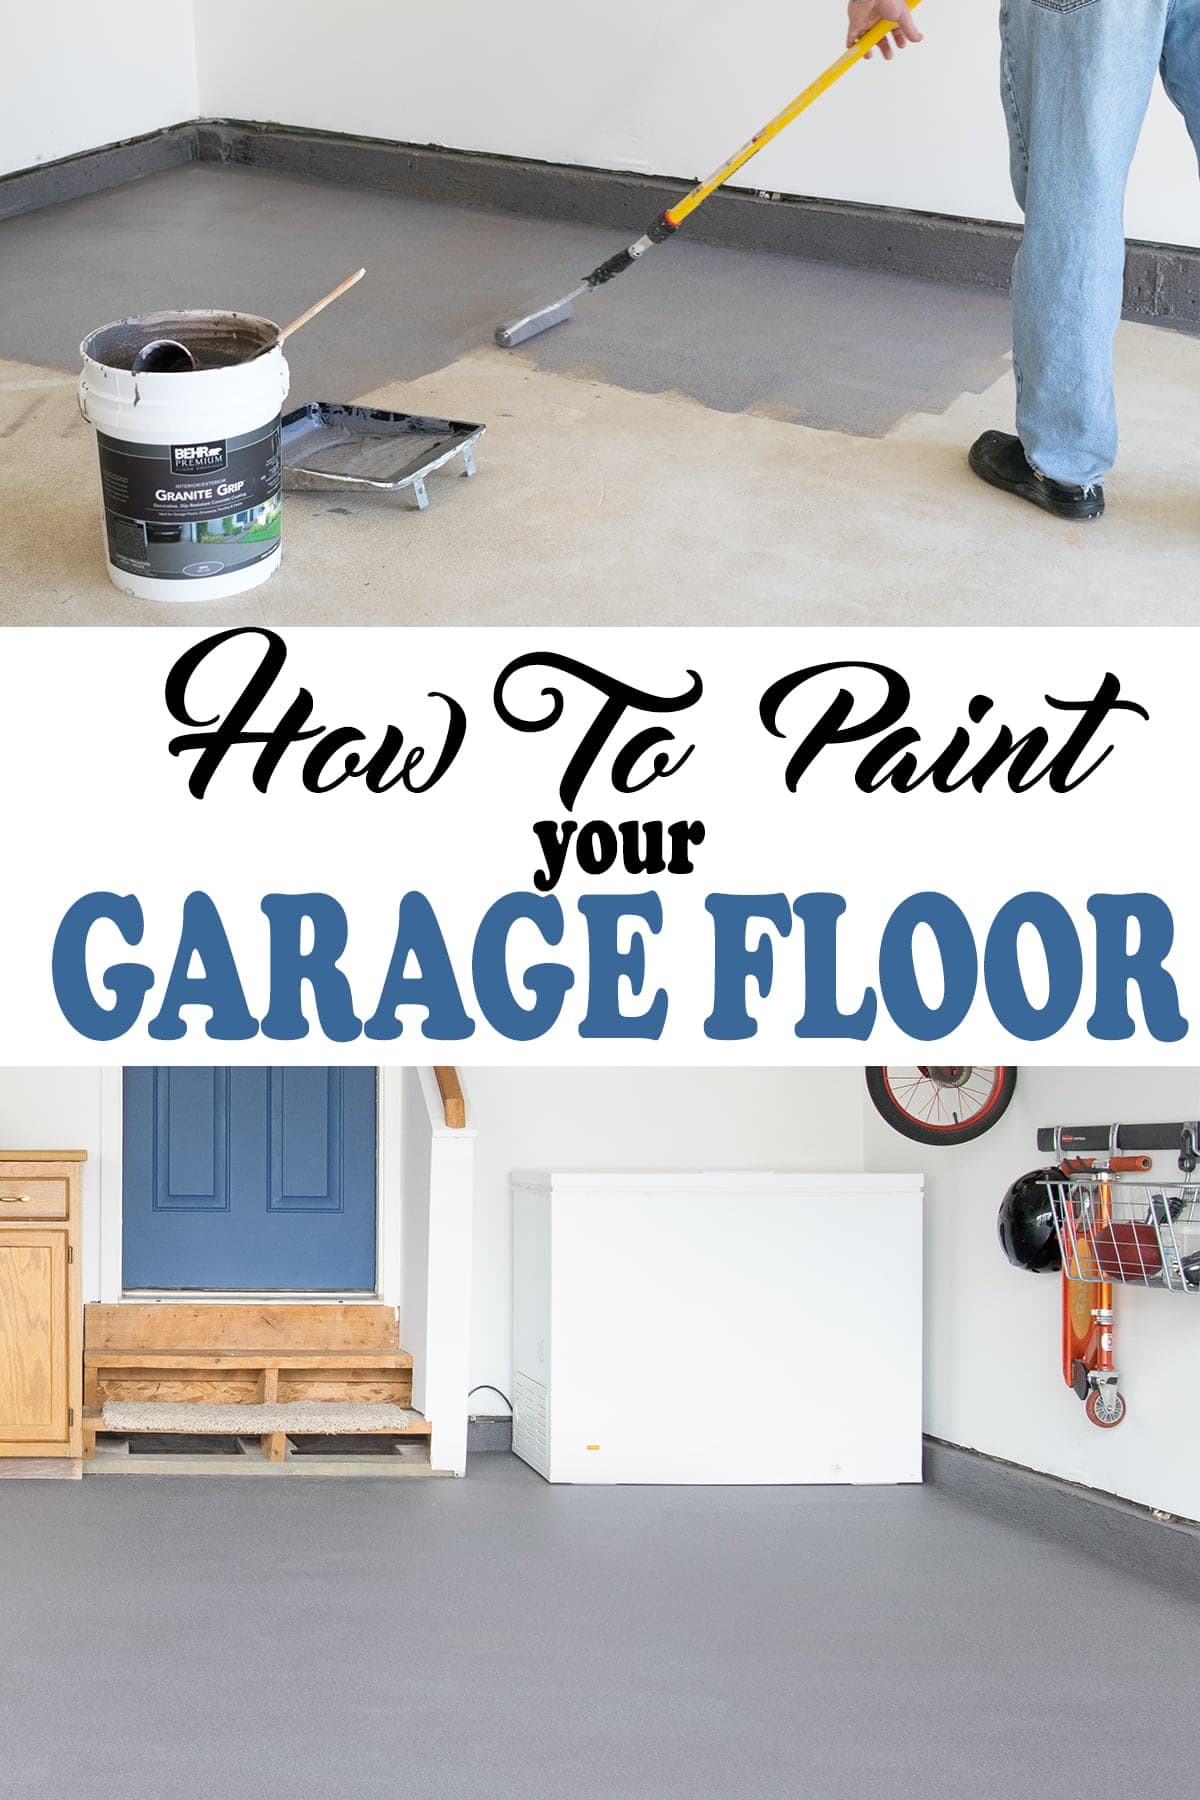
Learn the tips and tricks for how to paint garage floors including the pros and cons of various kits. This DIY project for concrete floor coating has been durable, easy to clean, and non-slip when wet!
*Update: It’s been 4 years since we painted our garage floor, and we have even done two more. this project has held up very well. Even with all of the woodworking projects we’ve done in there, I’m still thrilled with the results.
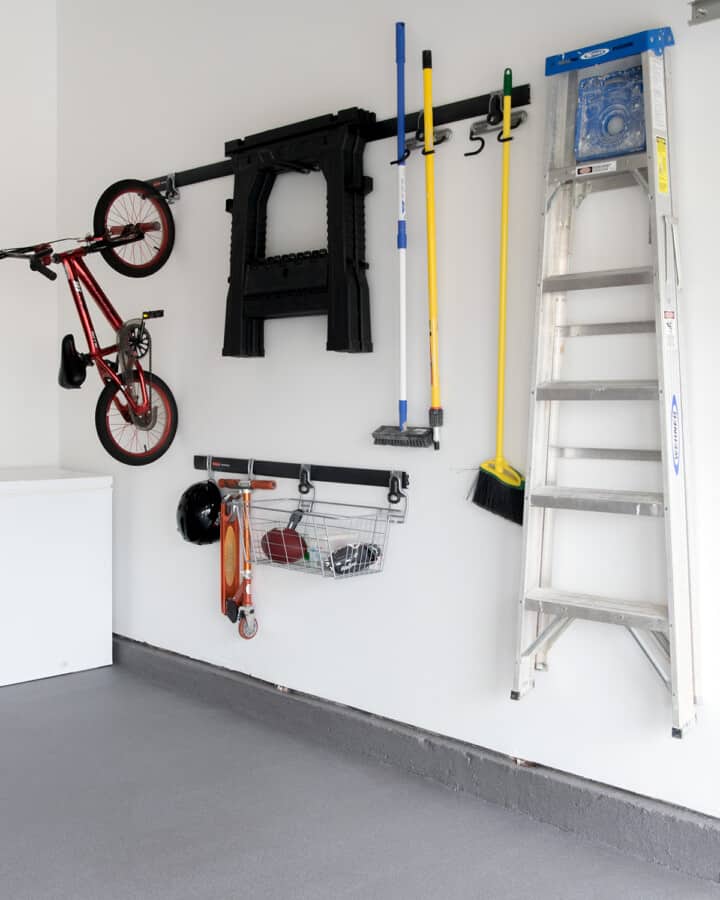
This garage is the epicenter of our DIY world. It’s filled with hopes, creativity, and a whole ‘lotta sawdust. I have written about effective ways to manage tool storage and maximize wall organization to create a respectable home shop to work in, but this painted floor is one of my all-time favorite upgrades.
Benefits of a Painted Garage Floor
We needed a product that was beautiful but functional. We’re NOT gentle on this space. Our criteria:
- Easy clean up, both during the painting and spills while using the floor.
- Non-slip coating
- Not reflective or glossy
- Not slippery when wet; epoxy floor coatings are awful when wet.
- No 2-step epoxy, this is so much easier!
- Durability – resistant to car fluids, tire tracks, dirt, grease & stains.
- Wide range of neutral colors to match the house.
- Floor coatings sometimes reduce temperature fluctuation. For example, after painting our garage floor, the concrete floor is noticeably warmer in the winter.
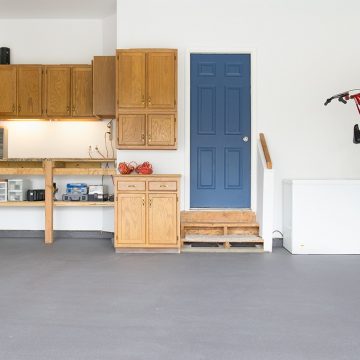
Here is our before:
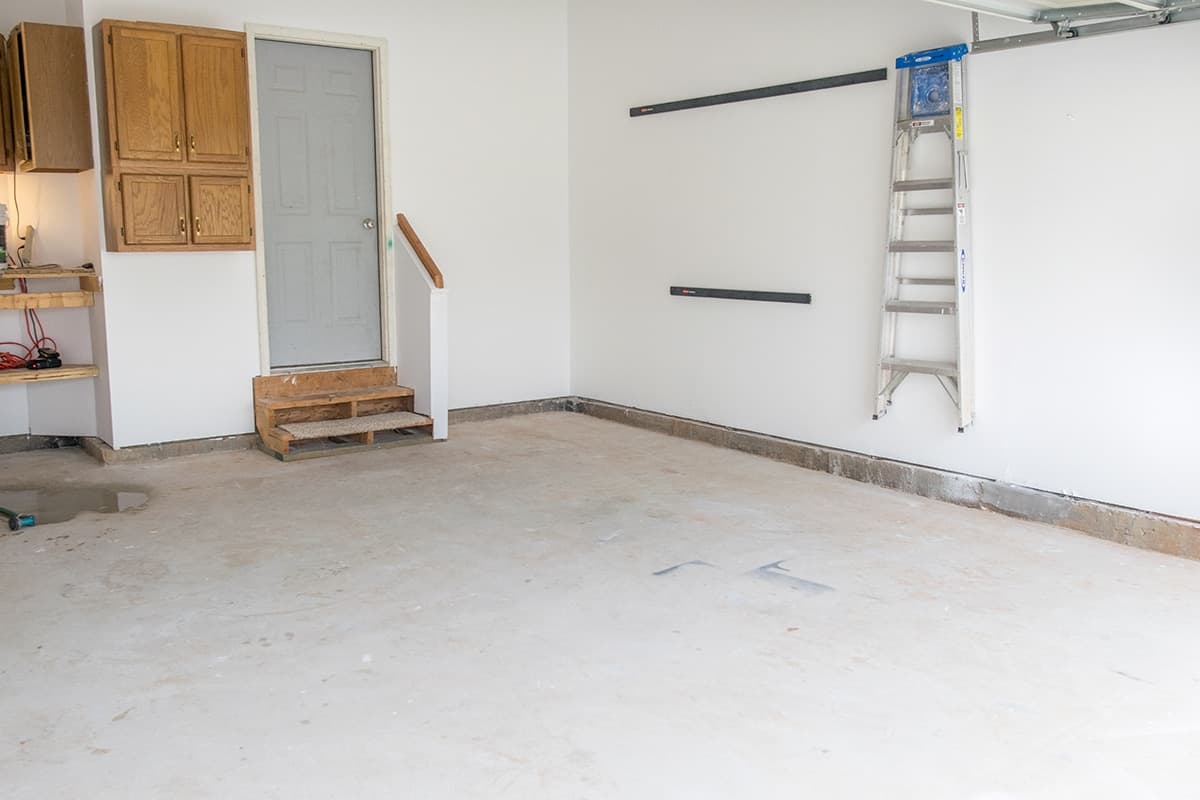
Proper prep and materials will make or break a project like this. Although it may look labor intensive, we did all of the prep work, (minus emptying the garage), in a single day.
Recommended Supplies and Materials
- Strong degreaser or cleaner
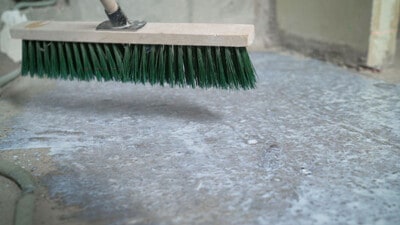
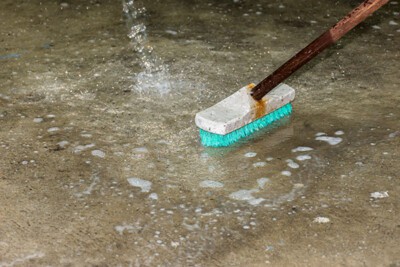
- Long-handled scrub brush
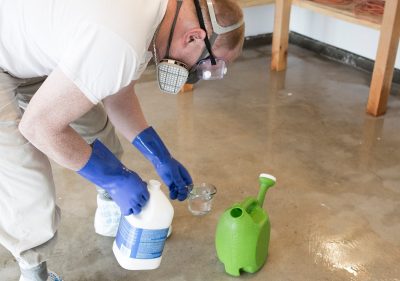
- Muriatic acid
- A large Bucket for mixing acid.
- Safety gear (large rubber gloves, closed-toe shoes, safety glasses)
- Baking soda (1 cup per gallon of water)
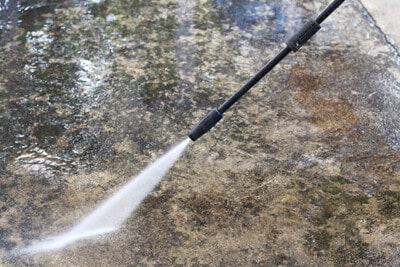
- Hose with water connection.
- Adhesive roller or rent a textured paint sprayer.
- Paint supplies (paint pole, paint trays, large stir sticks).
- Garage floor coating (see below for brands)
What Floor Coating Should I Use?
After testing many products over the years, I’ve found that Epoxy-based coatings are the most durable option. I recommend this list as a jump point for your own research:
- Homeowner/Durable but Budget Friendly – Rustoleum EpoxyShield or Rocksolid
- Professional Grade/Maximum Durability and Chemical Resistance – Armor Garage or ArmorPoxy Armorclad
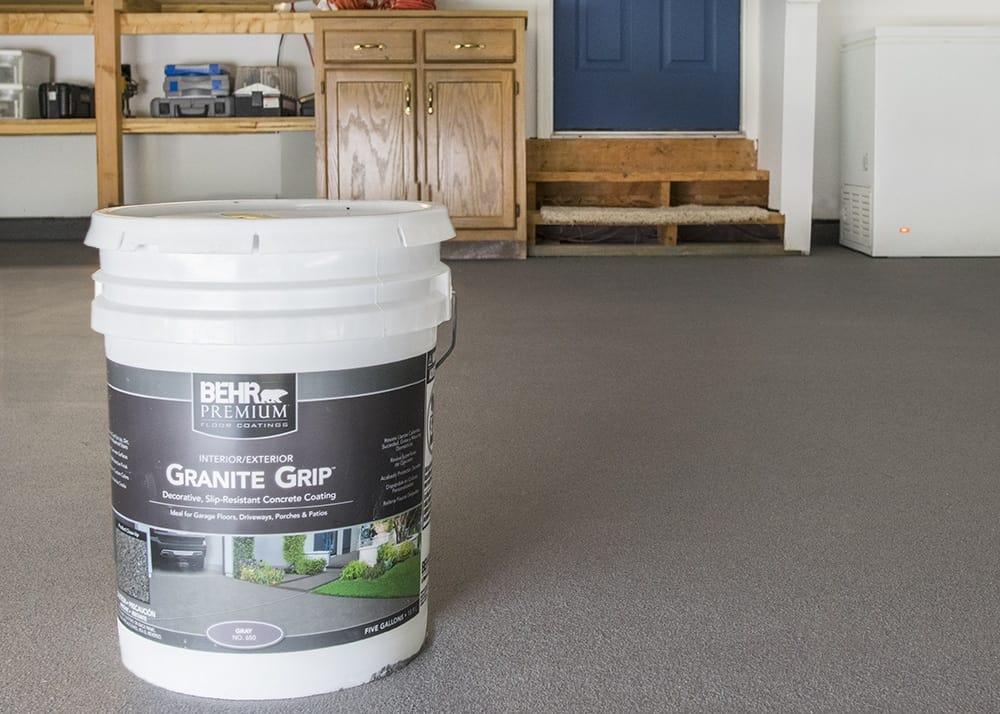
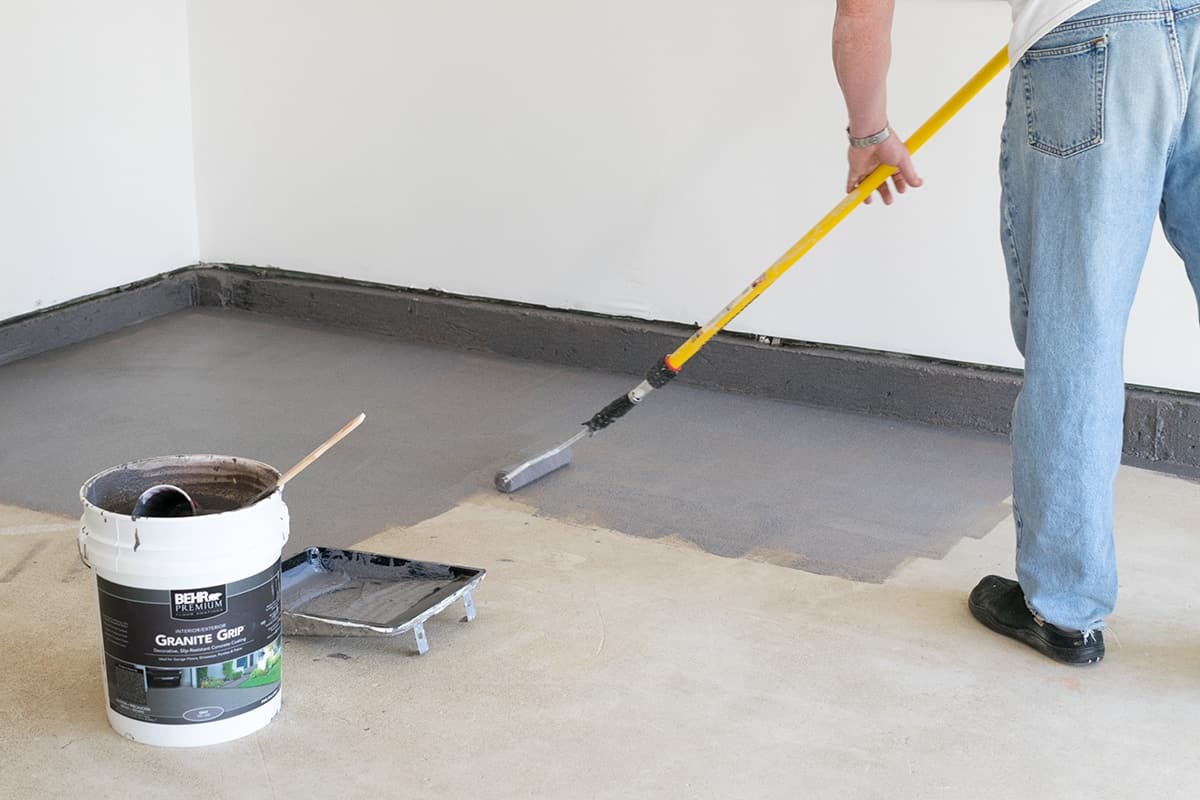
- Weather Resistant/Non-slip/Non-gloss – Behr Granite Grip
Behr Granite Grip was the best choice for our garage, since we use it for woodworking. If we did more mechanically inclined work, I’d choose one of the professional grades. Adding texturizer to the epoxies makes them less slippery, a HUGE deciding factor for us.
Beginner’s Guide to Acid Etching
Acid etching preps concrete to accept and bond with a coating. If you don’t create a good environment for the product to bond to, it may contribute to failure. This is not something that many DIYers have done often so I am giving some detailed tips here for this sort of project:
- Always pour acid into water, NOT water into acid. Does anyone else remember those “What Not to Do in the Chemistry Lab” videos from school? The boiling acid example makes this rule pretty clear.
- Both the acid etching and the paint or epoxy products must be applied when air/surface temperatures are above 50 degrees F.
- Read and follow all manufacturer’s instructions for the muriatic acid and use only with adequate ventilation.
- Neutralize & Rinse: Mix 1 cup of baking soda + 1 gallon of water and sprinkle over the floor. Allow to sit for 10 minutes and rinse with a garden hose.
- When mostly dry, wipe your hand across the floor to make sure there is no powdery white residue left behind. If so, thoroughly rinse again. Allow the floor to dry completely (2 days).
- If your concrete has been previously sealed, you may need to abrade the surface with a grinder rather than acid etch or do multiple coats.
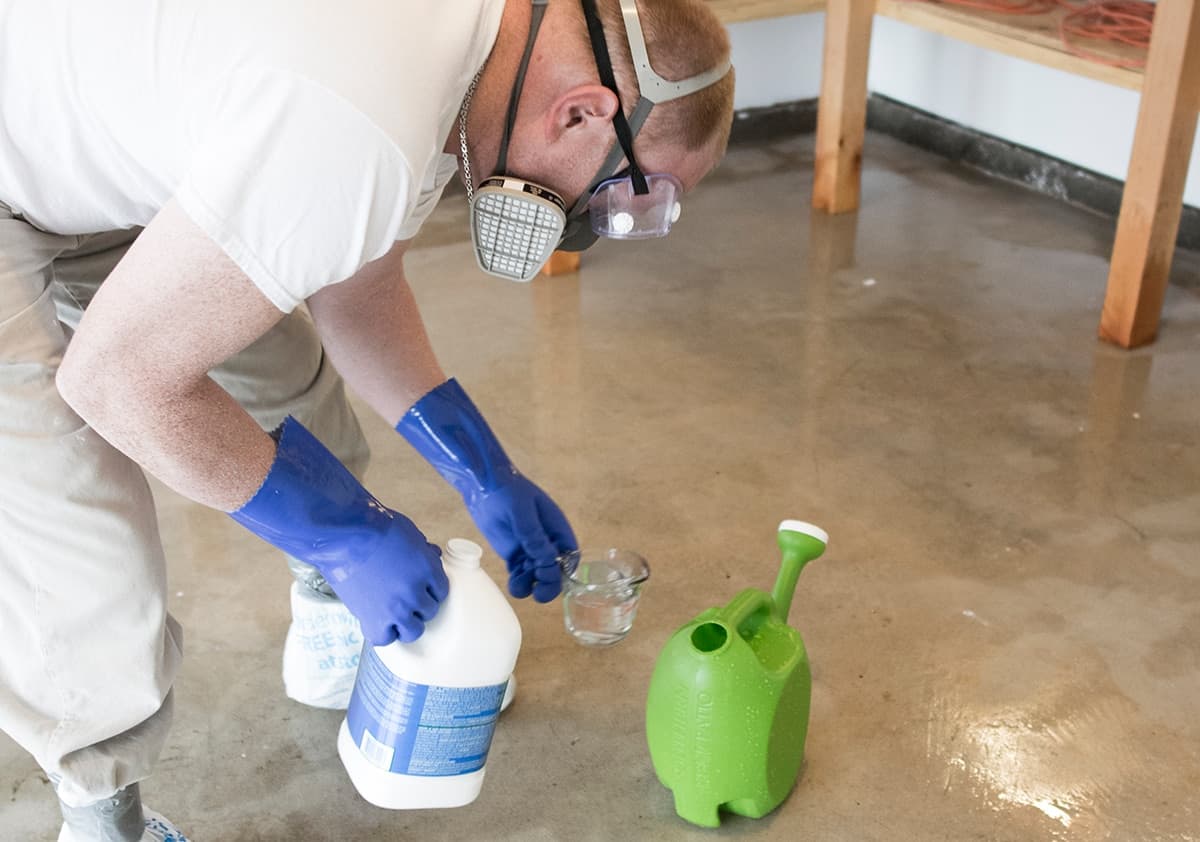
While etching isn’t hard, safety is the priority here. Muriatic Acid, also known as hydrochloric acid, is a strong acid. Wear safety goggles, rubber gloves, and old shoes that you don’t care about. Hubby is sensitive to fumes, so he wore a respirator mask. That would be overkill for most.
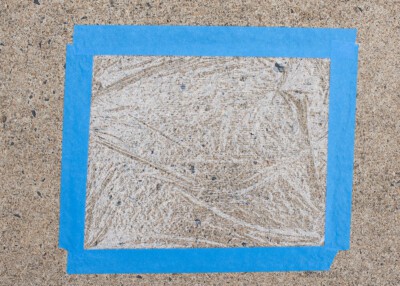
Pro Tip: The concrete should be approximately the roughness of 150 grit sandpaper. If not, repeat the etching process.
Expert Tips for Painting Garage Floor
I’ve never had a floor coating fail when following these steps – however, the hard truth is that paint coating failure such as chipping, peeling, and not curing correctly does happen. These tips will help ensure your success:
- Perform a moisture test. If your concrete floor collects moisture it can get under the coating and prevent a proper bond.
- Regularly stir the aggregate/flakes to keep them evenly suspended.
- Work in 4 foot by 4 foot sections so that you aren’t going over semi-dry paint.
- Raw concrete is porous so it may suck up the paint quickly. Second and third coats are easier to smooth out.
- Apply at least two coats to get full, even coverage. We applied 3, but our coats were thin, so it kept within the 50 sq ft per gallon recommendation from Behr.
- Between coats, wait the manufacturer’s recommended time. It’s ok if you walk on it to recoat, imperfections get covered.
- Many brands recommend spike shoes in order to walk on the fresh paint for subsequent coats. We didn’t use any and it worked perfectly fine.
More DIY Home Projects we have done
- Garage Tool Storage Ideas for Pro Organizing
- Baseboard Repair and Caulking
- What to Know Before Finishing Your Basement
- Building A Kitchen Island
- All Of Our DIY Room Reveals!
- How To Paint Garage Doors
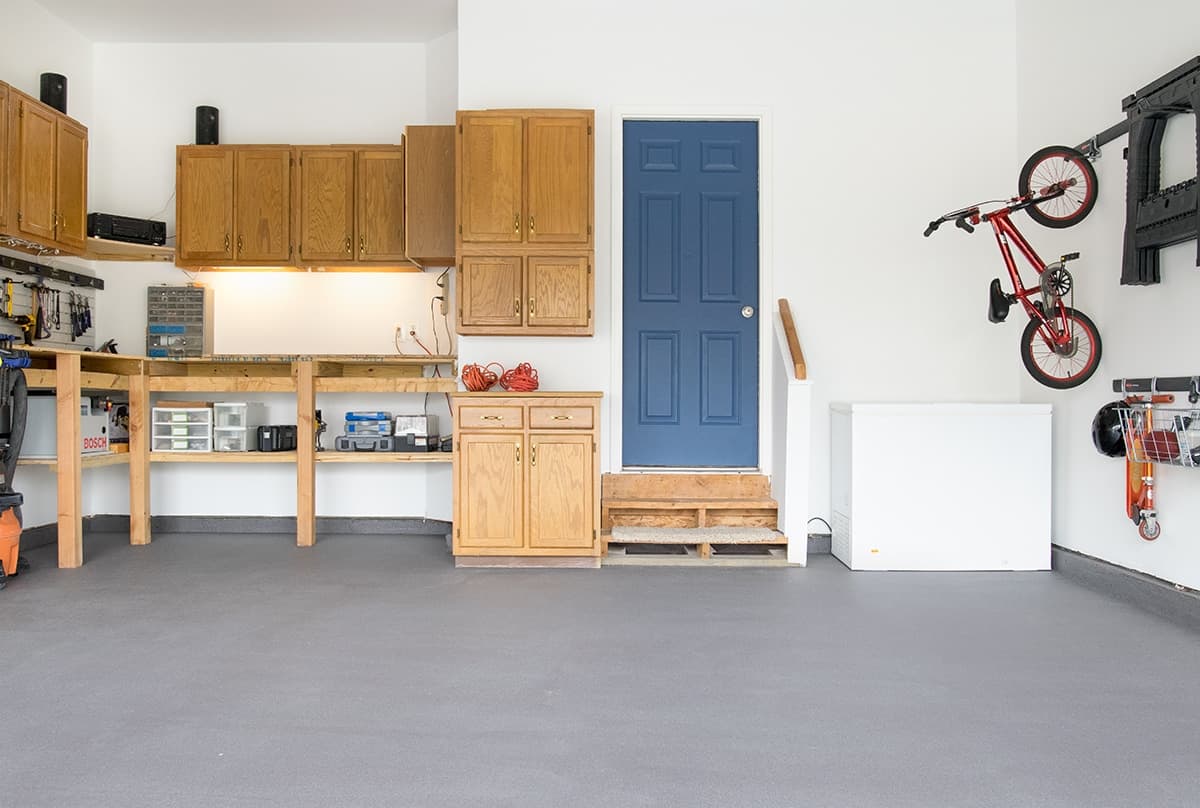
The floor is ready for light traffic in 24 hours but allow coating to dry for 72 hours before subjecting to automotive tires. Longer dry time is required in cooler temperatures and in higher humidity. Don’t rinse the floor for 30 days for a long-lasting workshop quality garage floor!
FAQs
For areas that may get wet, a non-slip paint is highly recommended. Use an epoxy based coating plus an aggregate like Rustoleum Rocksolid plus Shark Grip textured additive. Another durable option for weathered concrete is Behr Granite Grip which is ideal for garage floors, patios, and porches.
If your garage floor is well weathered, it may not need to be etched. To ensure maximum durability and chip resistance, concrete should be etched to where it feels rough, like 120-150 grit sandpaper.
As long as the existing floor coating is still well bonded to the floor and not peeling up, it can be repainted. Epoxy may need to be sanded or chemically removed.
The Behr Granite Grip we used does not require a topcoat. Most epoxy based highly recommend a topcoat, which may or may not be included in the kit.

Grab our free series "Weekend Home Projects that will Transform Your Life" Sign up below to receive updates including free printables, organization tips, home improvement projects, recipes and more! |
More DIY Projects
PS I love seeing your creations! Be sure to take a photo and tag #cravingcreative on Instagram! You can also stay in touch with me through following me on Instagram, Pinterest, and subscribing to the newsletter!
How To Paint A Garage Floor
Tools
- Hose with water connection
- Bucket for mixing acid
- Paint Brush
- Paint Pole
- Long Handled Brush
Supplies
- Safety gear large rubber gloves, closed toe shoes, safety glasses
- Baking soda 1 cup per gallon of water
- Strong degreaser or cleaner
- Muriatic acid
- Adhesive roller or Rented Textured Paint Sprayer
- Garage floor coating see Notes below for recommendations
- 3 Paint Tray
- Large Stir sticks
Instructions
- Moisture Test. Tear off a few feet of clear plastic wrap and lay it on the floor. Use Duck Tape or another well sealing tape around all of the edges. I would recommend leaving for a day or two and check periodically if any moisture, color change, or condensation collects on the floor or the underside of the plastic wrap. If the moisture test fails, consult a professional to find the source and solutions.

- Clear the Area. Remove everything off the floor.

- Clean the Floor. Make sure you scrub off any oil, dirt, or chipping paint from the floor. Use a good degreaser and a long-handled scrub brush to remove any contaminants.
- Acid Etching. Wear safety goggles, rubber gloves, and old shoes. Wet the concrete first before pour the diluted acid on the floor. It should begin bubbling and fizzing immediately. If not then you will want to increase the strength.

- Lightly scrub the acid solution. Use a push broom or long handled scrub brush. This helps to create a uniform etch of the concrete. Let the solution sit for 10 – 15 minutes while it continues to fizz and bubble. Do not let the floor dry out.

- Neutralize and Rinse. Mix 1 cup of baking soda to 1 gallon of water and sprinkle over the floor. Allow to sit 10 minutes and then rinse with a garden hose. When mostly dry, wipe your hand across the floor to make sure there is no powdery white residue left behind. If there is, thoroughly rinse again. The concrete should be approximately the roughness of 150 grit sandpaper. If not, repeat the etching process.
- Allow the floor to dry completely (2 days). The concrete should be approximately the roughness of 150 grit sandpaper. If not, repeat the etching process.
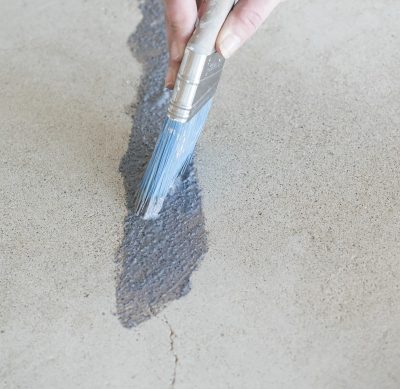
- Fill Cracks. Large cracks can be filled in with concrete patch. For small cracks, the aggregate will fill in with a brush. Paint one coat and let dry before your roller coat.

- Apply Floor Coating. Rent a textured paint sprayer or use an adhesive roller (not a regular paint nap roller) to apply the paint. Working in a 4×4 area, make sure to minimize roller marks by working in a random pattern.
- Allow to Dry. The floor is ready for light traffic in 24 hours but allow coating to dry for 72 hours before subjecting to automotive tires. Longer dry time required in cooler temperatures and in higher humidity. Don’t rinse the floor for 30 days and you have yourself a great floor!


Cheryle says
For my dad’s retirement gift, all he wanted was a garage he could use as a workshop. They had so much stuff crammed into their garage we had to get a dumpster rental to get rid of a lot of it, but now that it’s cleaned and organized, my hubby is going to do the flooring. Thank you so much for sharing these tips, my dad is going to be so excited with his new workshop floor!!
Kelly says
I just painted my garage floor (after etching and putting on a binding agent). I put the accent flakes in and it looks nice, BUT I didn’t realize I should have put more than one cost of paint on :(. Can I add another layer of paint over the flakes and add new ones?
Rachel says
You only need to put two coats on for even coverage, so that the color is uniform throughout. If you are happy with the way your floor looks, no need to put a second coat on. Hope that helps!