Learn how to paint laminate furniture and cabinets easily with these tips, step by step instructions, and information on identifying laminate surfaces. I don’t cut corners so you can avoid frustrating mistakes and have a long-lasting piece that shines!
Melamine or other Laminate surfaces can be a total nightmare to paint, but I am hoping to clear up any confusion on getting a professional looking paint job on these tricky surfaces.
I have been painting furniture and cabinets for myself and clients for many years. Of course, I have learned a lot about the do’s and don’ts of painting furniture to last and look great for years, not months.
And I have included all of my best tips, experiences, and professional products that will ensure a good bond that won’t fail.
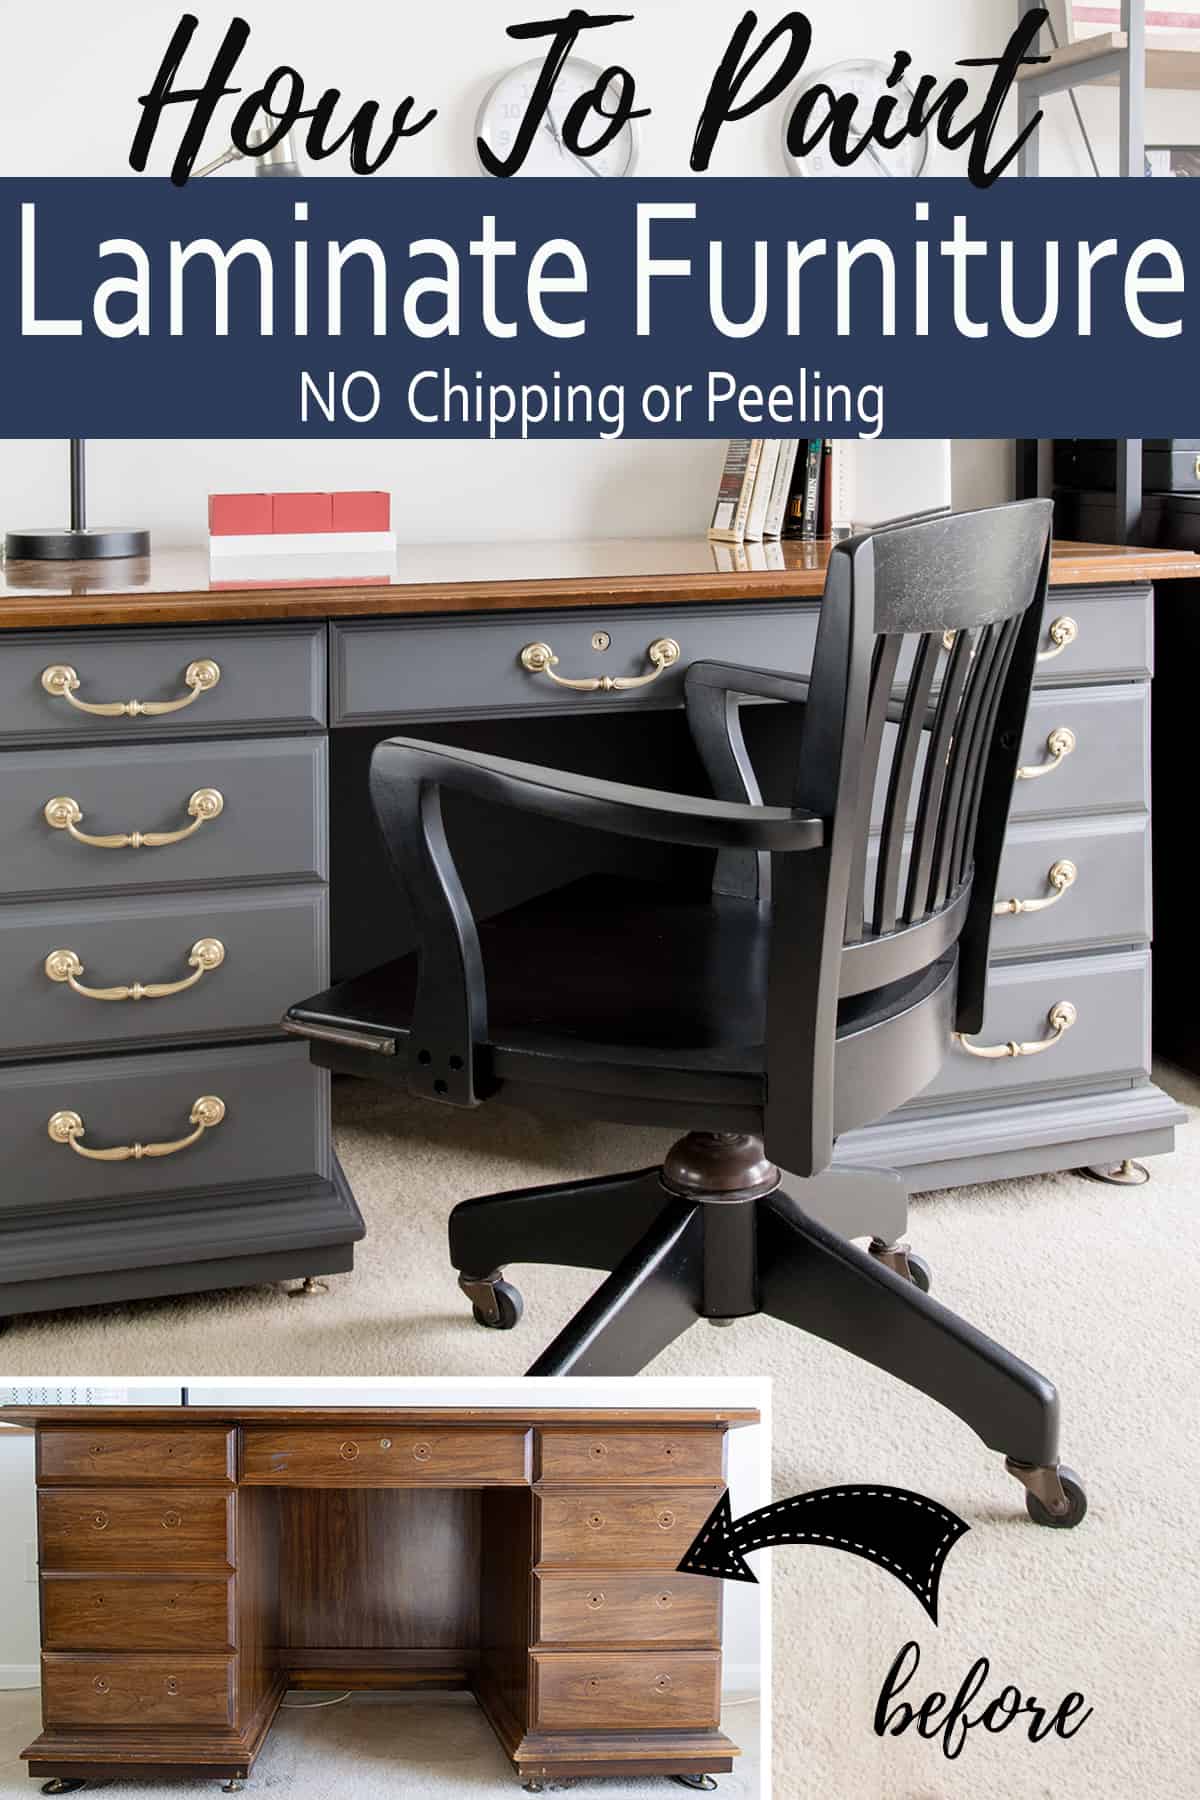
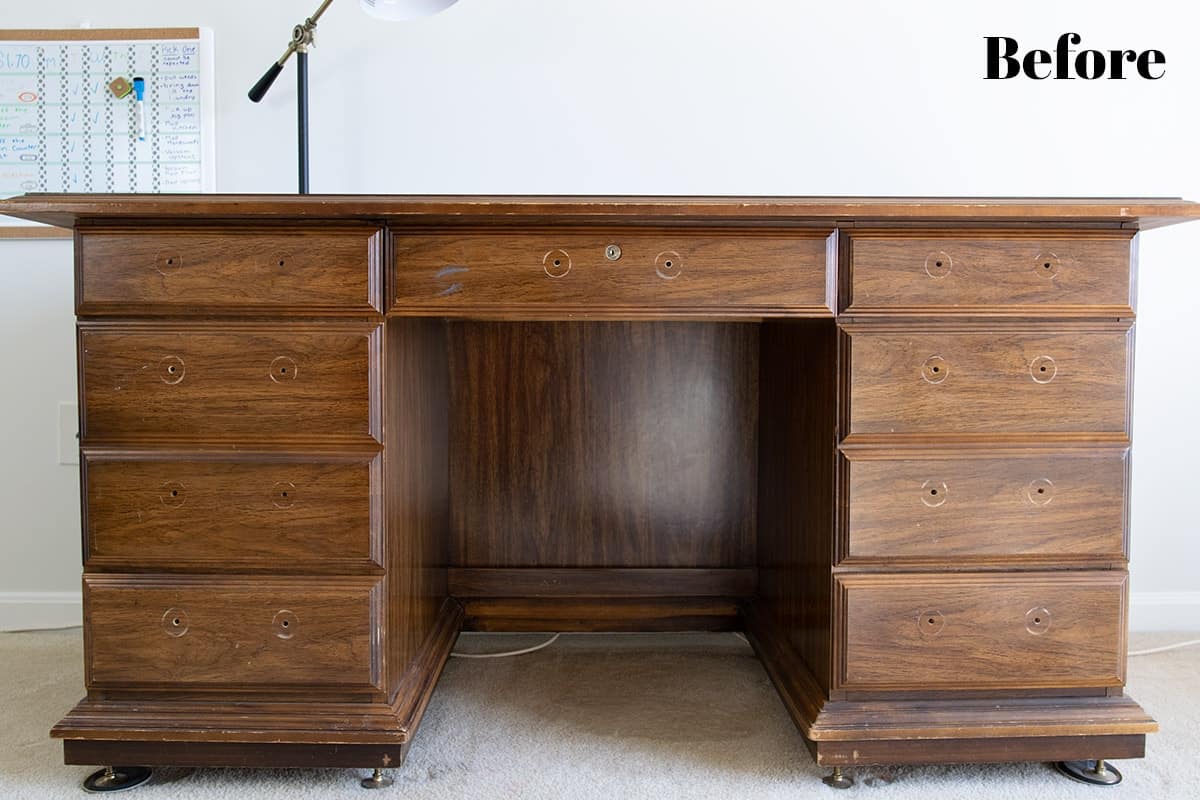
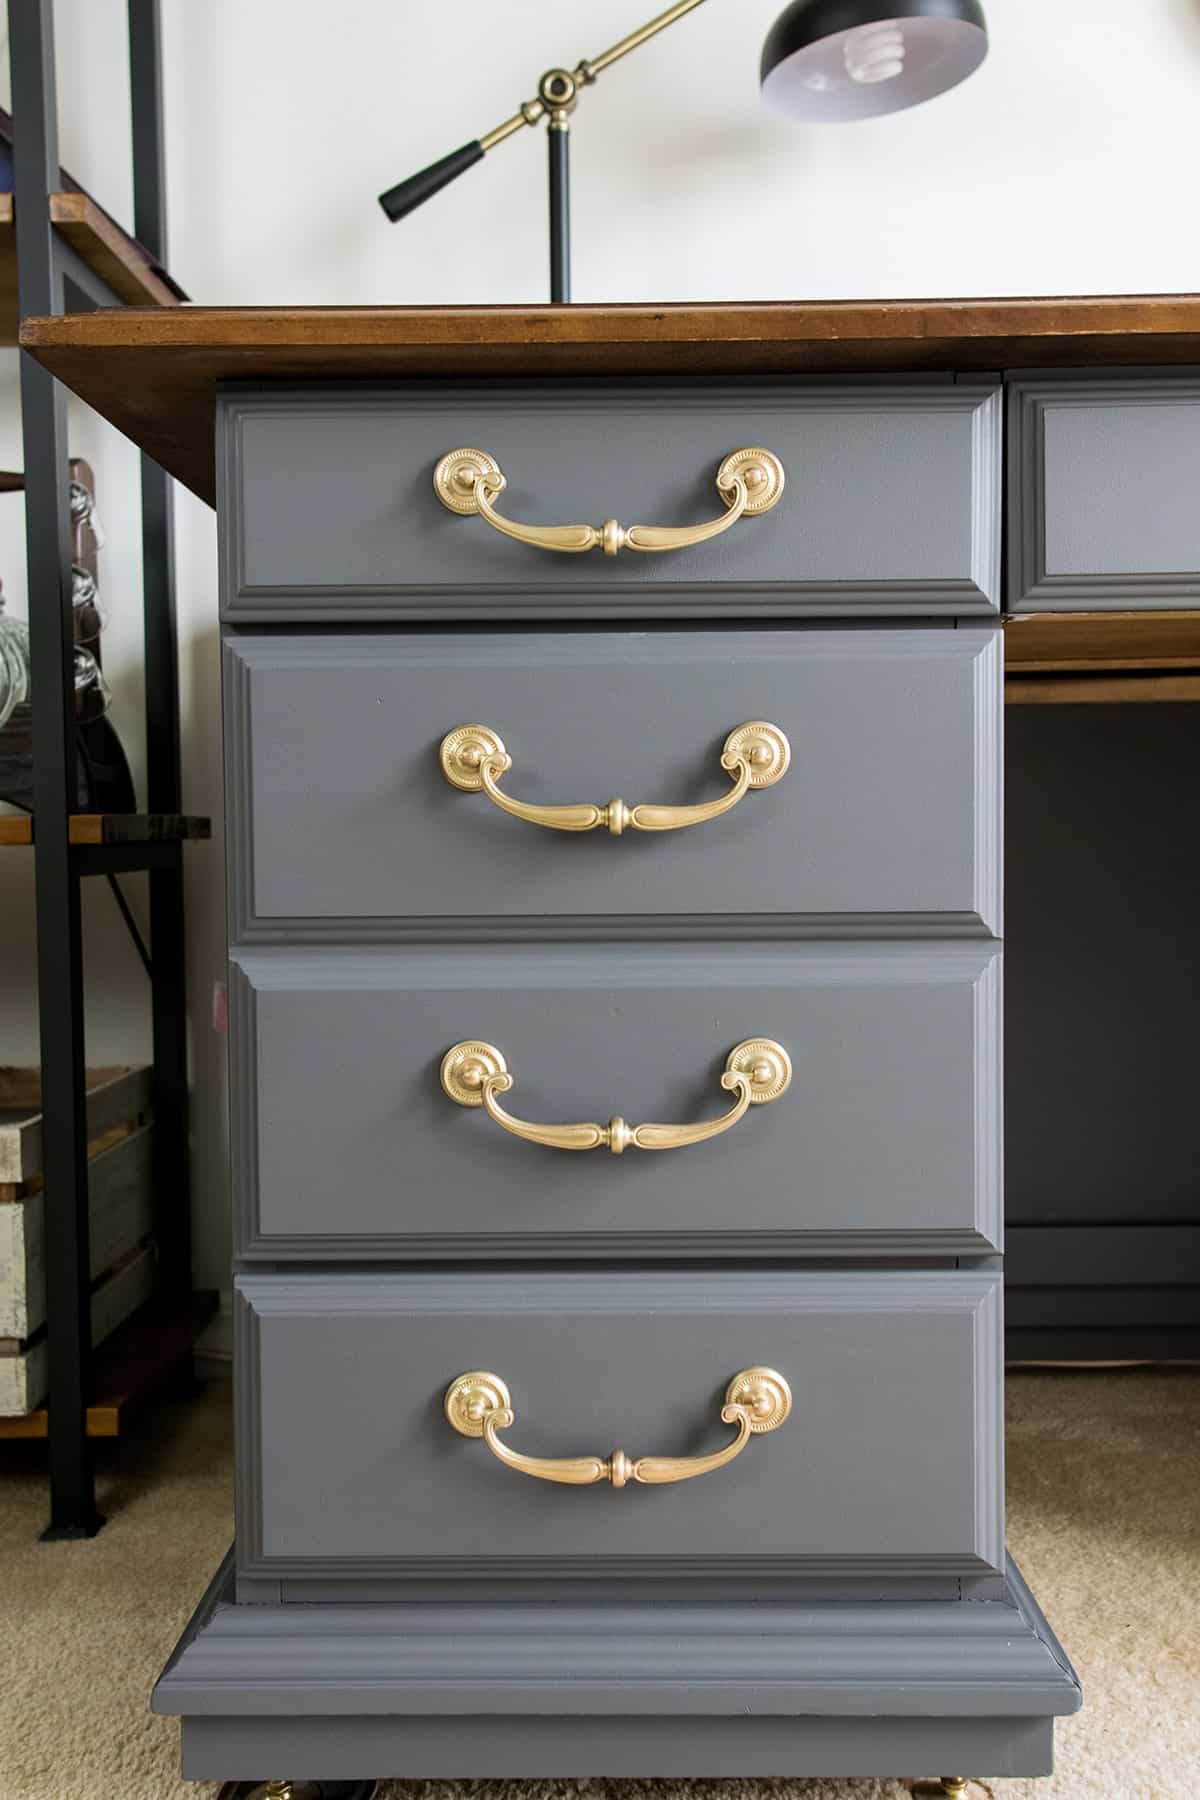
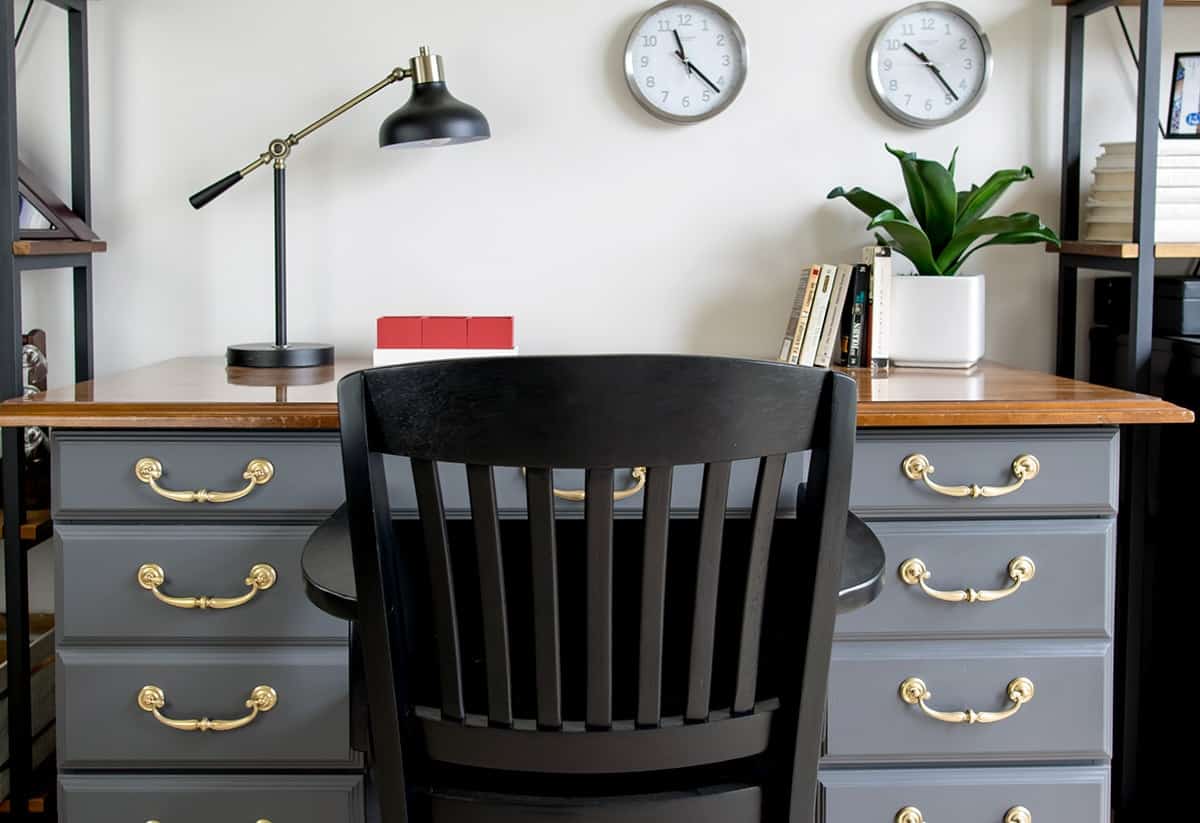
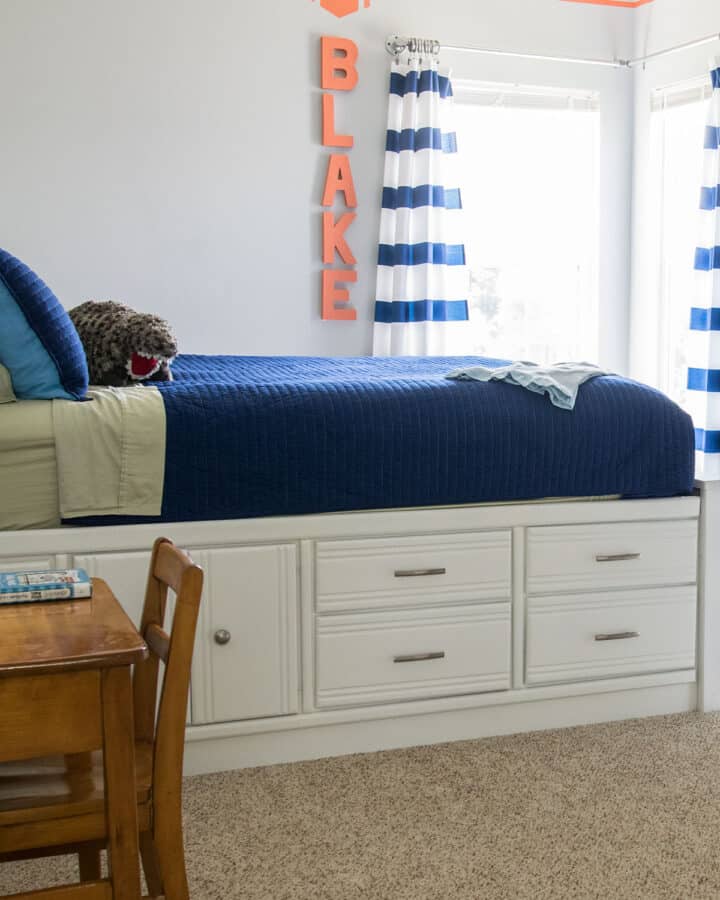
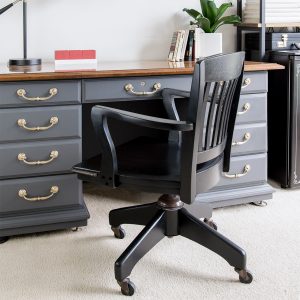
I am using my husband’s treasured desk as an example for this tutorial. It belonged to my father-in-law and my husband used to stack army men in front of it. I remember the day they called to say they were throwing it out. My husband’s eyes lit up as he choked out an emphatic “Of course I want it!”
So, you better believe I was under pressure to get this desk makeover right!
Laminate vs Veneer Wood
First, I want to set out some definitions, so we are on the same page.
Veneer refers to a layer of real wood that has been applied to a substrate that can be any number of materials. Furniture grade Maple Plywood is an example of a veneer. Veneers are often used in large straight pieces of furniture because it is structurally more stable than solid wood. It won’t warp or expand/contract as much as a single solid piece of wood. Oftentimes you can sand and refinish veneer, as long as you don’t go through that first layer.
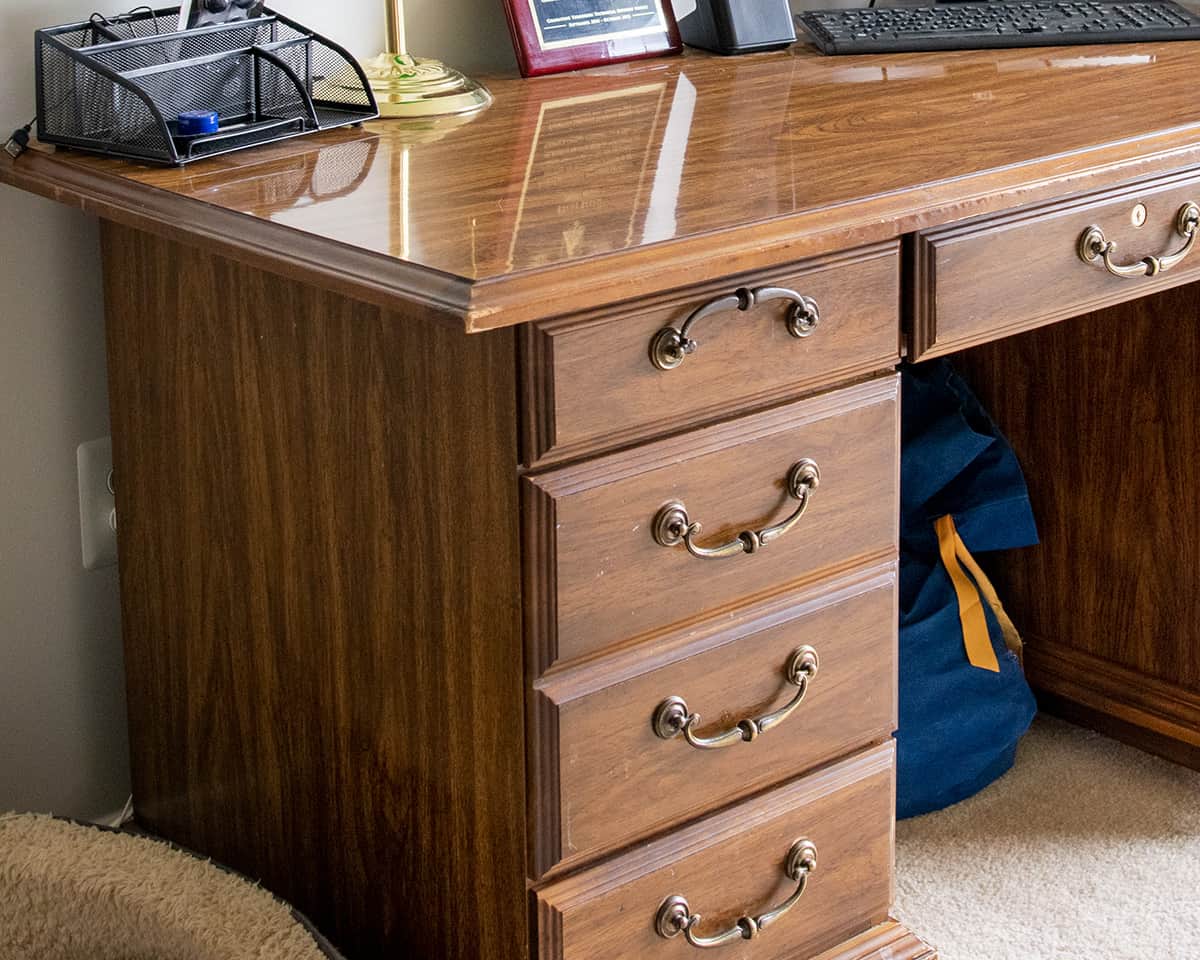
Laminate is an engineered material usually constructed of plastic and bonded to a base. The difference is that the top surface isn’t wood at all. It can be a printed material, plastic, vinyl, Formica, or a combination of composites. The benefit of laminate is that it is usually heat, stain, and scratch resistant.
Thermofoil is a plastic material which is wrapped and formed to the profile of an underlying composite wood core and is used as a surface finish. It reminds me of a plastic vinyl sheeting, and it can peel off. This is most commonly seen in cabinets like these, but I have seen it in furniture too.
Melamine is a type of low-pressure laminate. It is most often a coating of plastic applied over a chipboard substrate. I installed shelves in my laundry room that are melamine, and you can purchase them often at home improvement stores like Lowes and Ace Hardware.
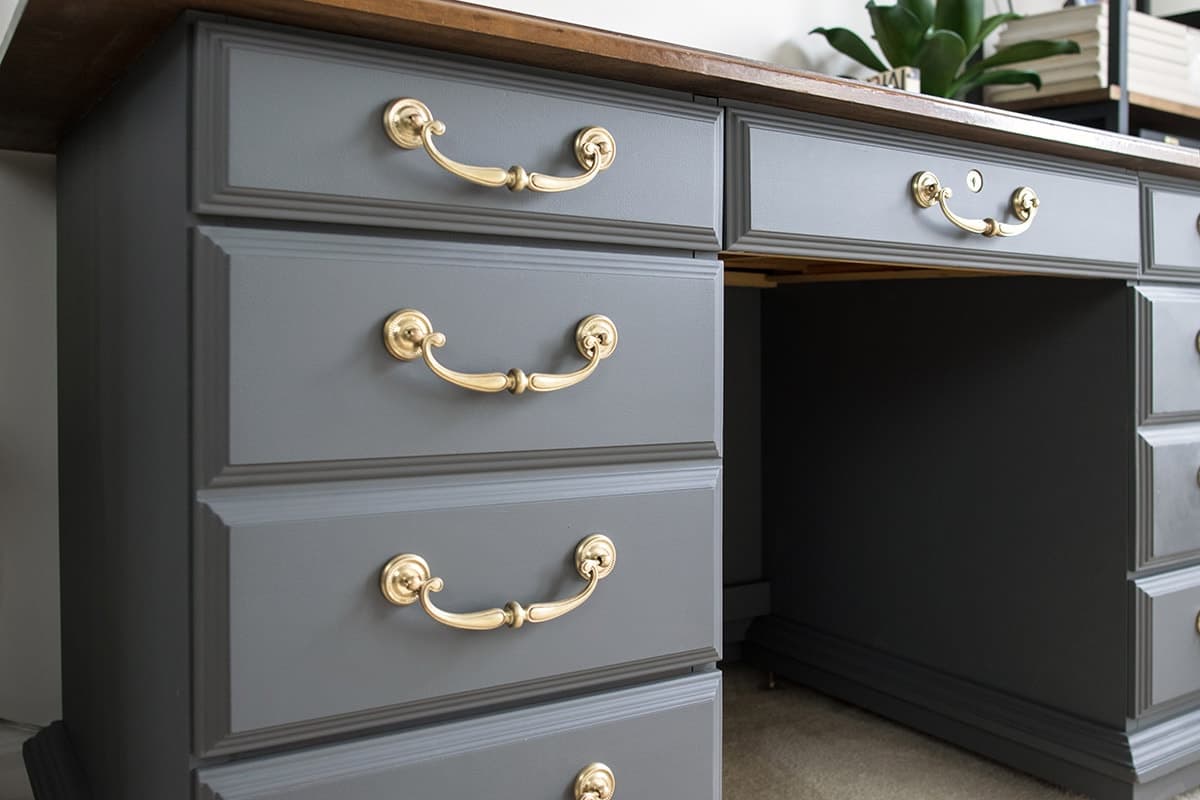
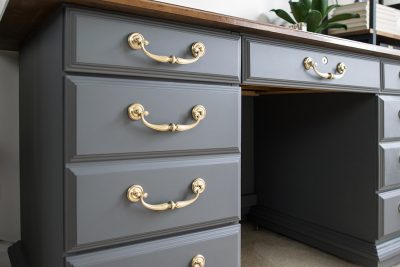
You can definitely have a piece of furniture comprised of different laminate and solid hardwoods so don’t be fooled! For example, this desk is has solid wood, a formica type top, and printed laminate sides.
How To Identify Laminate
Because laminate is often made to closely mimic natural materials such as wood or marble, it can sometimes be difficult to identify precisely. There are a few ways to try to identify it.
- By touch. Often times, laminate won’t have the same feel as wood and may sound different. If you tap on it with your fingernail, it may make a plasticky sounding noise.
- Check the pattern. Closely inspect the surface at an angle. Sometimes, there is what looks like a wood grain, but upon closer inspection, the grain doesn’t line up to the printed pattern. Or the material may wrap around the edges of a drawer, but there is no end grain that you would expect from a solid wood material.
- Large surfaces. It is actually rather rare that a single very large surface is solid wood. Take, for example, the sides of our entertainment center. They are 20 inches by 7 feet. They are a plywood veneer, but I didn’t even have to look to know they wouldn’t be solid wood. It’s not as structurally stable, nor cost effective for furniture companies to use slabs of wood like that.
- Look at edges and inside surfaces. To cut cost, areas that aren’t seen are often left naked so you can see the construction materials. These areas include inside of drawers, the backs of dressers or even underneath the item. Even if it’s stained dark, sometimes you can see that the wood takes up the stain at different rates.
Recommended Tools and Supplies
First, the quality of your paint job is only going to be as good as the products you use.
- A good cleaner that won’t leave a residue.
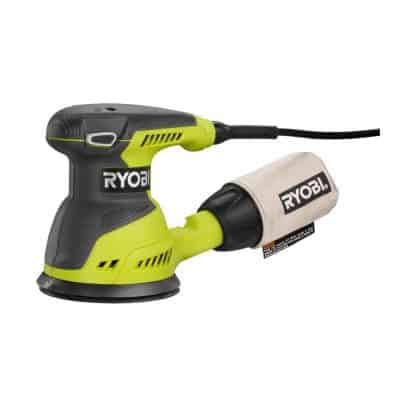
- Orbital Sander – (Optional – read “Do I have to Sand?” section for more information).
- Sandpaper – 120 grit for sander
- Painter’s Tape
- Paint Brush – my favorite for a smooth finish is 1.5-inch taklon brushes you can buy at Michael’s and other craft stores. I have also used Wooster Angled Brushes and Purdy.
- Microfiber rollers – smooth surfaces that won’t shed
- Supplies for Any Needed Repairs
- Something to Stir the Paint with
- Drop Cloths
- Blocks of wood or a table – to paint the bottom edges if you will be moving the furniture
- Primer – I only confidently recommend Kilz Adhesion and INSL-X Stix Bonding Primer (available at Ace Hardware and Benjamin Moore Stores)
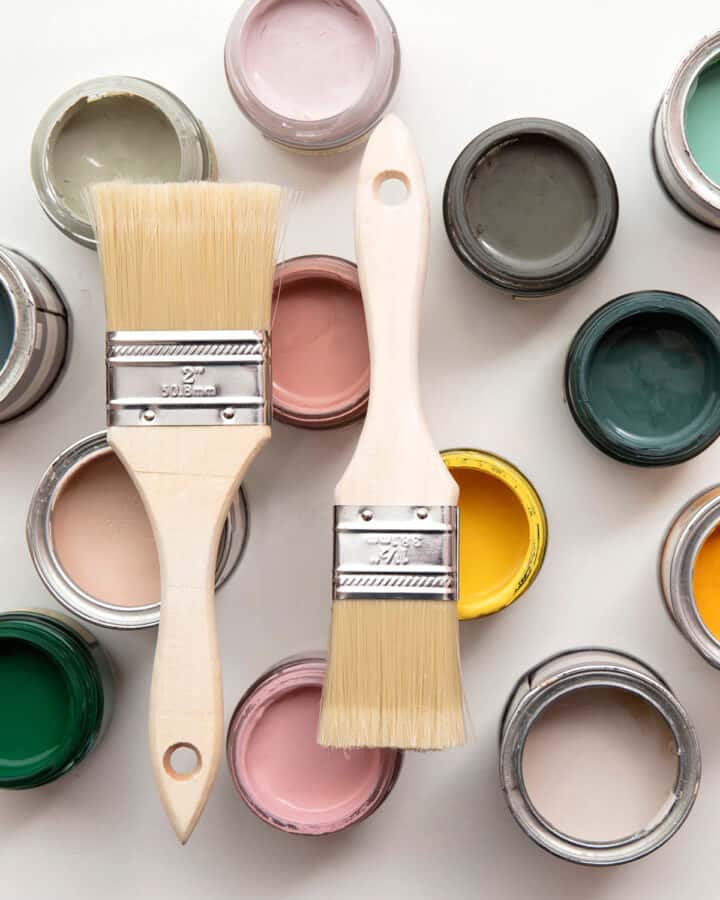
- Paint
What paint should I use?
I have a great post on the best paint for furniture. Any of those will work great with the proper primer. While I will recommend a high-quality paint with a durable finish, there isn’t anything special about laminate that requires a specific paint. I generally avoid chalk paint as it isn’t as durable as other options on high traffic surfaces, and I highly recommend using a sealing topcoat for this project. It will make the paint last much better and longer.
How to Prep Laminate Furniture for Painting
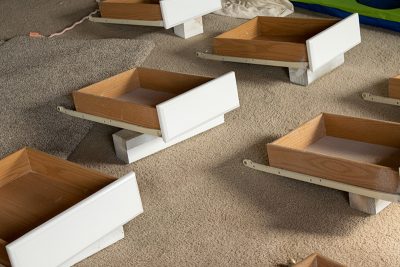
Step 1: Remove hardware and parts
The first step when painting furniture is to remove the drawers, door fronts, and any hardware present so that only the frame is left. Sometimes, after painting the frame, I will place the drawers back on to paint them in place.
Step 2: Repair
If you are changing out the hardware to a different size, fill any holes from the old hardware. Also, repair any scratches or dings. You can use epoxy to make small repairs in plastic laminate or wood filler if you have paper printed materials. If the melamine or formica layer is loose from the substrate, make sure to reattach it with a construction adhesive and allow to dry.
Step 2: Clean
While many tutorials (even some of mine) recommend cleaning with TSP, you can use any kind of cleaner that won’t leave a residue. I’ve used krud cutter, goo-b-gone for sticky messes, sometimes just water.
Make sure to clean everything, even if it isn’t directly on the surface that you are painting. Use a toothbrush for crevices. Make that baby sparkle!
Do I Need to Sand?
There are many different types of laminated surfaces, and many can’t be sanded. However, I am going to say that it depends. Overall, I am still a fan of sanding with 120 grit and a random orbital sander (if you can) because any additional grip you can get is only going to increase the bond.
Printed paper laminate– I have both sanded and not sanded these surfaces for priming with success. The ones I did sand it was because only a small section of a large cabinet or dresser project was printed laminate and I didn’t want to buy a second primer. I have never had a problem there.
Melamine or hard plastic laminate – Test in a very inconspicuous area if you wish. Most of the harder plastics won’t sand very well if at all. Don’t push it if it isn’t working.
If you don’t own a really good random orbital sander – just skip sanding. Hand sanding is most likely just going to make swirl marks and painful hands.
How To Paint Laminate Cabinets and Furniture
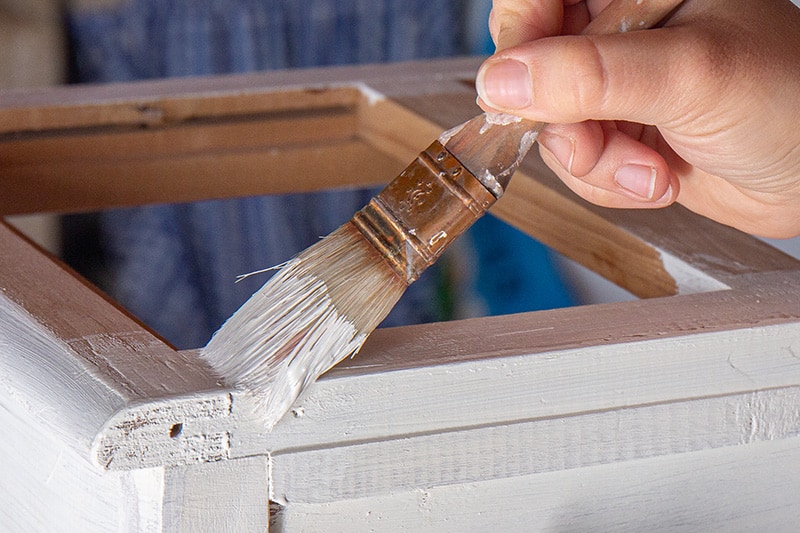
Prime (VERY IMPORTANT!)
The primer that you use is a major contributor to the success or failure of your finish long term. No one wants to redo a paint job in a year or two. Anything that says paint + primer does not count.
In my humble opinion, there are only a few primers I trust with a job this tricky – Stix® Waterborne Bonding Primer or Kilz Adhesion. I have not tested Behr’s Bonding Primer, but that may be a more available option. These are a bit more expensive than your standard primers, but so very worth it for the peace of mind they bring. You can also use these primers on any wood surface, no need to buy a different kind.
Two coats of primer will give good coverage.
Can I skip priming? Almost 50% of my cabinet painting clients bring me in to fix someone else’s inadequate paint job. Maybe it’s just Virginia, but it does skew my opinions! While I see tutorials about no priming, I can’t vouch for how well theirs held up to daily use years later. I definitely have seen a lot that haven’t. “It held up great!” means different things to different people and their expectations going into it. Sure, it could be fine, but primer is easy, and it isn’t worth the risk if you want the job to last.
Painting: Quick Tips for a Smooth Finish
- Always test your paint and primer. I sometimes perform a scratch test in an inconspicuous place several days or a week after priming and painting. Although paint may take up to 30 days to reach maximum hardness, this will let me know how successful the bond is.
- Some paints like a microfiber roller, others like a dense foam roller, so be sure to test both or search out the info.
- Always brush in one direction, end to end.
- Always brush the details first, and then roll the flat section. Like if I am doing a drawer front, I brush the edges and then immediately roll the flat front.
- From a beginner standpoint, you want brushes that are soft, long bristled, and don’t separate when you apply pressure.
- You can read our top tips for painting without brush marks here.
Sealing with a Top Coat
This is another step that I feel is essential generally to a long-lasting finish when working with this surface. There are a few paints that don’t require a polyacrylic topcoat for maximum durability but check with the manufacture. Personally, I usually still add one. You can read our best topcoats for furniture recommendations here.
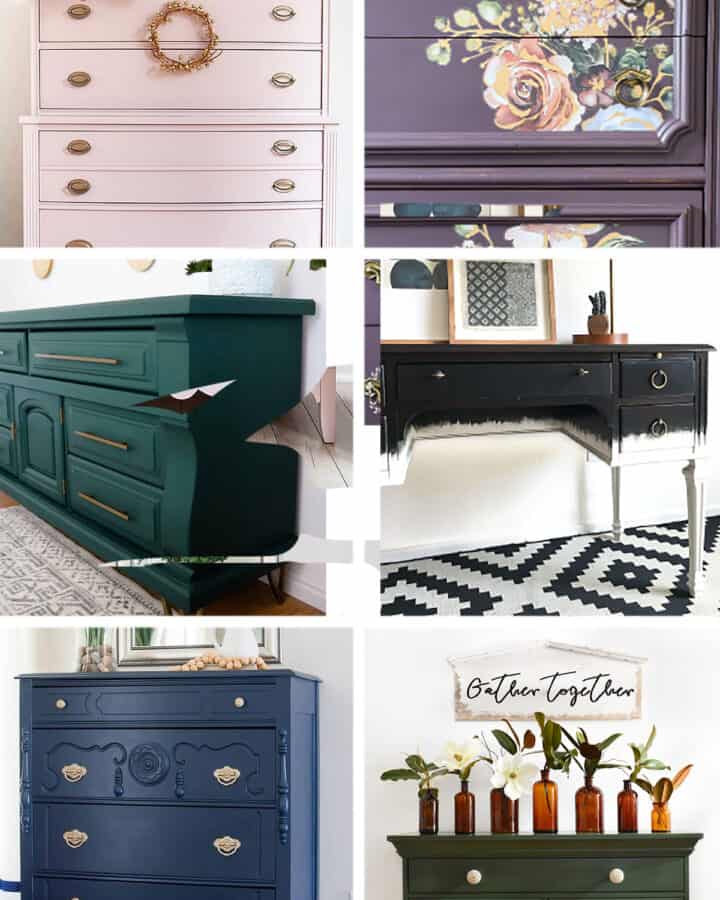
Love looking at Furniture Transformations? Here are some of our best:
- Tips for Painting Furniture White
- Gorgeous Black Painted Furniture
- The Best PolyAcrylic For Painted Furniture
- How To Paint Metal: Antique Trunk Makeover
- How to Paint A Bathroom Vanity
- A painted fridge makeover you won’t believe!
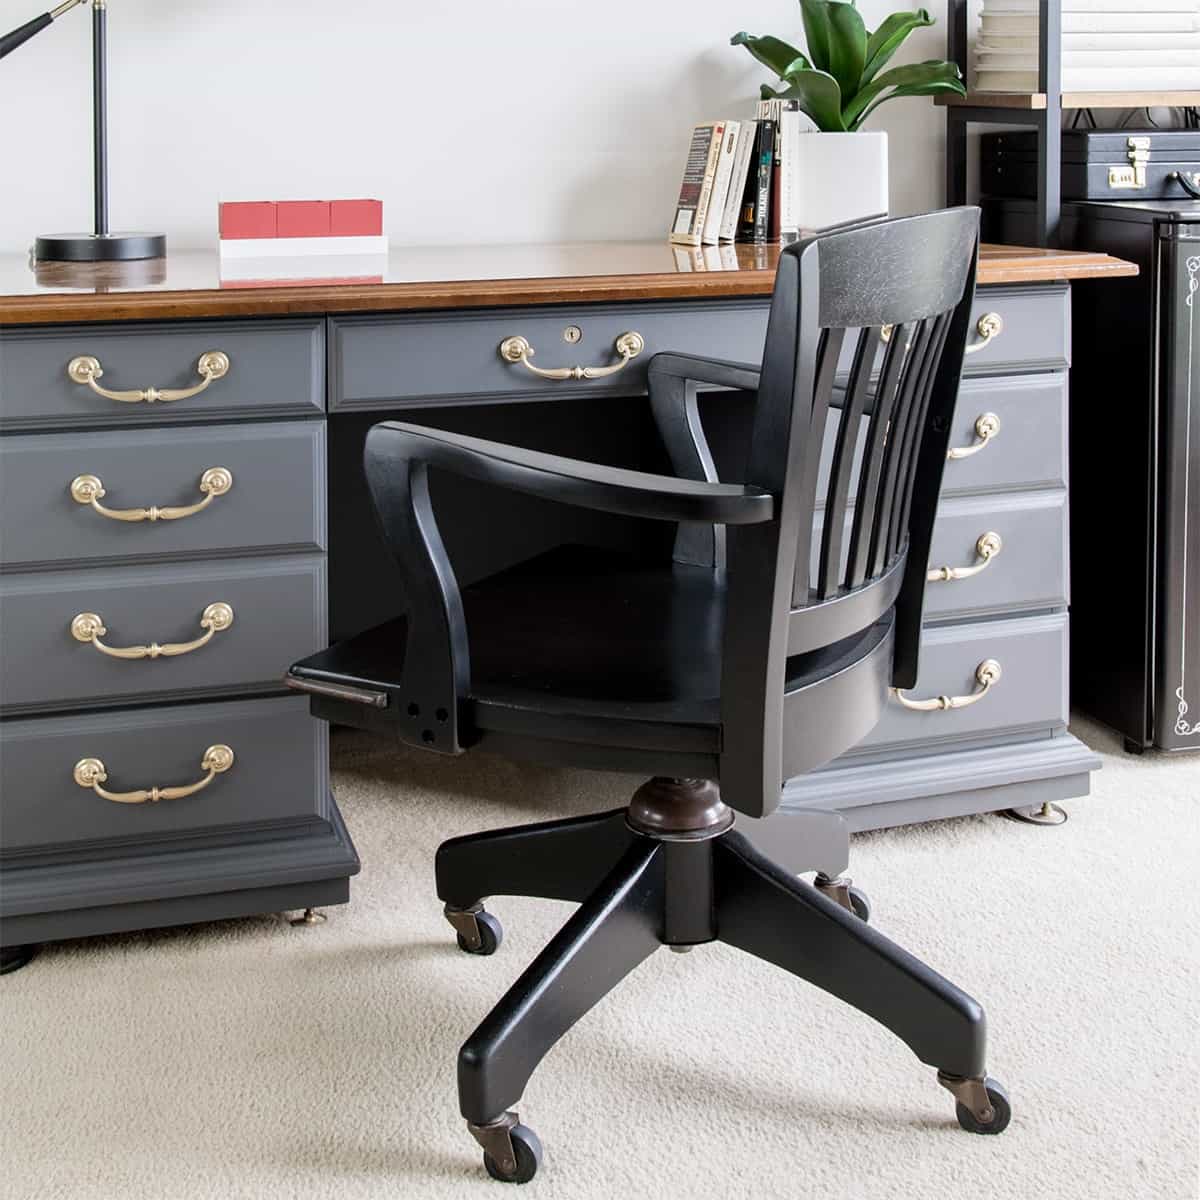
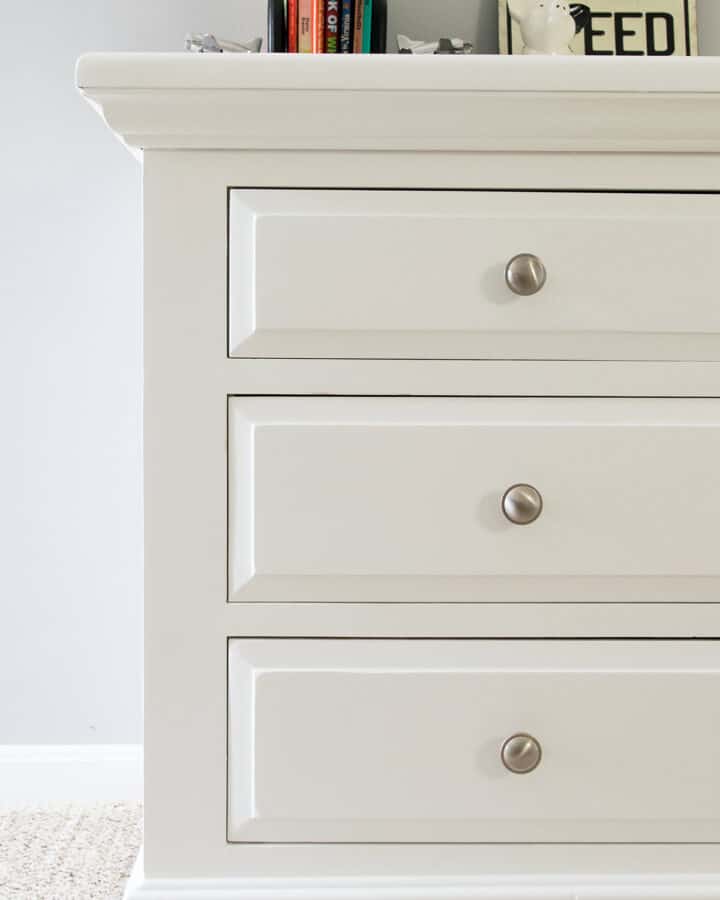
The top was actually in great shape and only the molding around the top required some refinishing. I don’t think it could be more perfect. Seriously, I kept walking into the office over and over just so I could see it again. And each time, I was like one of those TV room makeover recipients with the crazy happy reactions.
FAQs
Any of the best paints for furniture I have listed here are great if you use the hi-bond primers. While I recommend a high-quality paint with a durable finish, I don’t necessarily recommend a specific paint beyond my general recommendations. I also highly recommend using a sealing topcoat for this project. It will make the paint last much better and longer.
The process is no harder than painting solid wood. However, the products you use for maximum durability are critically important, and more so than painting other types of cabinets or furniture.
I would never recommend painting laminate without a high bond primer. Ask yourself if you really want to do this project again in a year or less just because it didn’t hold up. The risk isn’t worth it.
And what did the hubby think? To be honest, it took him a while to get used to the change. He loves the style. However, this is a desk he has seen the same way in his head for 30 years so it is a bit sentimental and bitter-sweet for him.

Grab our free series "Weekend Home Projects that will Transform Your Life" Sign up below to receive updates including free printables, organization tips, home improvement projects, recipes and more! |
More Furniture Methods and Makeovers
PS I love seeing your creations! Be sure to take a photo and tag #cravingcreative on Instagram! You can also stay in touch with me through following me on Instagram, Pinterest, and subscribing to the newsletter!
How To Paint Laminate Furniture
Tools
- Orbital Sander Optional
- Paint Brush
Supplies
- Cleaner
- Lint free rags
- Sandpaper 120 grit
- Drop Cloths
- Lint-free Microfiber rollers Some paints work better with foam rollers
- Painter's Tape
- Paint trays
- Hi-Adhesion Primer
- Paint
- Protective Top Coat
Instructions
- Remove doors and drawers. Unscrew hardware.

- Clean using a mild cleaner that won't leave a residue. If the plastic layer is loose from the substrate, make sure to reattach it with a construction adhesive and allow to dry.
- There are many different types of laminated surfaces, and many can’t be sanded. However, using an orbital sander and 120 grit sandpaper may allow you to add more gripping tooth to the surface. Test in a very inconspicuous area if you wish. Most of the harder plastics won’t sand very well if at all. Don’t push it if it isn’t working.

- Prime with a quality primer. If you need additional coverage, use two coats. Allow to dry 24 hours.
- Paint with 2 coats of paint. You can use either a paint sprayer or brushes and rollers. Use rollers for larger, flat surfaces. If brushing, brush with the grain and always from one end to the other. If paint starts to dry, don't go back over it.


Notes
- Get the right tools. A few extra dollars will save you a lot of heartache and frustration. I have a helpful post on painting without brush strokes here. I prefer fine taklon brushes.
- Tape off any edges you don’t want painted such as inside doors.
- Use a lint free -microfiber roller across all flat or large surfaces for the smoothest finish.
- You will get the best results if you brush details or corners then roll before the paint has time to dry.
Leave a Reply