Get protection and peace of mind from waterproofing a shower. Learn how to decide the best method of protection plus insider tips for a flawless tile foundation. Your bathroom deserves lasting protection from mold, mildew, and water damage!
The basement finishing project continues! A few weeks ago, I walked through how to plan a finished basement. Through the magic of internet time (and the fact that we started this project 3 years ago), we finished the plumbing, electrical, framing, and drywall! Now, we turn to finishing the bathroom.
Mastering waterproofing techniques before a large tiling project may not be glamorous, but ensuring your shower walls are properly protected against moisture is imperative. I’ve remodeled enough bathrooms not to be surprised by how far damage can spread over time. In fact, an estimated 47% of residential buildings have problems with mold, often caused by water leaks.
In this guide, I’ll share practical insights and explore various waterproofing methods, so you can decide which is best for your project. By the end, you’ll have the knowledge and confidence to safeguard your shower walls effectively from water damage, laying the groundwork for a seamless and long-lasting tile installation.
Why is waterproofing shower walls important?
Truthfully, many older homes didn’t use waterproofing systems like we have today. And as long as the tile, grout, and caulk are in good shape, it’s fine. These surfaces are the main sealing factor; a waterproofing system is a backup to prevent damage. As long as the tile/grout surface and caulk lines are intact, then water should not penetrate to the substrate.
Is a waterproofing membrane required? Not explicitly, but they provide a good foundation to prevent water damage from spreading. Think of these types of waterproofing systems like a warranty to your future self. Mold remediation can easily cost thousands on top of replacement costs if your outer components fail.
Common Types of Backerboards
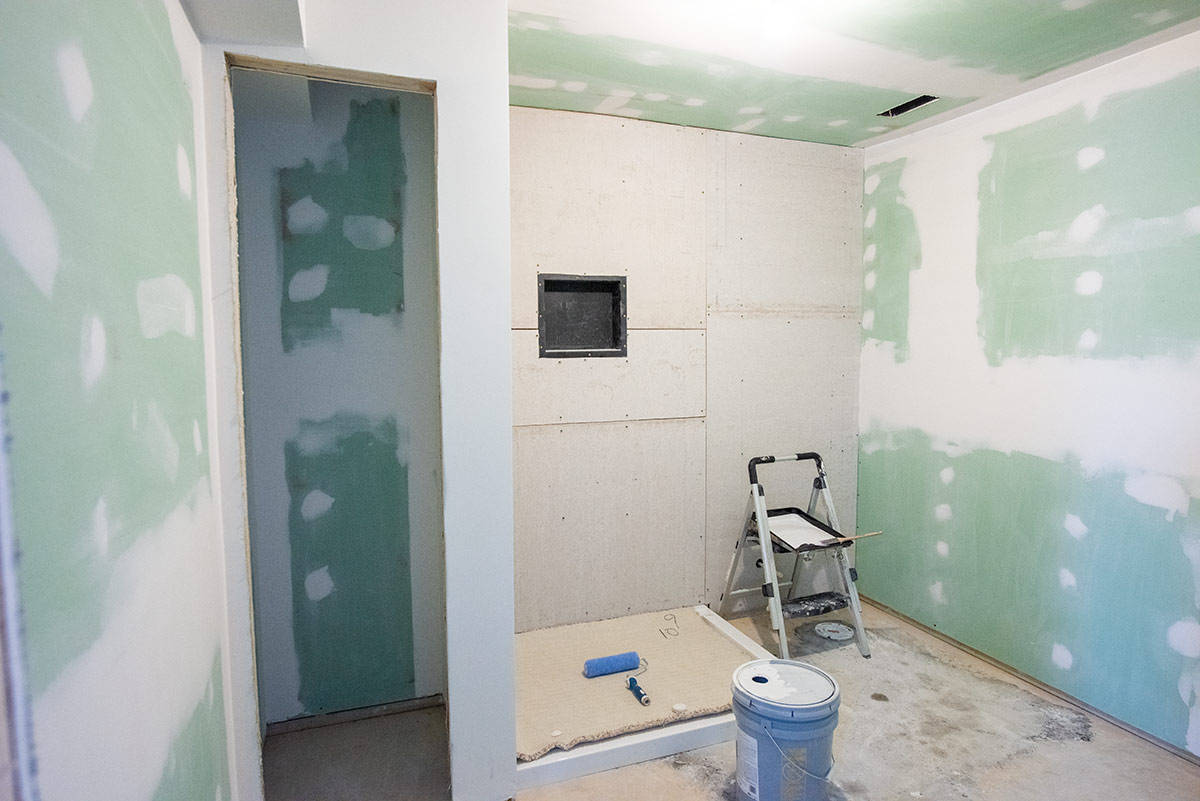
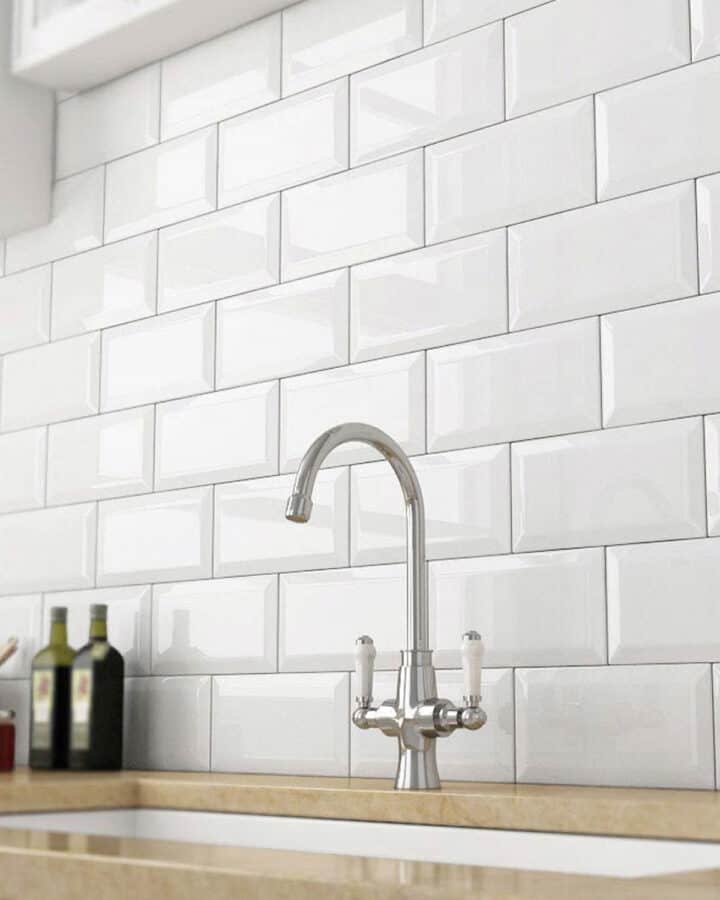
Some acceptable substrates for shower walls are water resistant, not waterproof. For example, Green board should be installed in moisture prone areas, not water contact areas like showers and bathtubs. Despite that, I see it commonly used by builders and installers. Drywall is ok for behind a backsplash, but I still use at least concrete board behind our kitchen sink area because it has a chance of water leaks and cracks.
Cement backerboard is far more water resistant than green board, but it is not waterproof either. Two examples of cement board suitable for tile installation are Hardibacker and USG Durock brand. They both come in a variety of thicknesses.
If you use a cement backerboard, the wall itself will not deteriorate even if exposed to water or mildew growth. However, you have options to layer more robust waterproofing products over top. Additionally, cement boards are recommended for large format tiles because it provides a strong foundation and the least amount of flexion.
Types of Waterproofing Methods
In all of these methods, a successful installation will depend on your skill level and knowledge of the product to create a lifetime lasting shower surface.
Waterproof Sheeting Membranes and Strips
Sheet Membranes are flexible membrane coverings that attach directly to the backer board. There are a few different systems from peel and stick sheets to strips that must be applied and cemented in with thin-set mortar. Examples of these sheet membranes include Schluter Kerdi, Water-Stop, and Goof Proof.
These sheet membranes are usually made of plastic composites that act like vapor barriers to prevent leakage or water penetration to the substrate.
For maximum protection, they work best in situations where flat panels would not work, or you want to economically waterproof the weakest points for leaks such as joints, corners, or around faucet heads and drains.
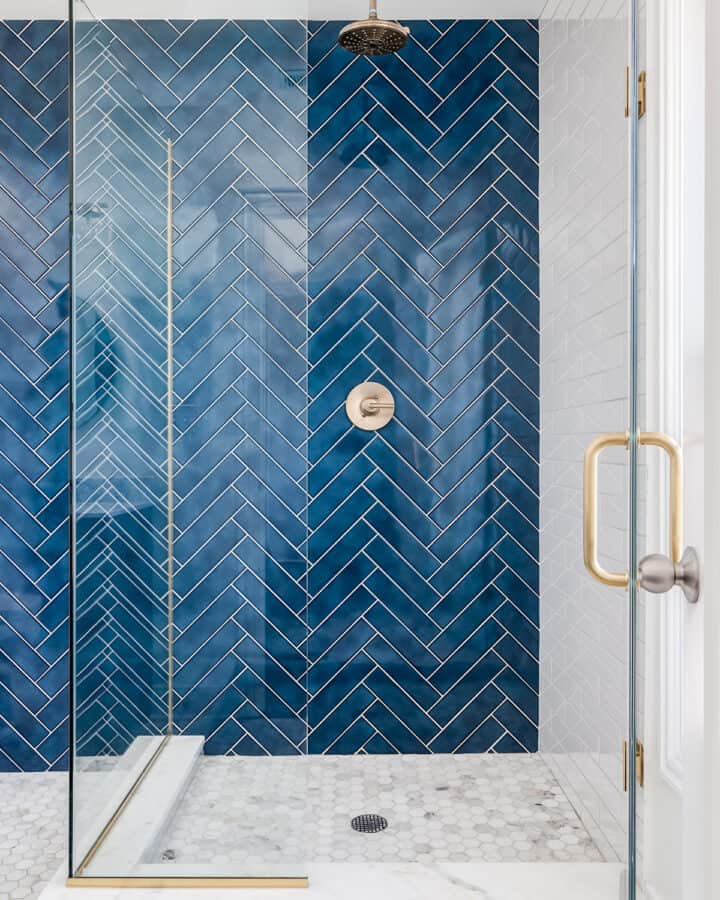
For example, we used Kerdi Band instead of mesh seam tape in the corners over concrete board in our herringbone tile shower.
Waterproof Foam boards
Truthfully, a shower waterproofing system, including foam boards are going to be the most robust of all the options and highly customizable. If you select one of these kits, you should stick with only that system for specialty components as they are designed to work together.
The most popular waterproofing system is Kerdi Board although other brands include Wedi and Dural. These systems consist of rubber or foam panels with a special reinforcement material to accept tile installation. They are significantly lighter in weight than concrete and can be cut with a utility knife.
However, they tend to be the most expensive option, by a lot. While many say the kits are easier to install than other methods due to their light weight, it is notable that these boards require more reinforcing screws, and 12-inch spacing between studs as well as framing behind all edges for installation.
Waterproof Concrete Boards
There is yet another option, which is waterproof concrete boards. At this time, only James Hardi makes this product, and it is pink-rust colored, unlike regular grey HardiBacker boards.
It installs and accepts tile just like regular HardiBacker, just make sure that the pink side faces outwards. For maximum protection, I would still seal corners and weak points with a flexible membrane.
You will need to hang these waterproof boards with specific screws for hardi-backer. These screws are designed to dig slightly into the cement board, seating flush with the wallboard so your tile installation will be smooth and flush.
You may run into a corner that is not framed at the edges. Half-inch waterproof concrete boards are very rigid. Therefore, as long as you can screw into a stud within 3 inches from the edge, it is fine.
Using a Liquid Waterproof Coating
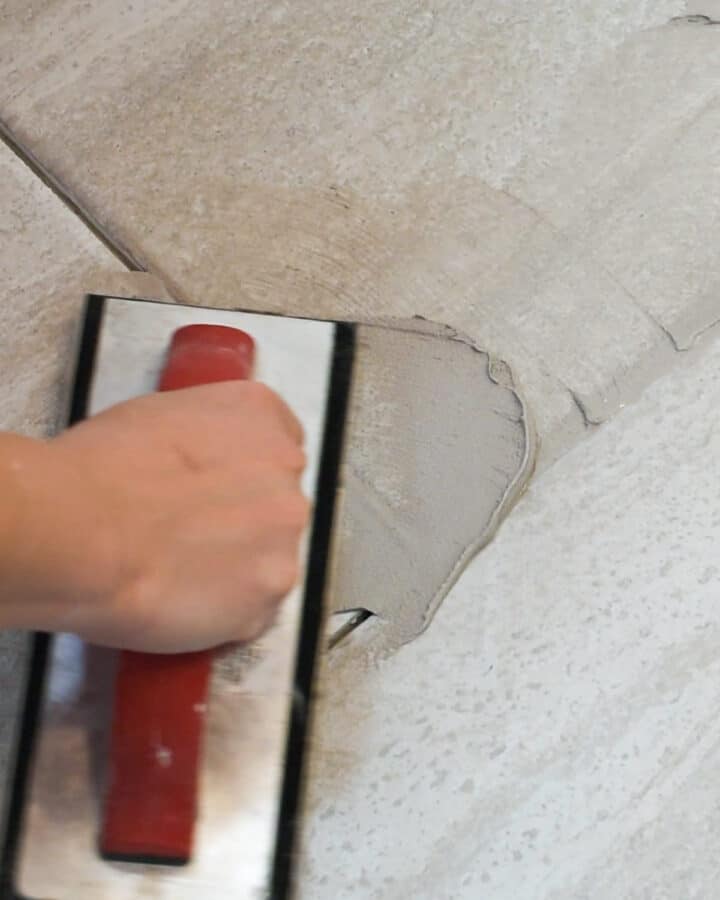
These liquid waterproofing membranes are essentially painted on with a roller over the installed substrate (concrete boards or drywall) to create a waterproof barrier. Brands include RedGard, AquaDefense, and Durock Liquid Waterproofing.
The negative to these is that exposed seams won’t be waterproof (like the edge that hits the bottom of a floor or shower pan). However, those areas should be caulked anyways to prevents the water from wicking up the backing material.

Why We Chose the Waterproofing Technique We Did
You may be asking yourself what is the best waterproofing for showers and surrounds? Honestly, there are many factors including cost, durability, and how much water contact an area will have.
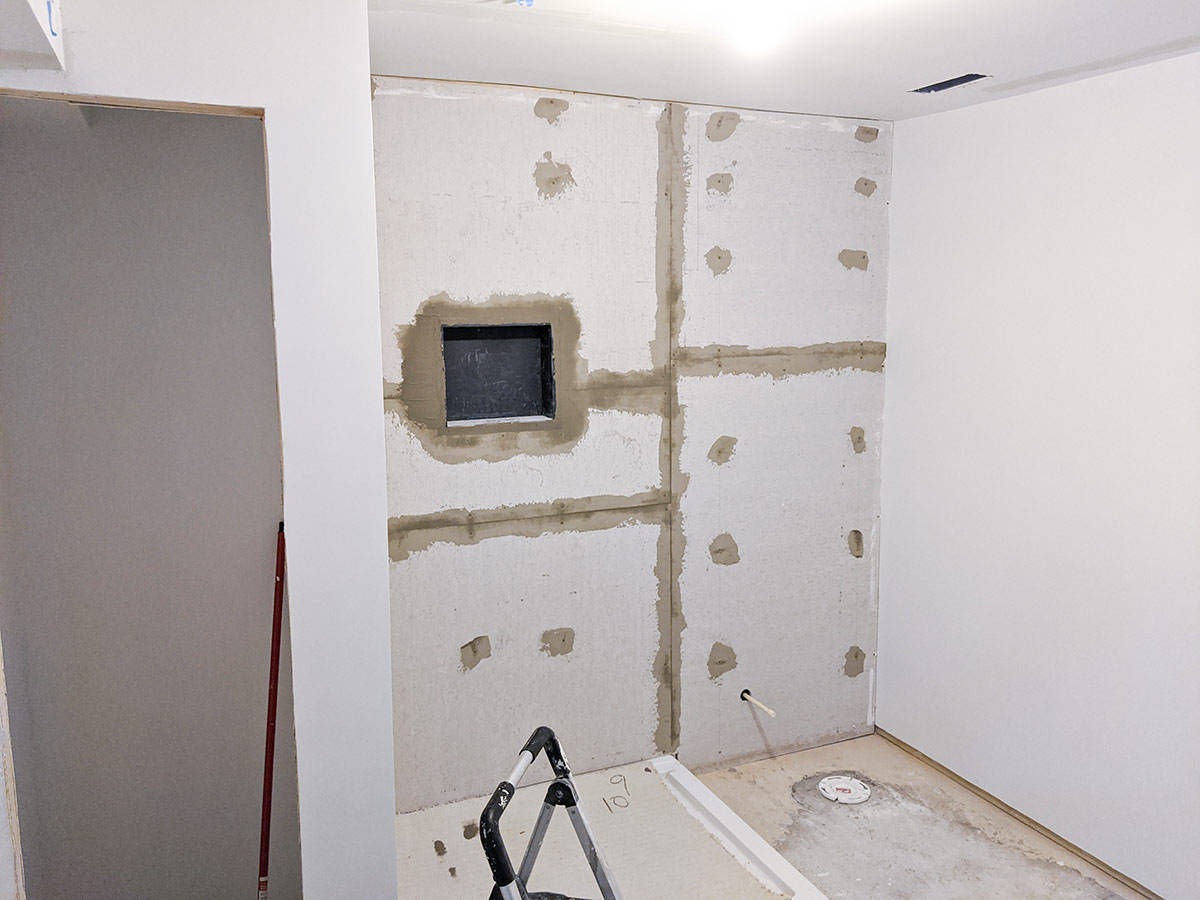
Depending on your installation, you can mix and match different systems. The niche in our wall is pre-made and thus waterproof plastic itself, although the surrounding concrete board seams needed waterproofing.
The basement is partially underground, but we have moisture barriers in the framing in those areas to prevent moisture from the outside wall and a moisture fan. The shower is mostly for guests, so it won’t be used often.
When we built this shower, waterproof cement boards were still very new and not available in our area.
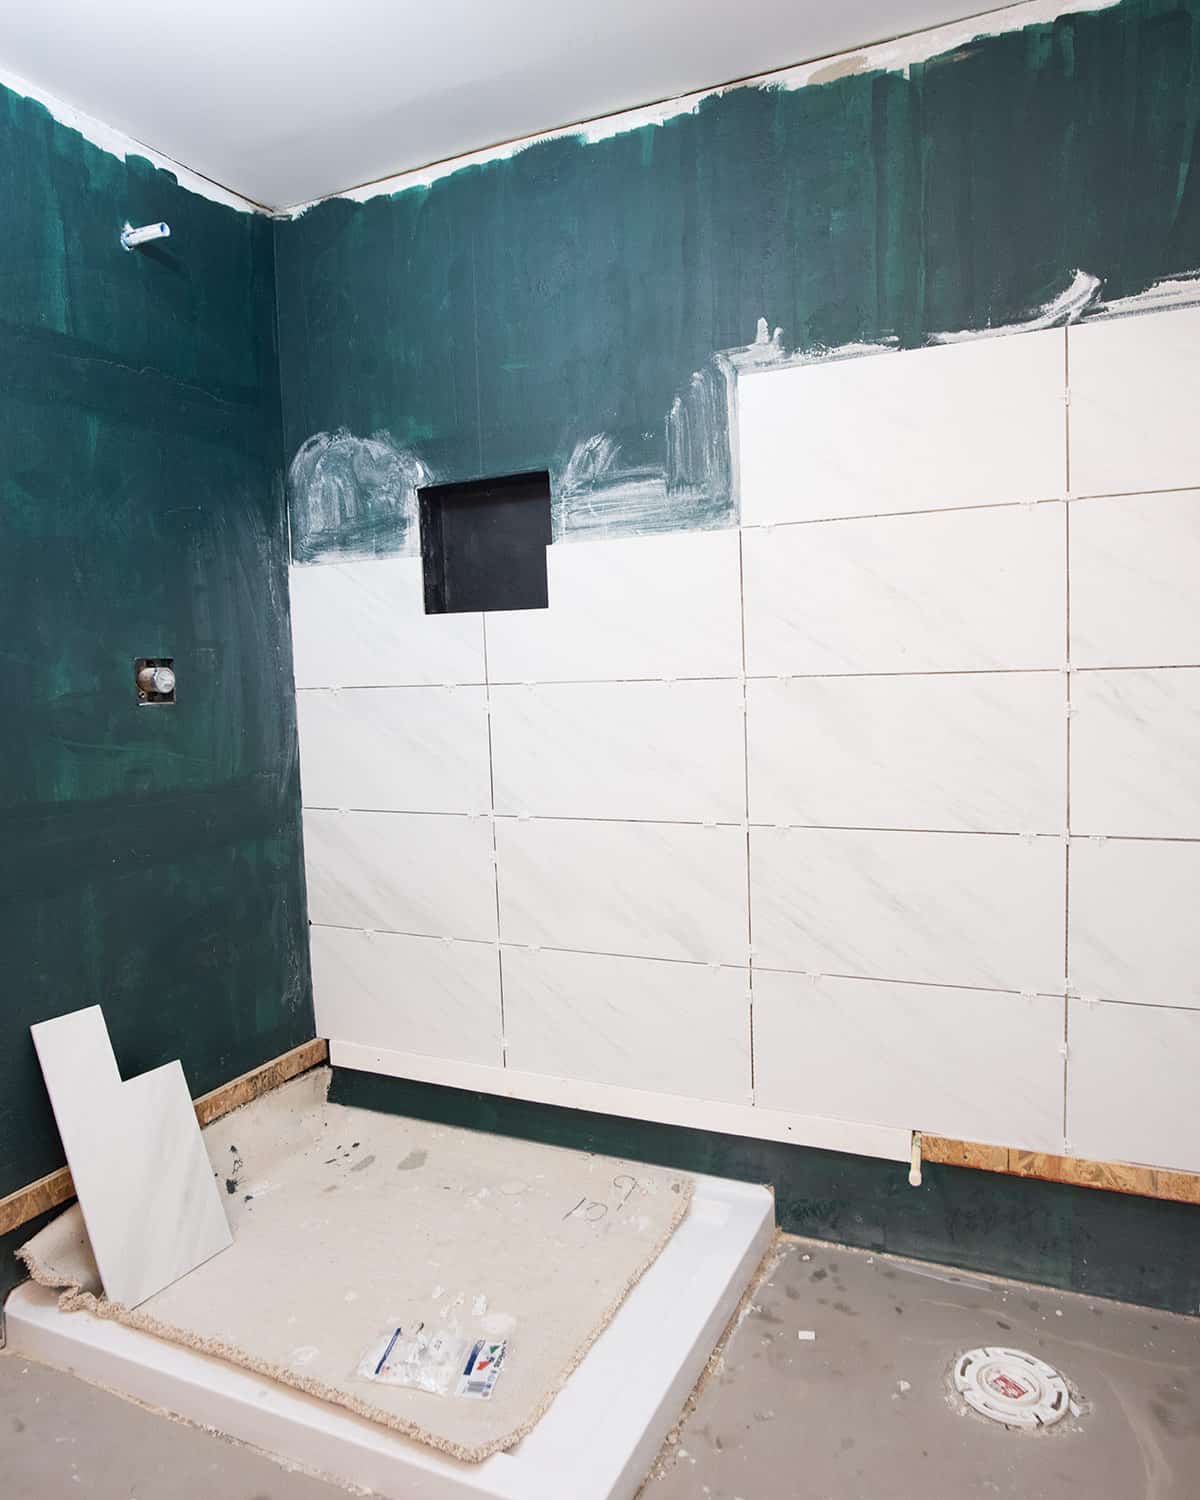
Therefore, we used green board throughout the ceiling and walls of the bathroom and moisture resistant concrete board for the wall behind the shower that will have direct contact with water. After filling the seams of the concrete board and the tile niche, we painted the walls with a liquid membrane.
Here is a sneak peek of the shower and wall being tiled.
What about waterproofing the shower pan?
In this particular project, we elected to use a plastic shower pan rather than tile the shower floor. We are installing a frameless shower, and it fits the glass frameless shower perfectly while also making installation easier since I don’t have to drill into tile or worry about sloping a tile floor.
For this particular project, the shower pan has a slope toward the shower drain and it is seated with a foam barrier to prevent any water or moisture escaping underneath.
Frequently Asked Questions
Cutting concrete board is very dusty so do so outside. You will need a circular saw and a concrete board cutting blade, as well as sawhorses or something to prop the board off the ground.
A tiled shower floor is much more important to waterproof, but waterproof shower walls provide a good foundation too. Think of these types of waterproofing systems like a warranty to your future self. Mold remediation can easily cost thousands on top of replacement costs if your outer components fail.
For liquid waterproofing membranes for your shower, you should apply at least two coats. Use the manufacturer’s directions for wait times, but most say to wait 24 hours before applying the second coat and then another 24 hours before tiling.
Low ceilings or those in a bathroom without an exhaust fan do benefit from using mold and water-resistant ceiling materials. However, you can also simply use a mold and mildew resistant primer and paint that won’t allow water to penetrate.

Grab our free series "Weekend Home Projects that will Transform Your Life" Sign up below to receive updates including free printables, organization tips, home improvement projects, recipes and more! |
More Tiling Projects and Posts

PS I love seeing your creations! Be sure to take a photo and tag #cravingcreative on Instagram! You can also stay in touch with me through following me on Instagram, Pinterest, and subscribing to the newsletter!
Leave a Reply